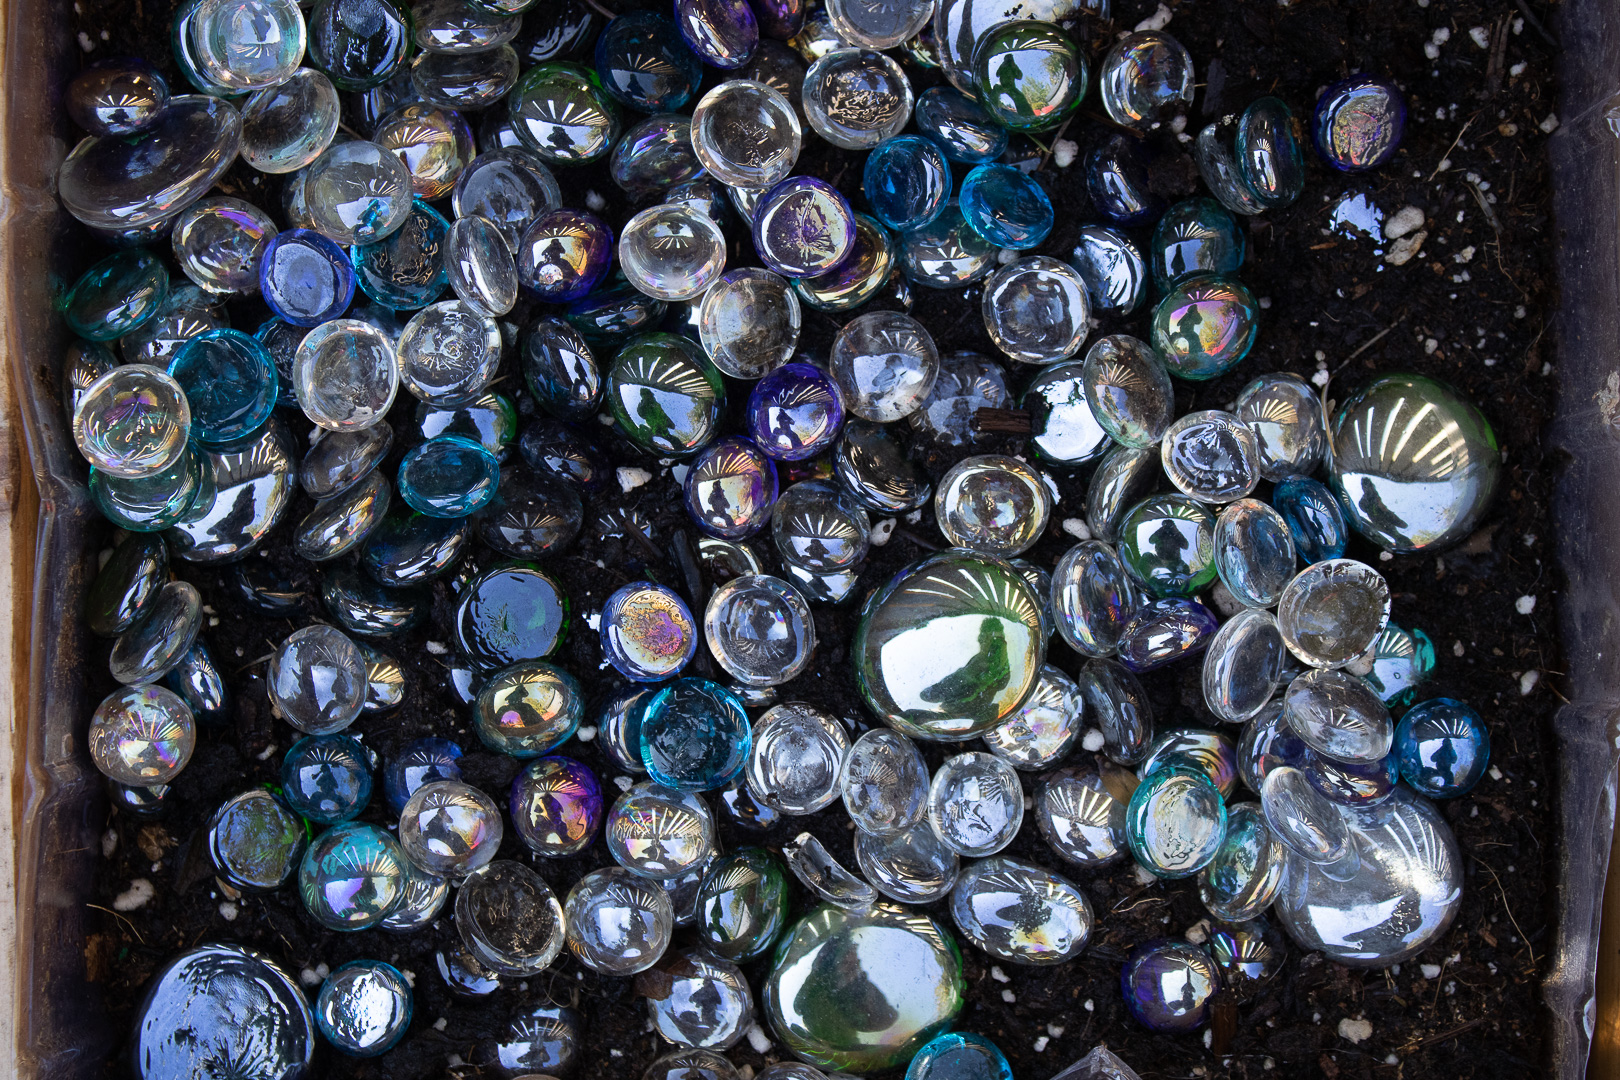
FIN 247 Unit 3
March 11, 12, 13
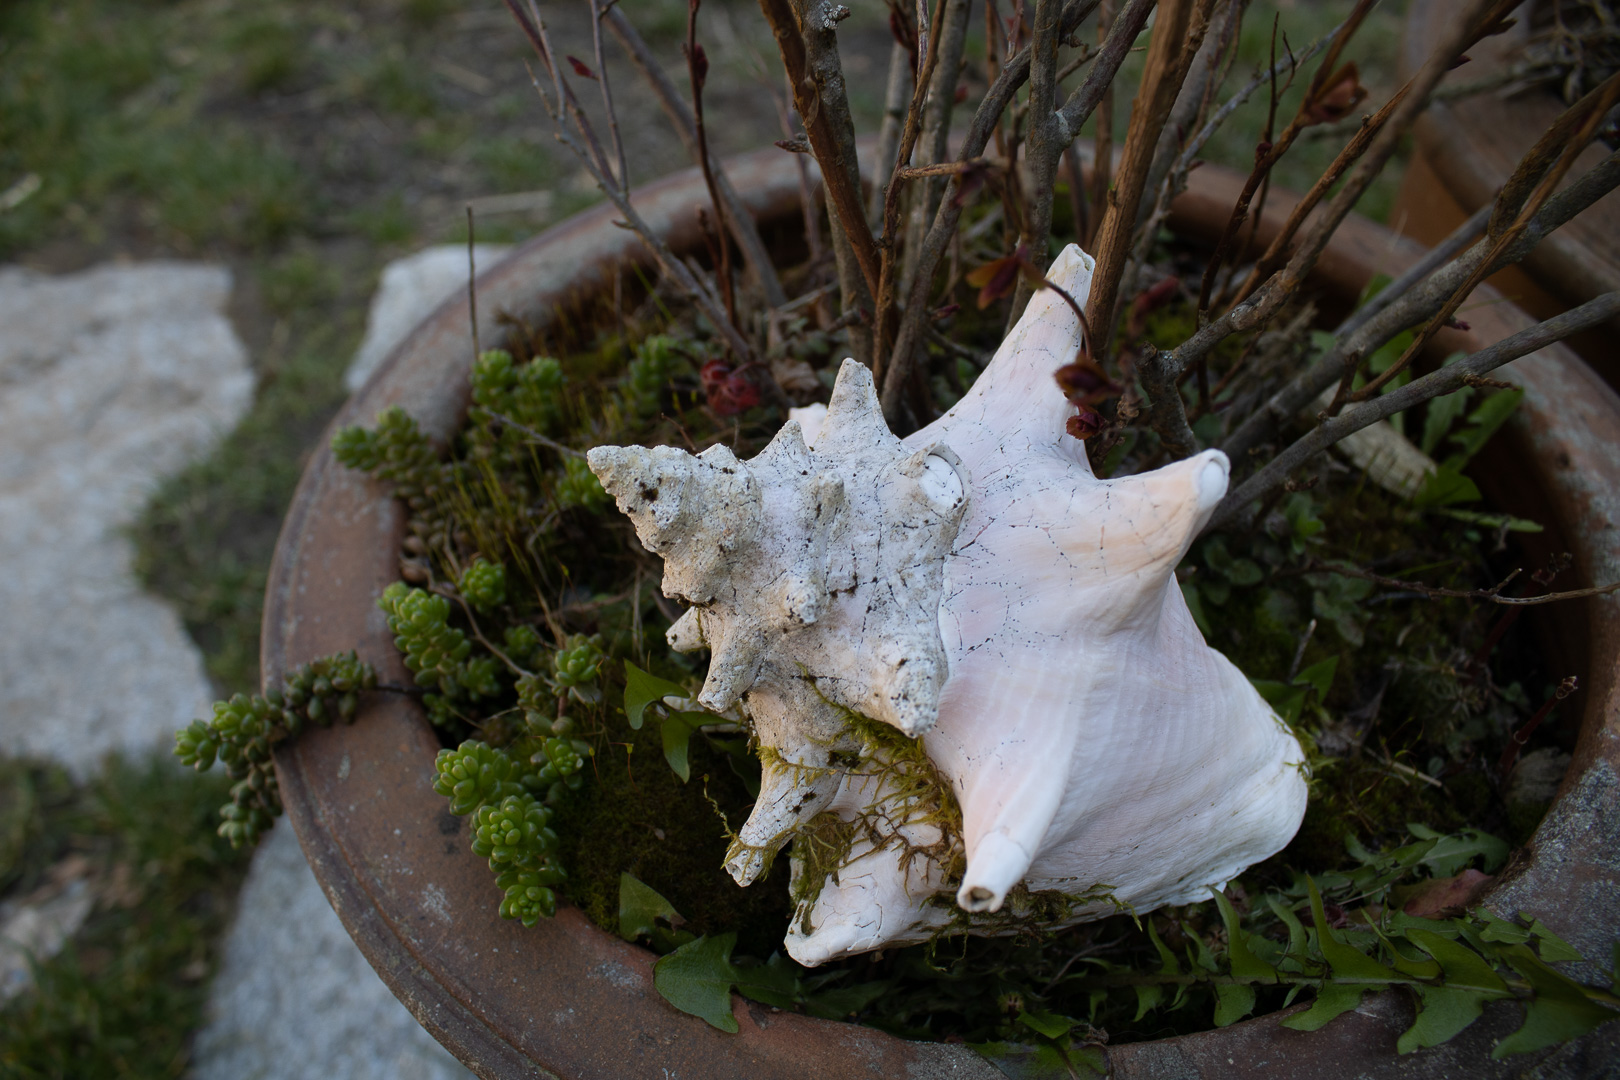
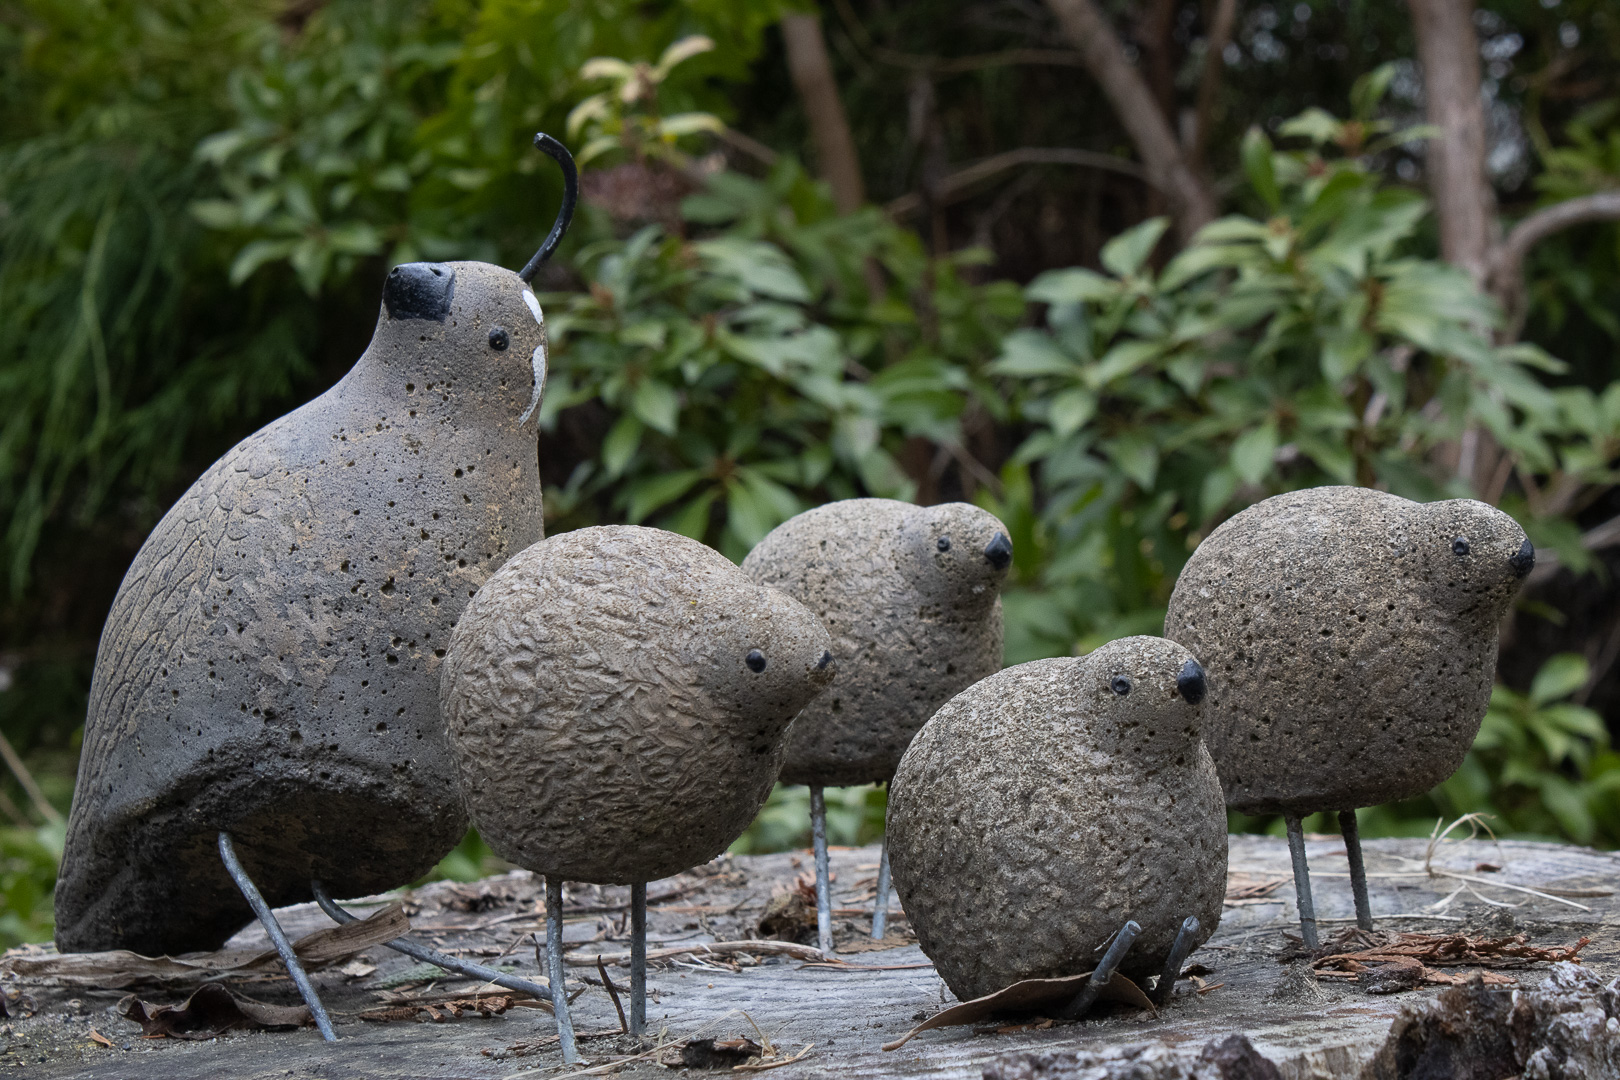
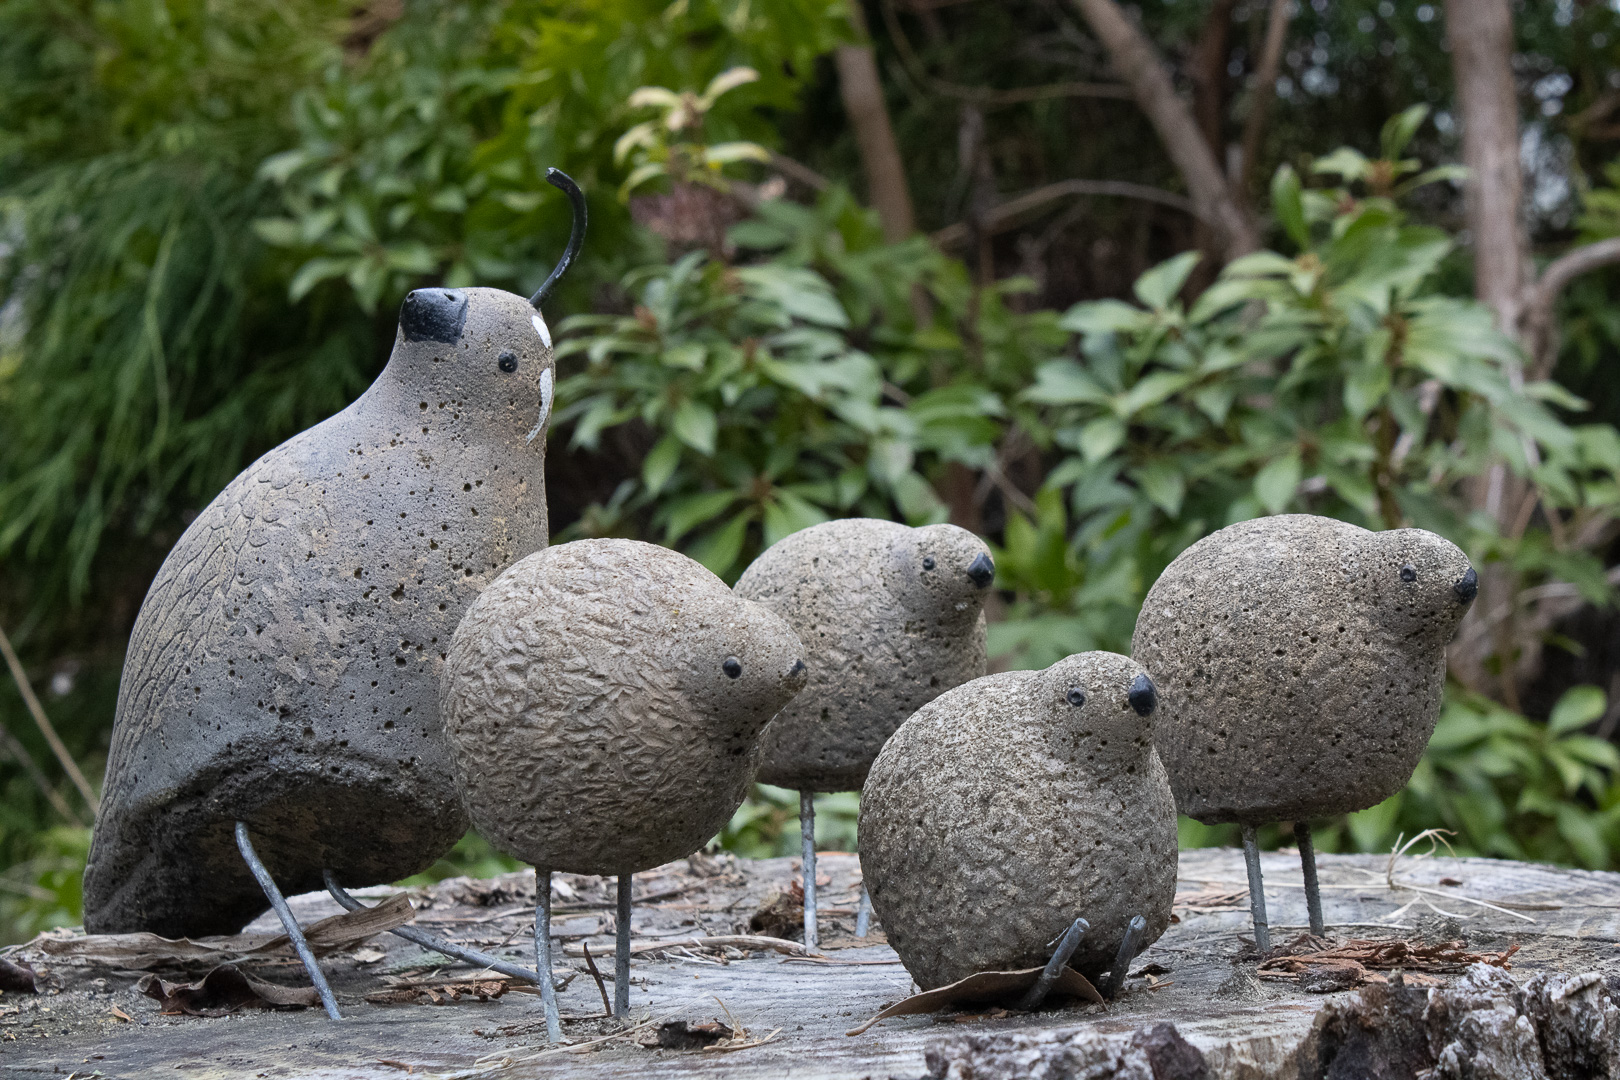
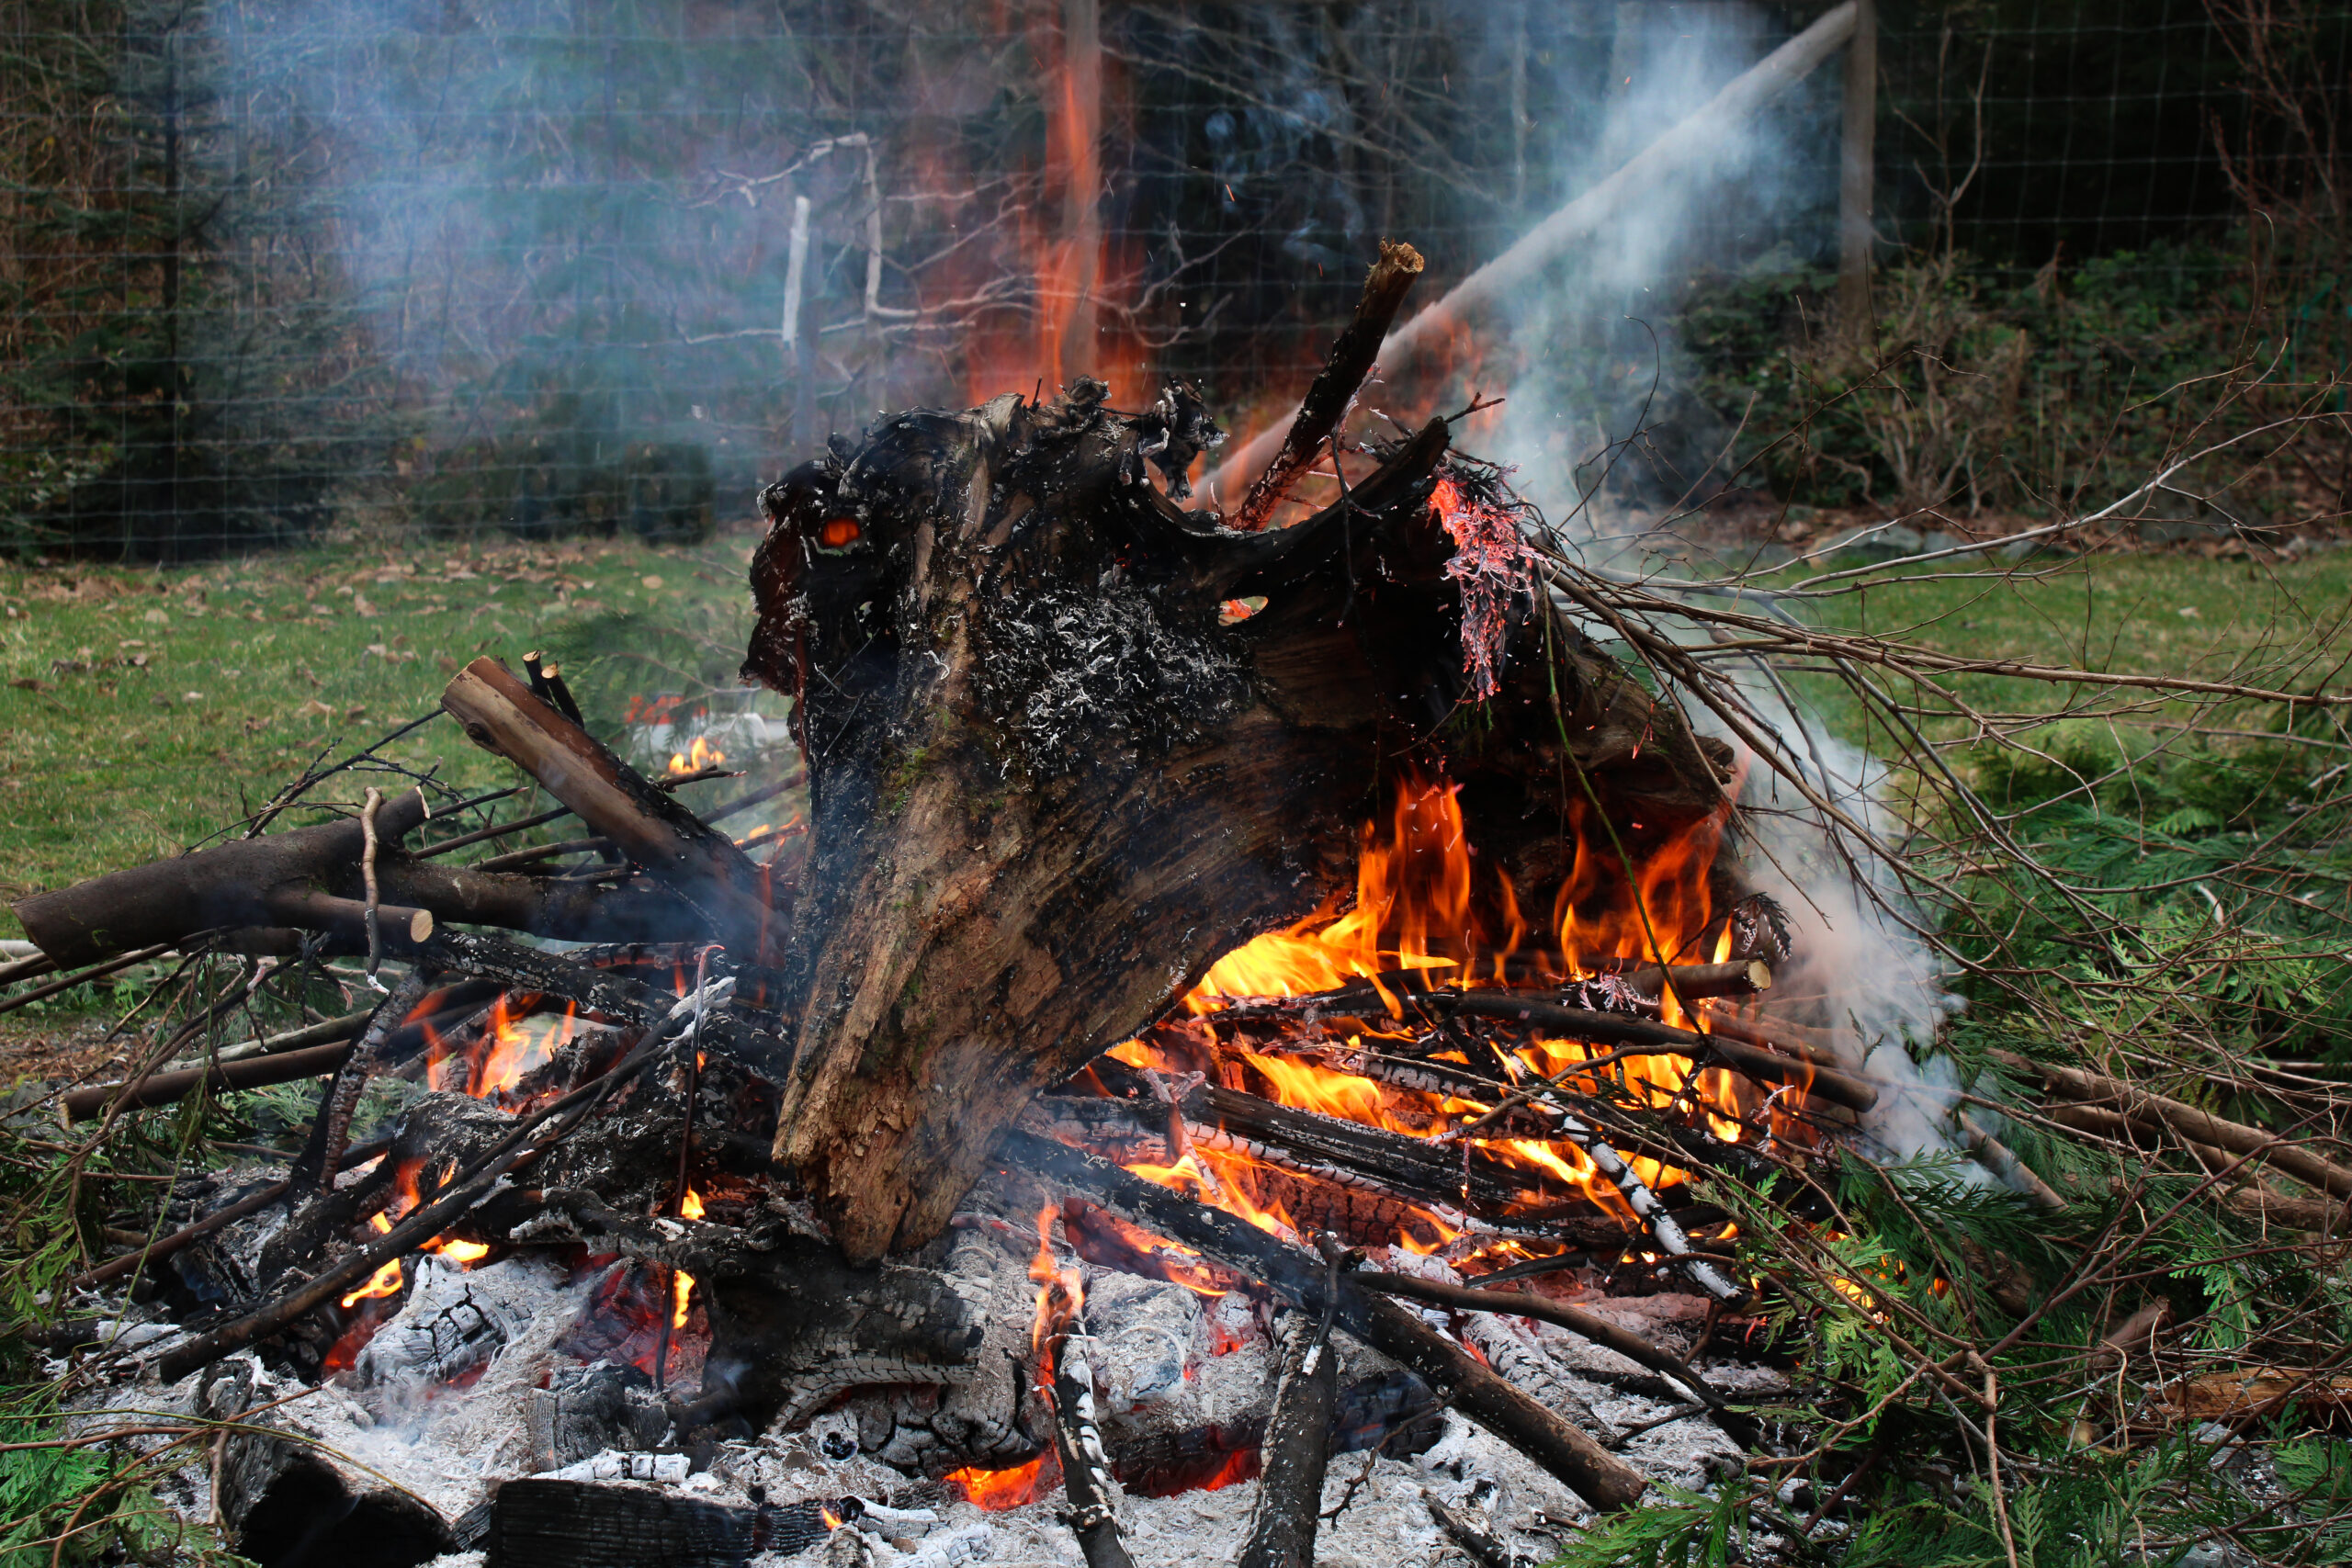
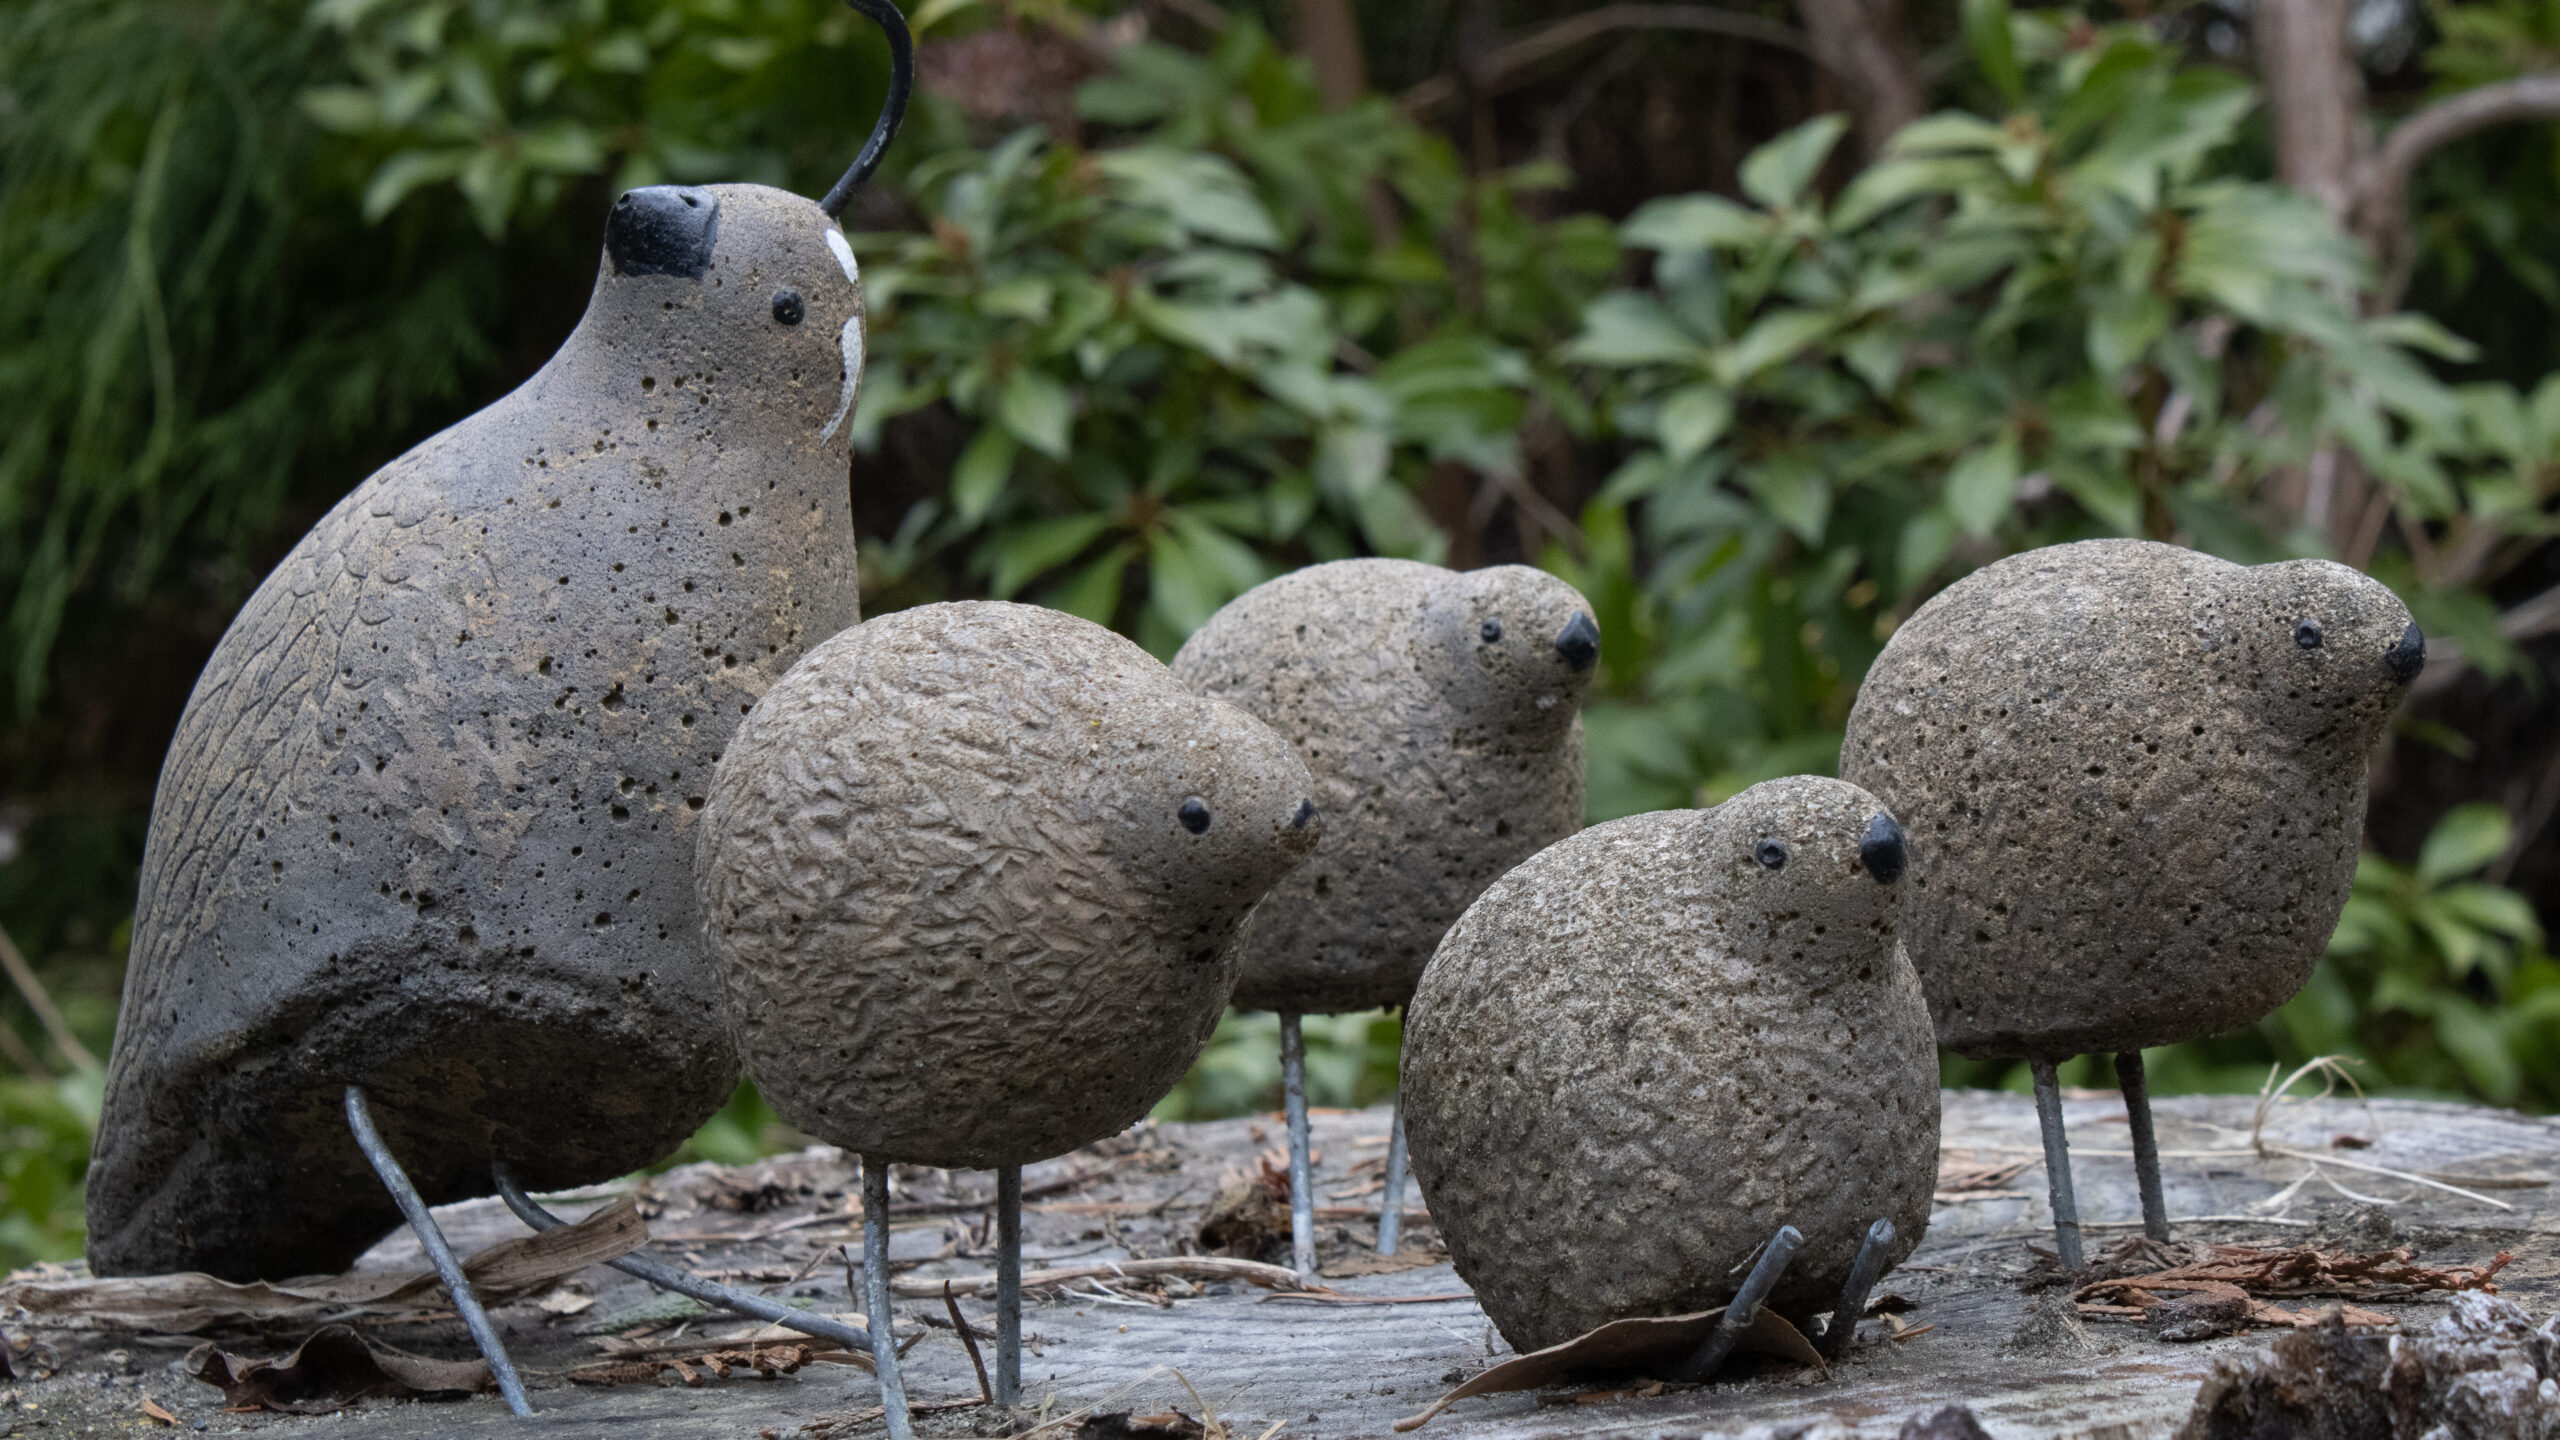
Top Picks March 11, 12, 13

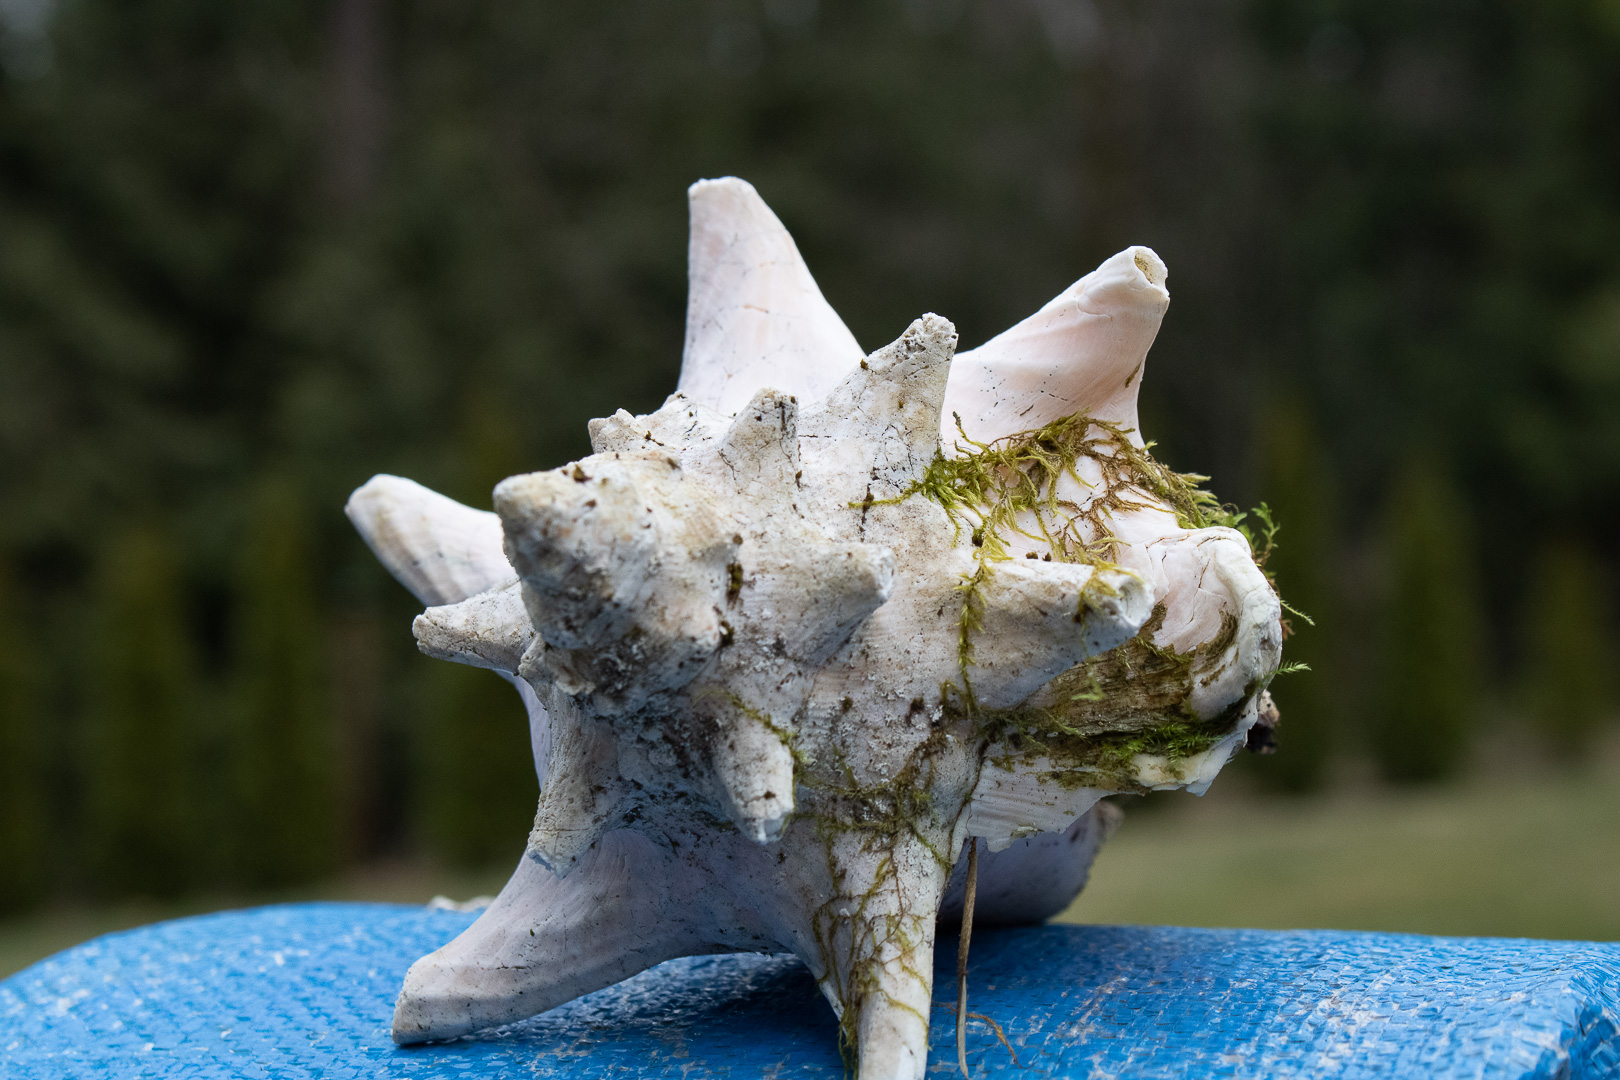
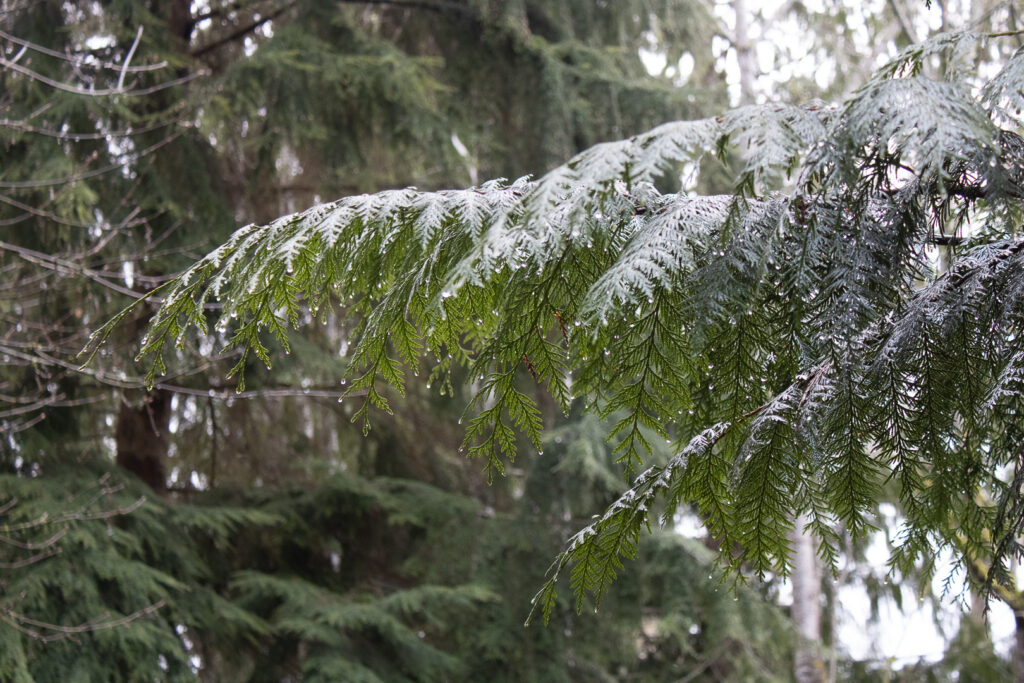
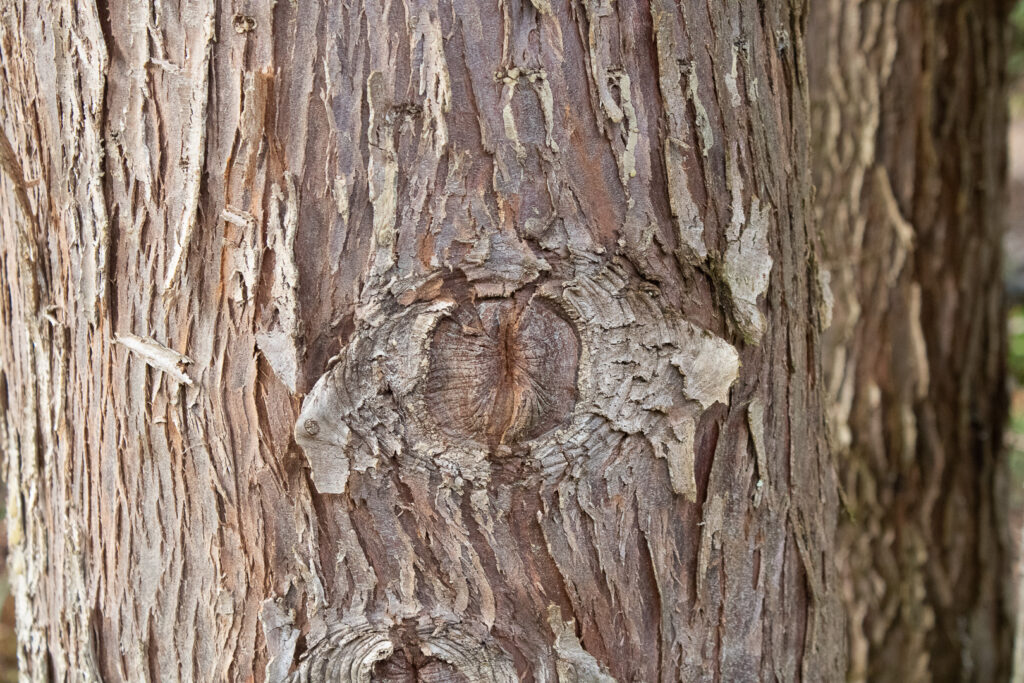
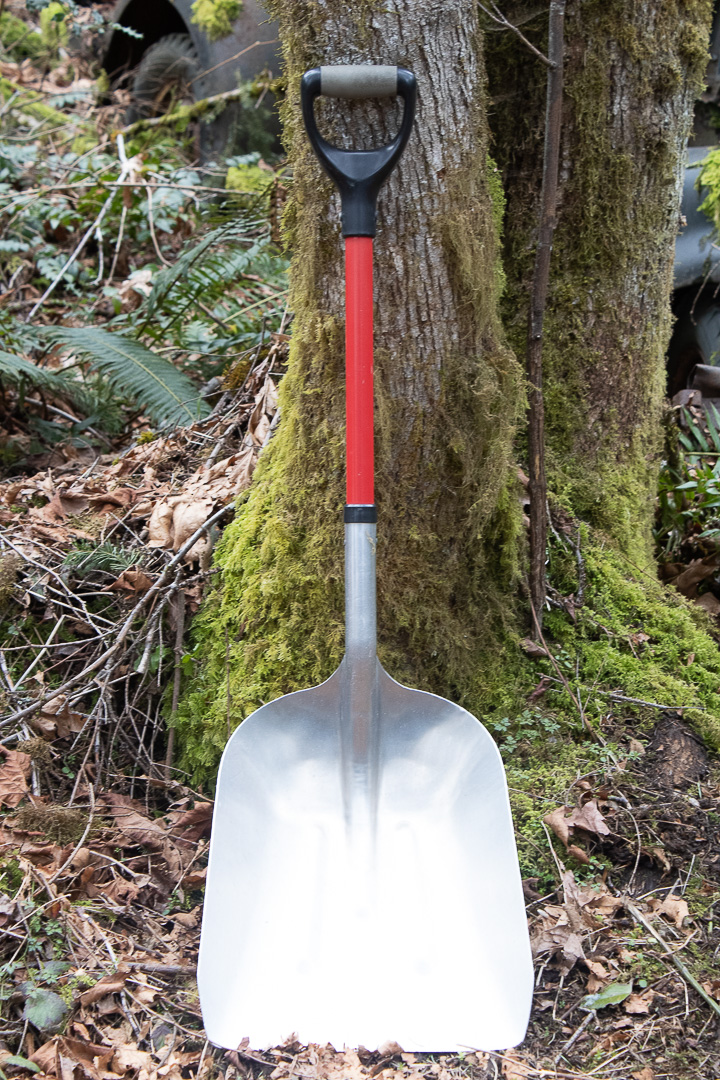
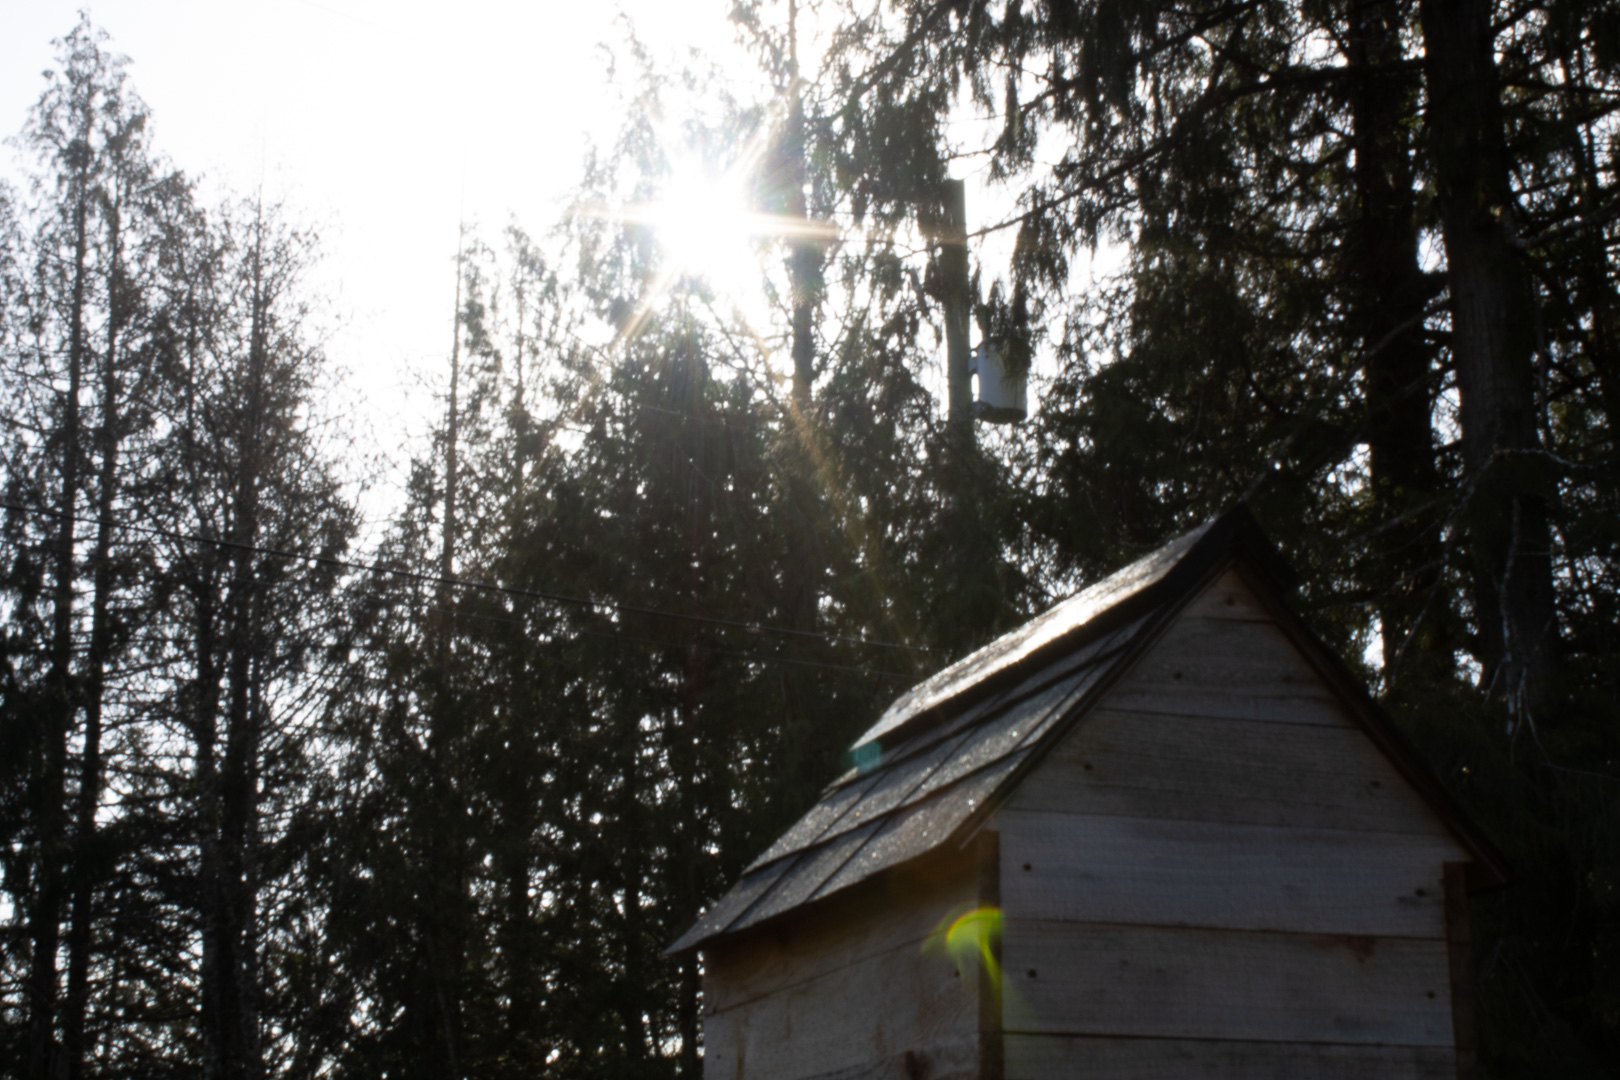
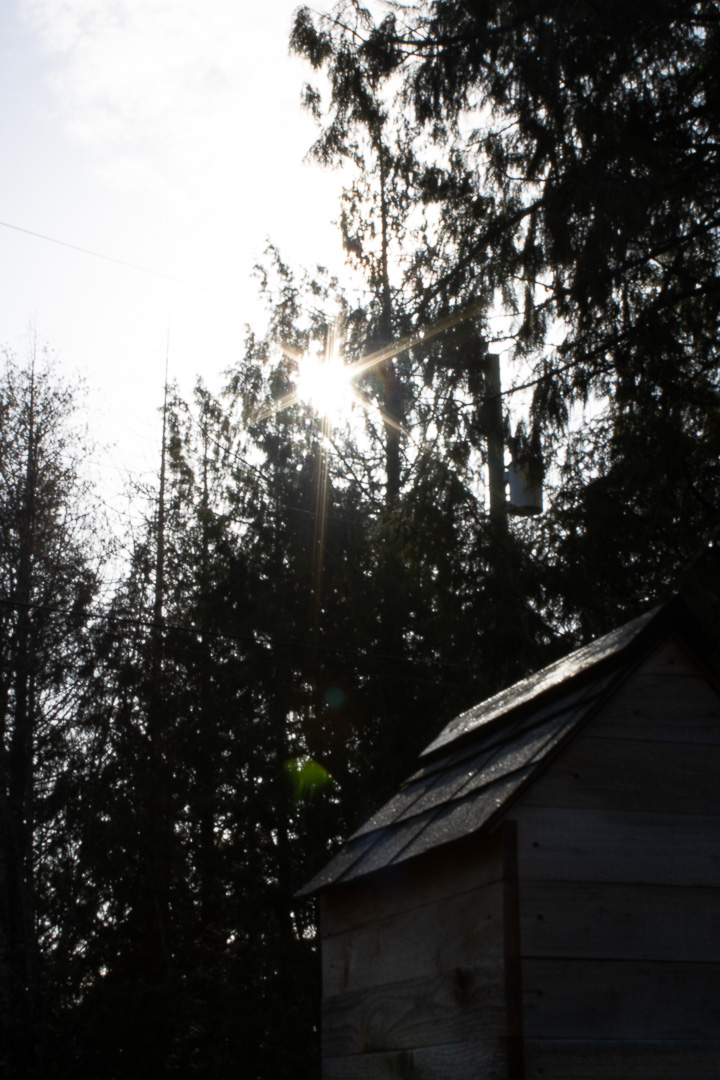
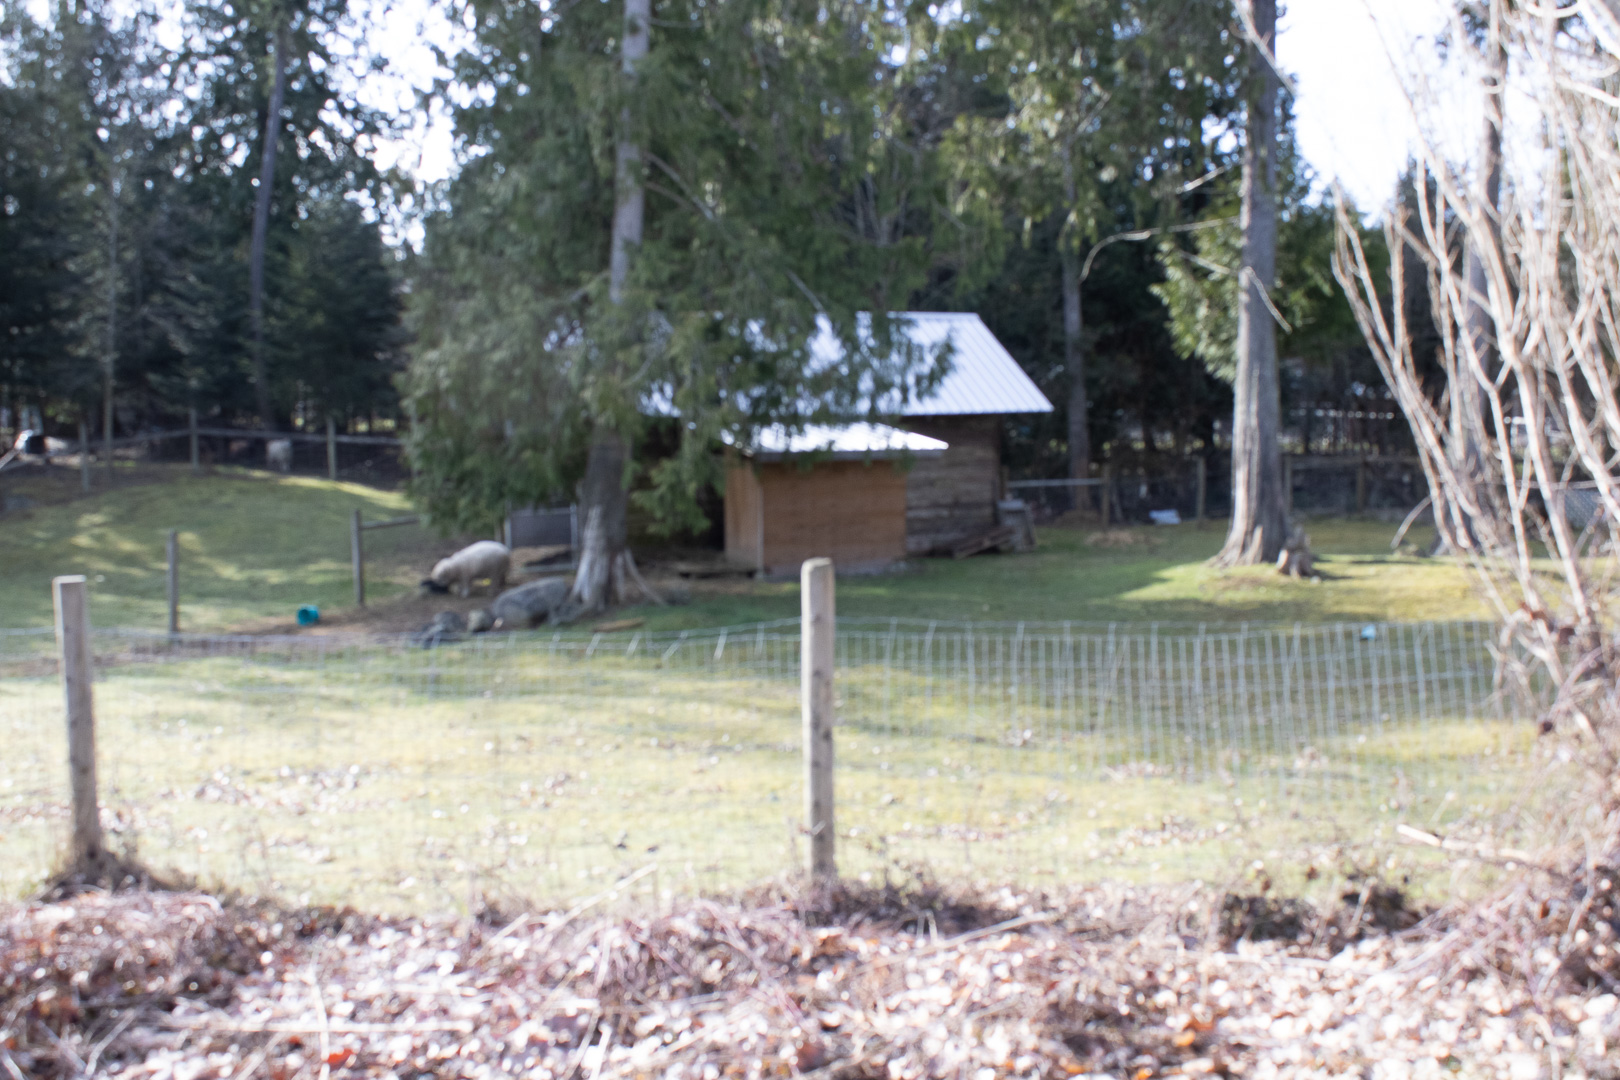
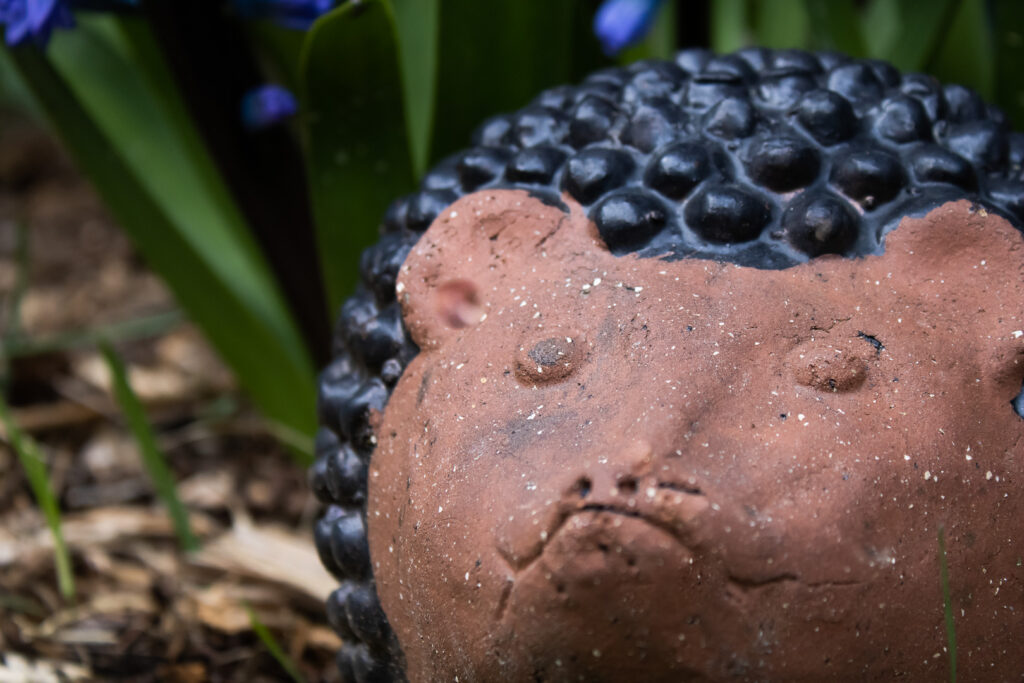
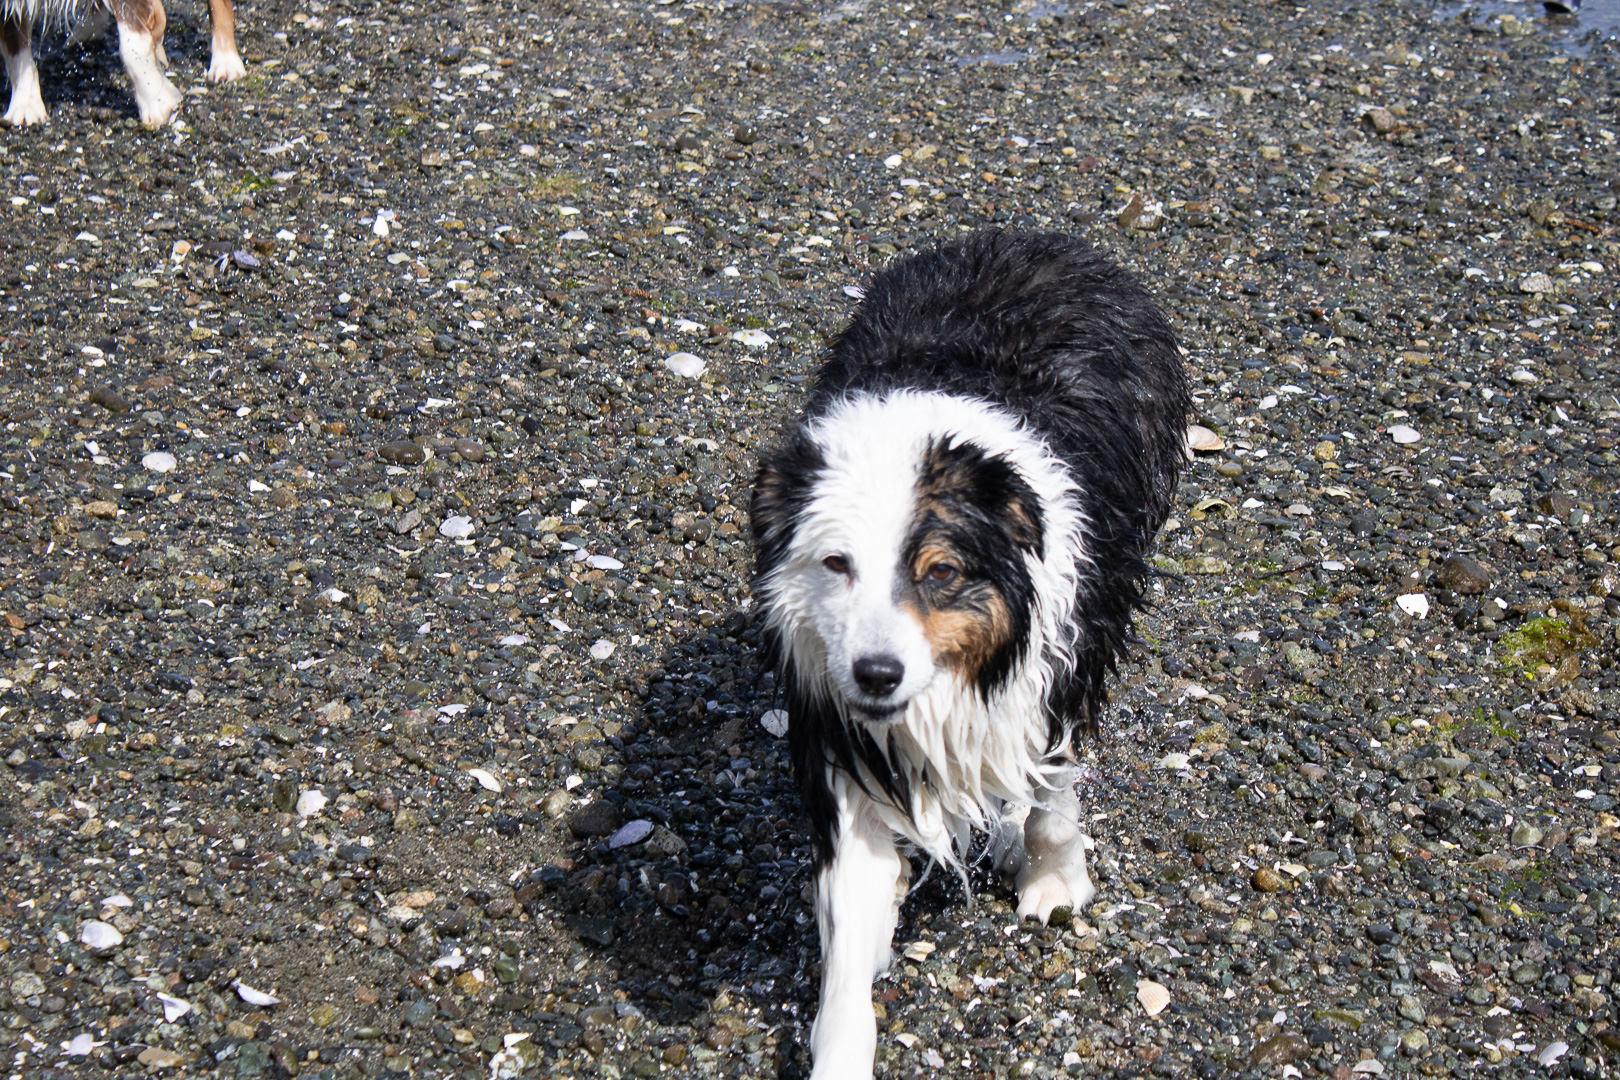
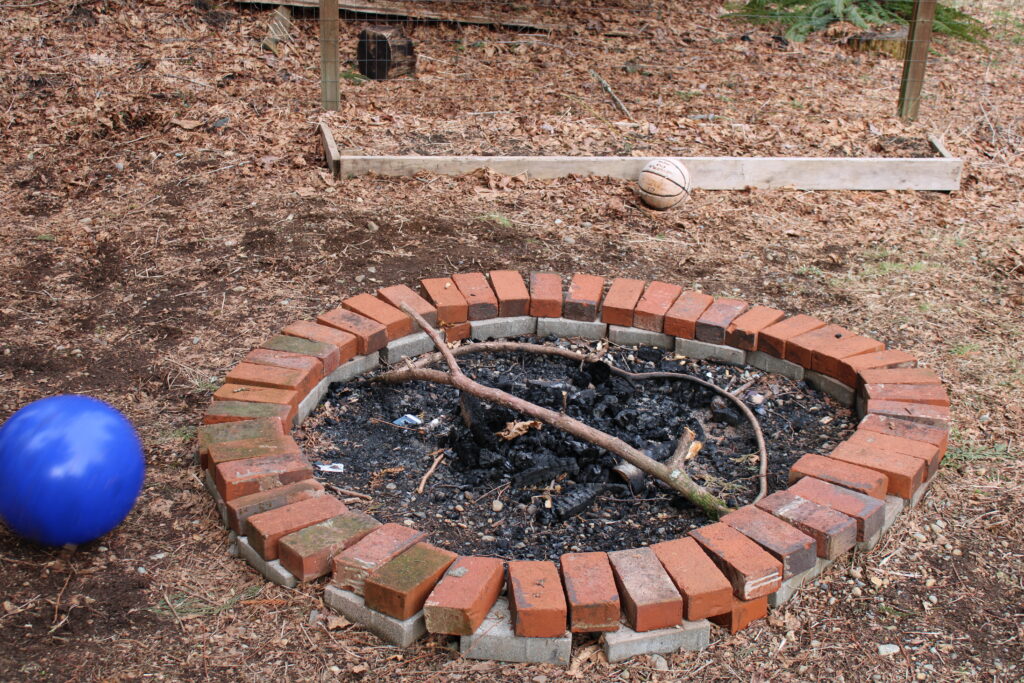
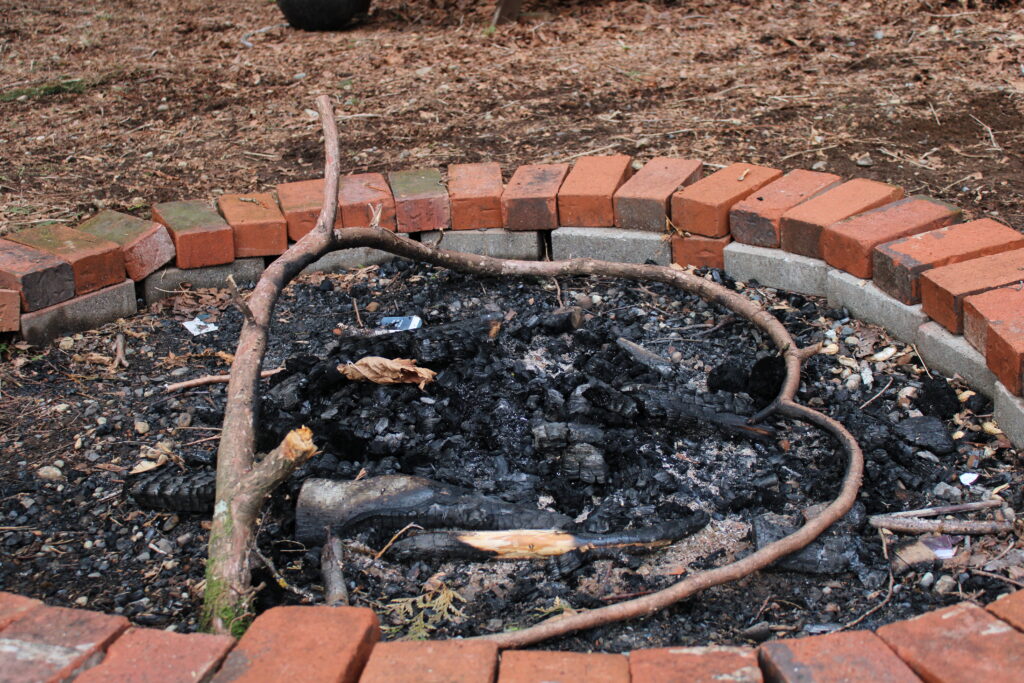
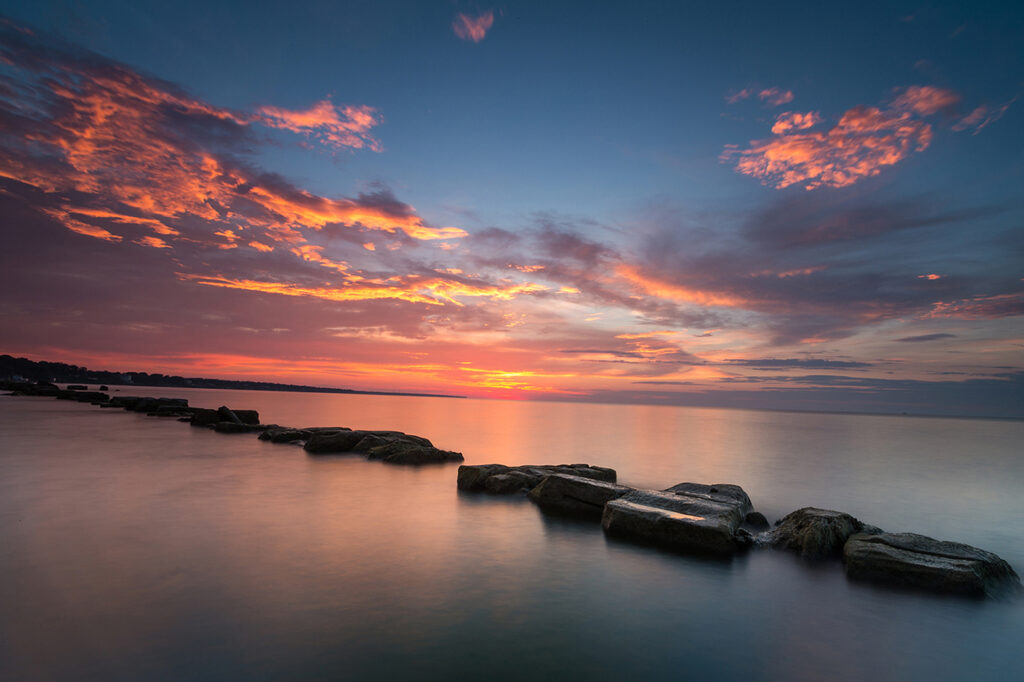
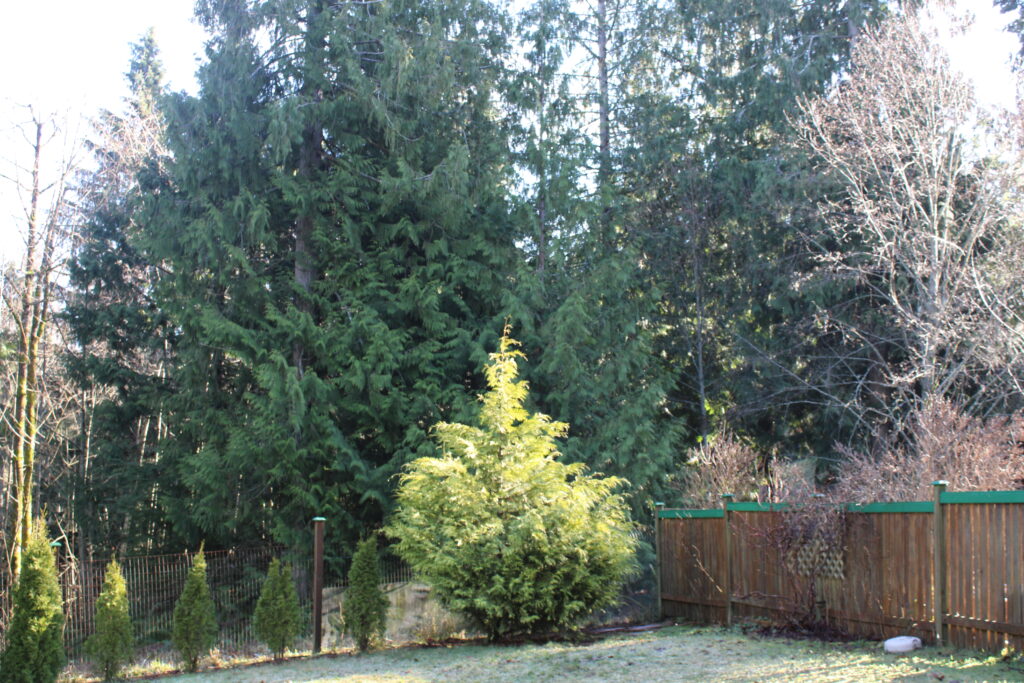
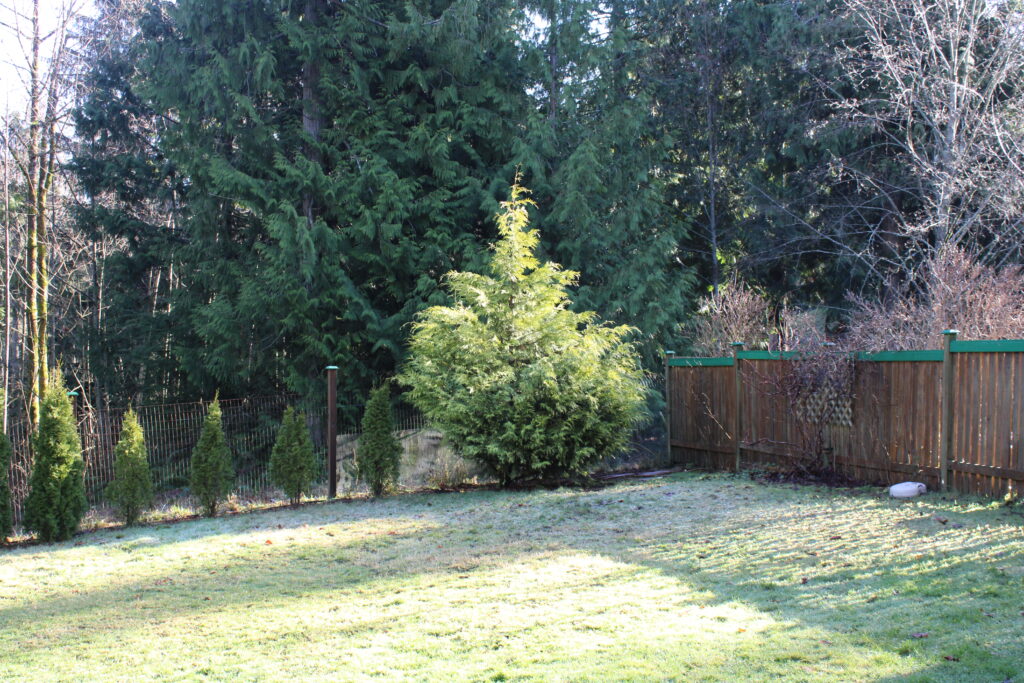
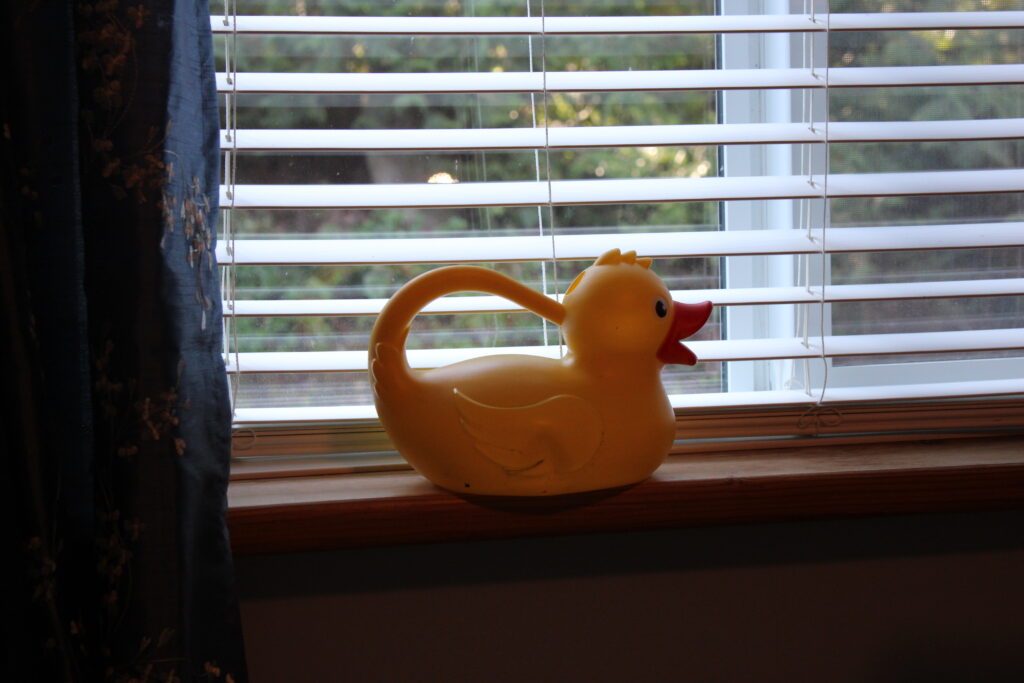
ISO100 / Shutter Speed 1/160/ Aperture: 5.6 

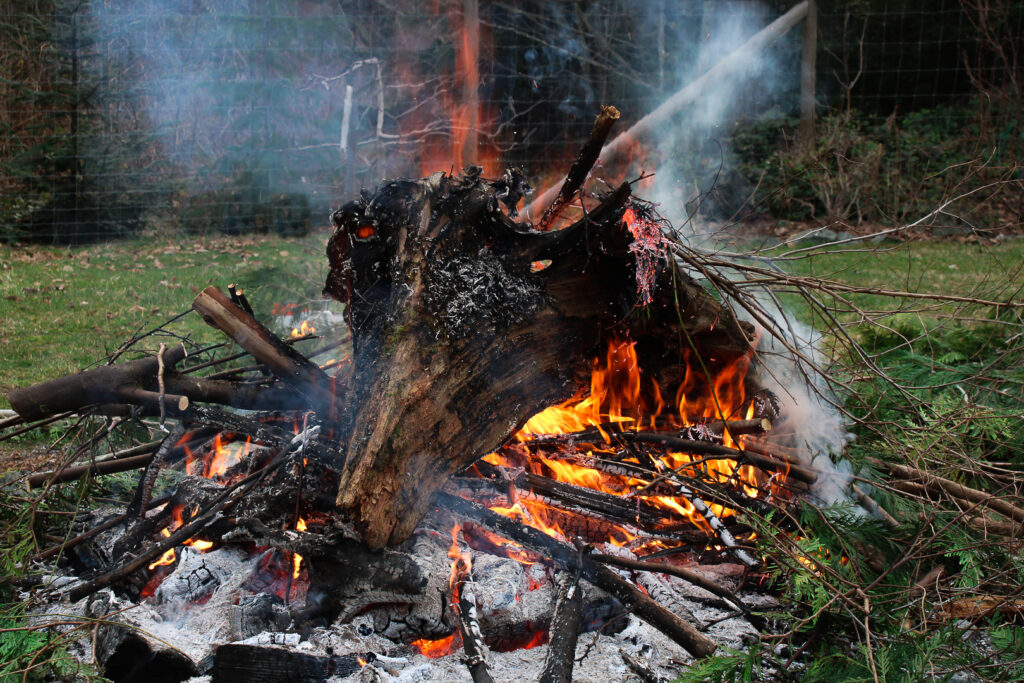
#1 Pick

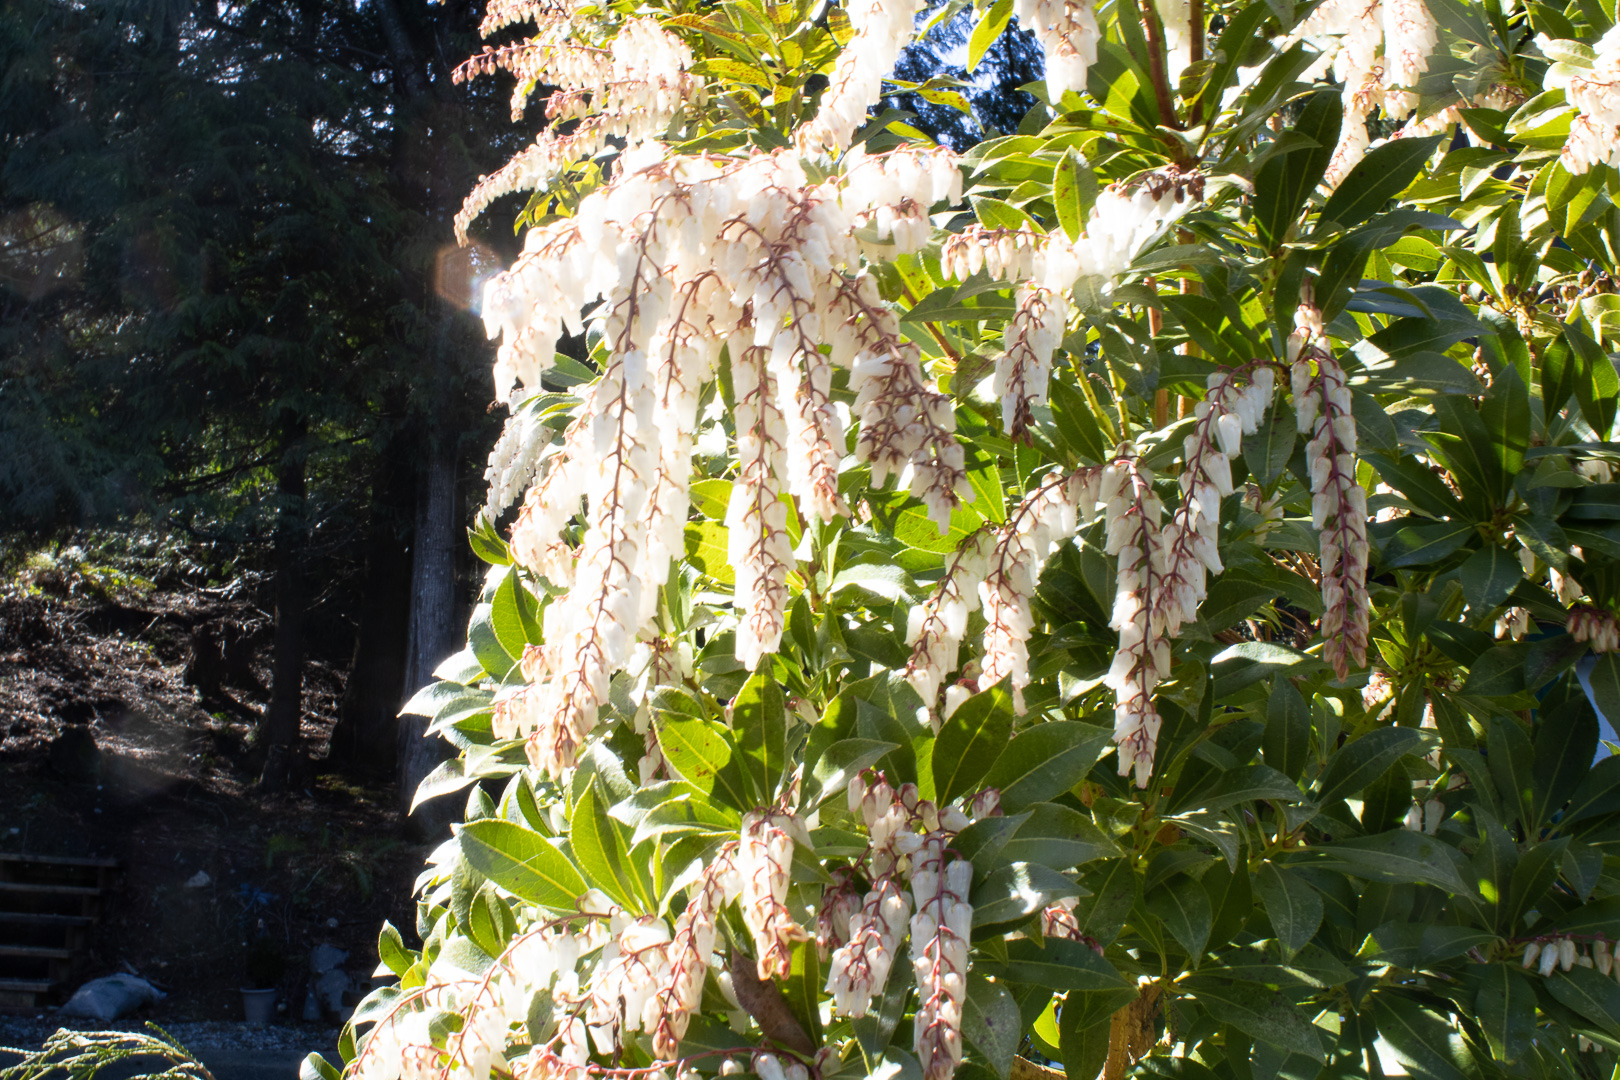
I mostly edited this in Photoshop. I took out an ugly white bucket and made the left “eye” a little more fiery. In LRC I brightened up the white ash a nd smoke a bit
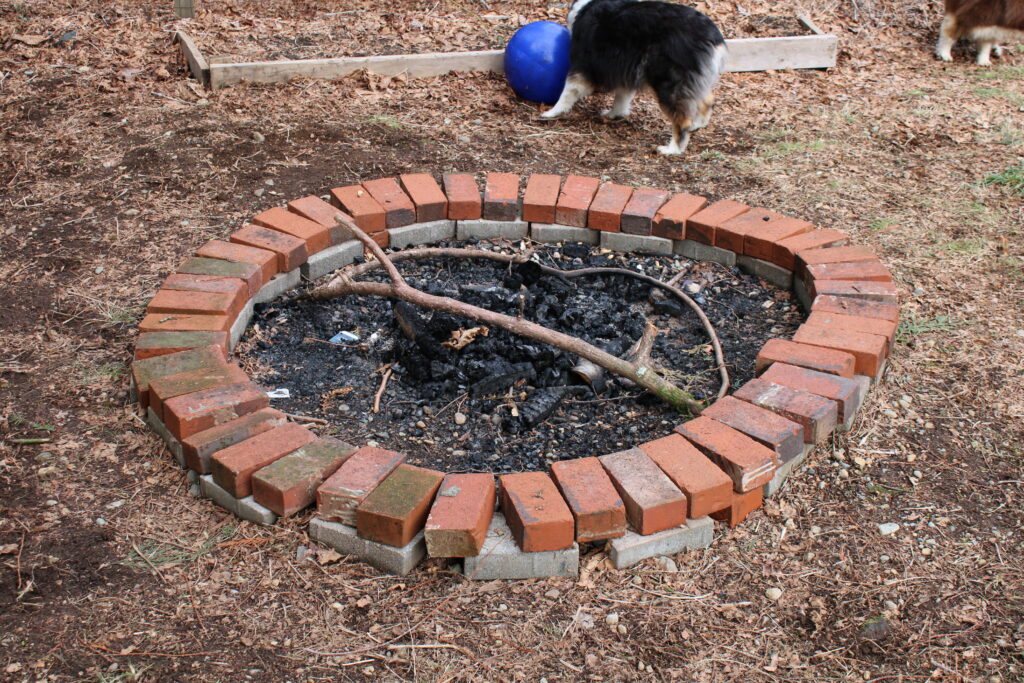
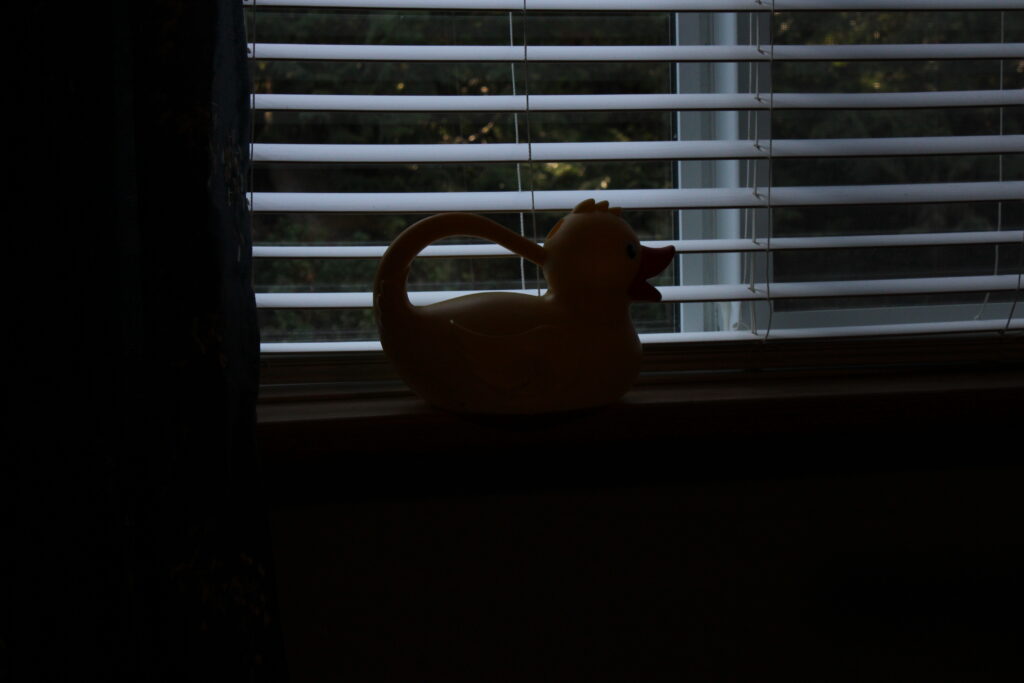
#2 Pick

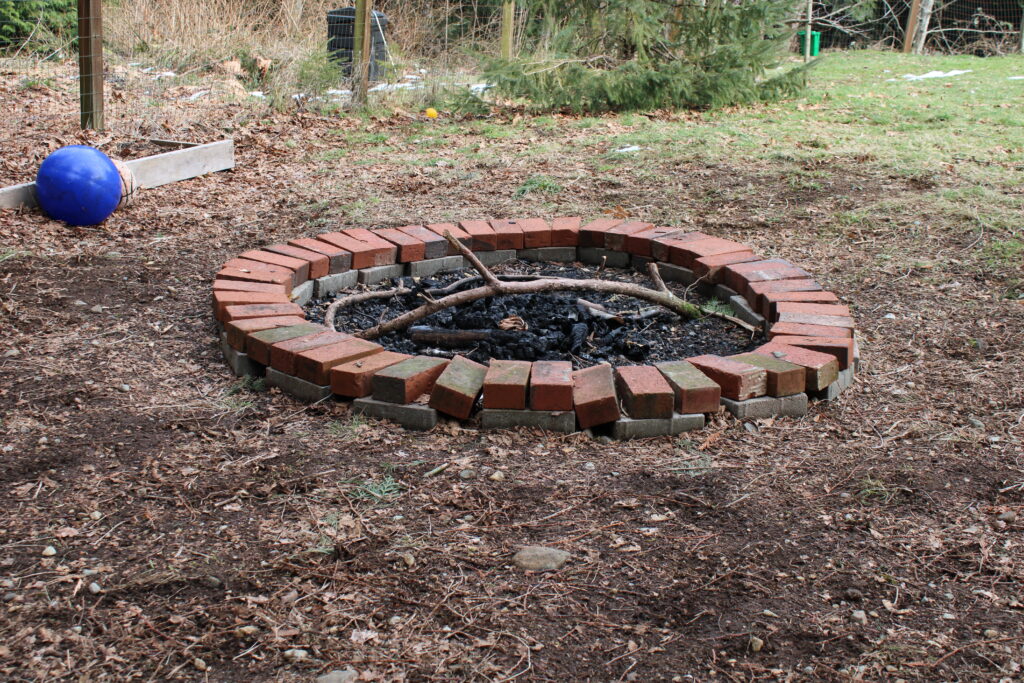
#3 Pick
March 14, 15, 16

March 14, 15, 16 Top Picks
#1 Pick
#2 Pick
March 17, 18, 19
March 17, 18, 19 Top Picks


#1 Pick
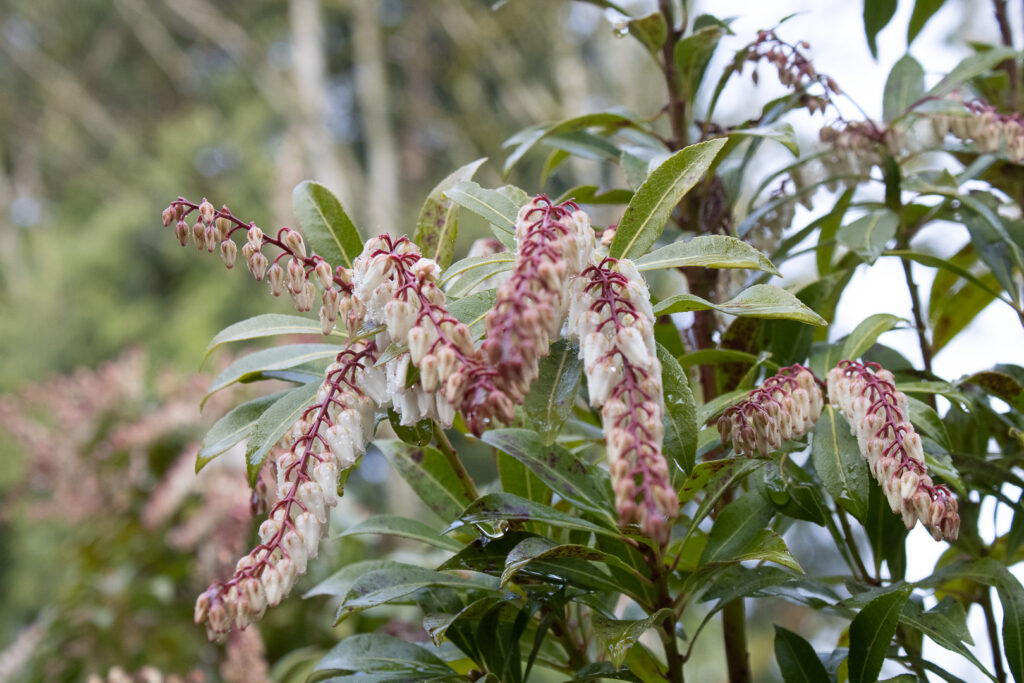
ISO 800 / Shutter Speed 1/50 / Aperture: f5.6
#2 Pick
#3 Pick

March 20, 21, 22
March 20,21,22 Top Picks
#1 Pick
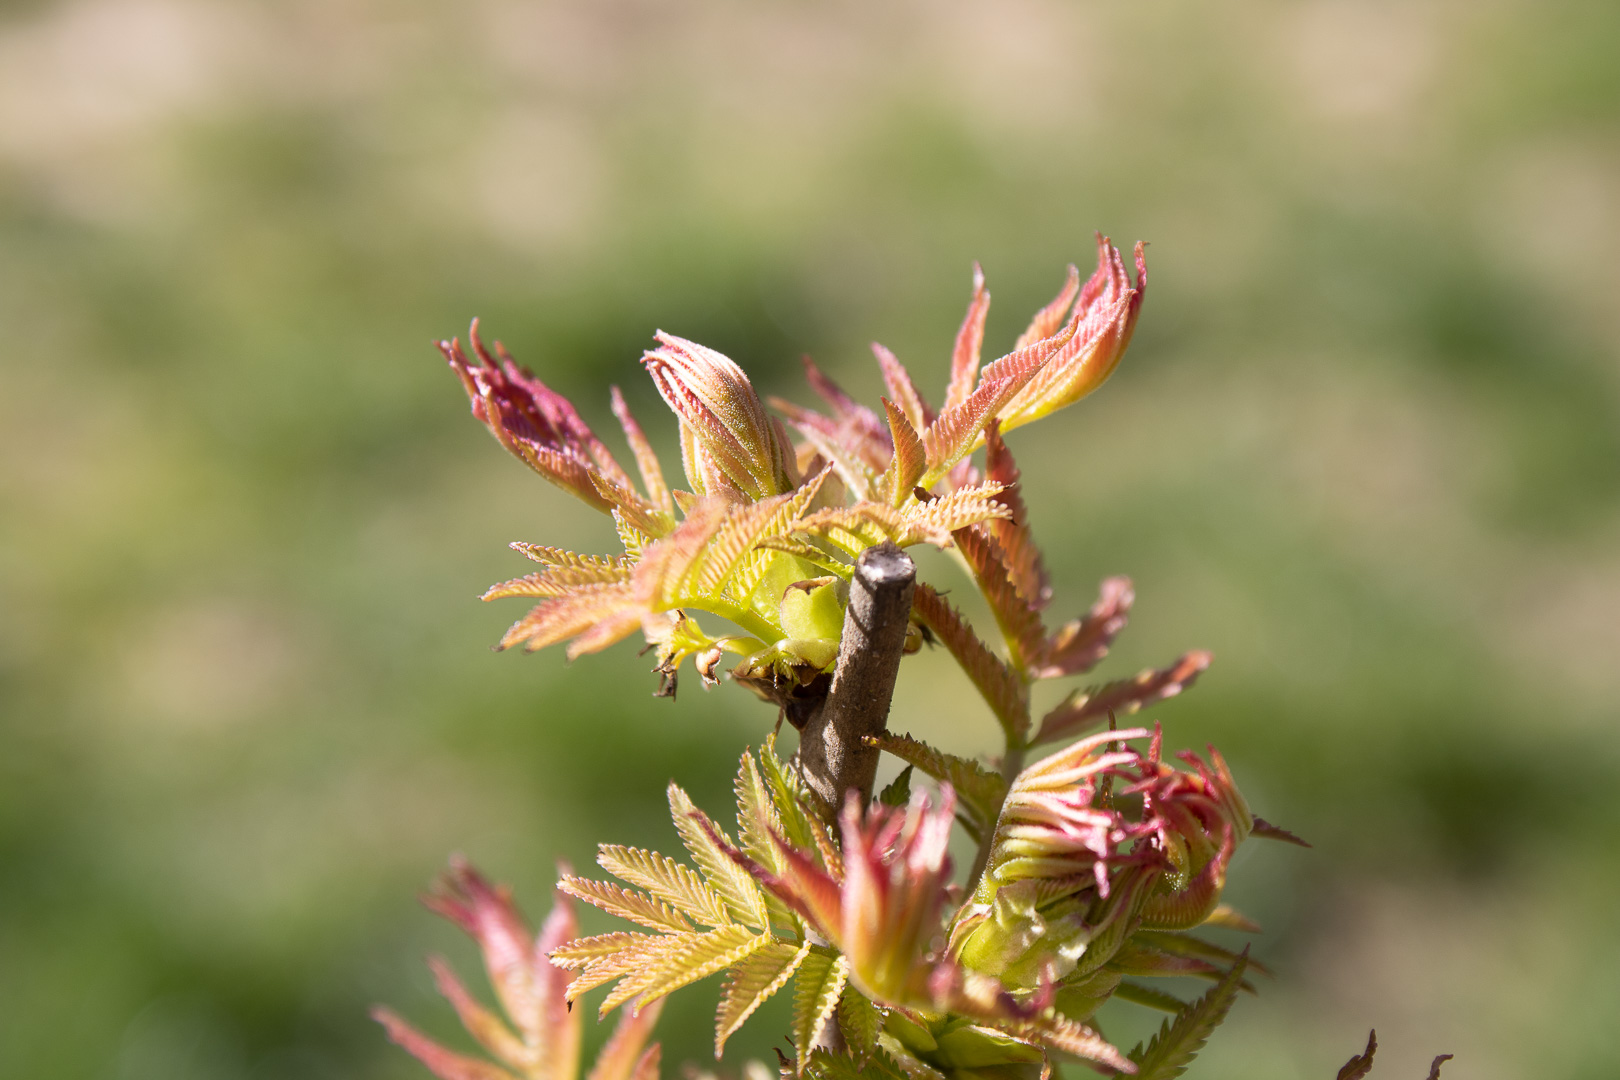
March 23, 24, 25
I went straight out after class to retake some of the same subjects. I took many photos of a limited number of things, which worked well for learning.


March 24 Top Picks

#1 Pick
#2 Pick

#3 Pick
#4 Pick
March 25, 26, 27
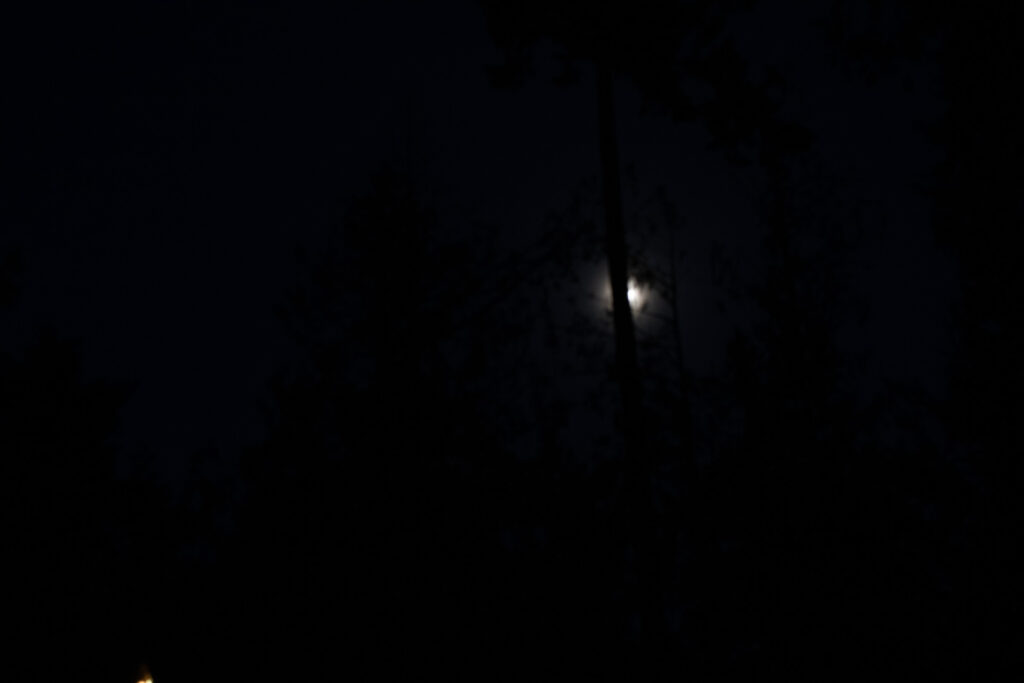
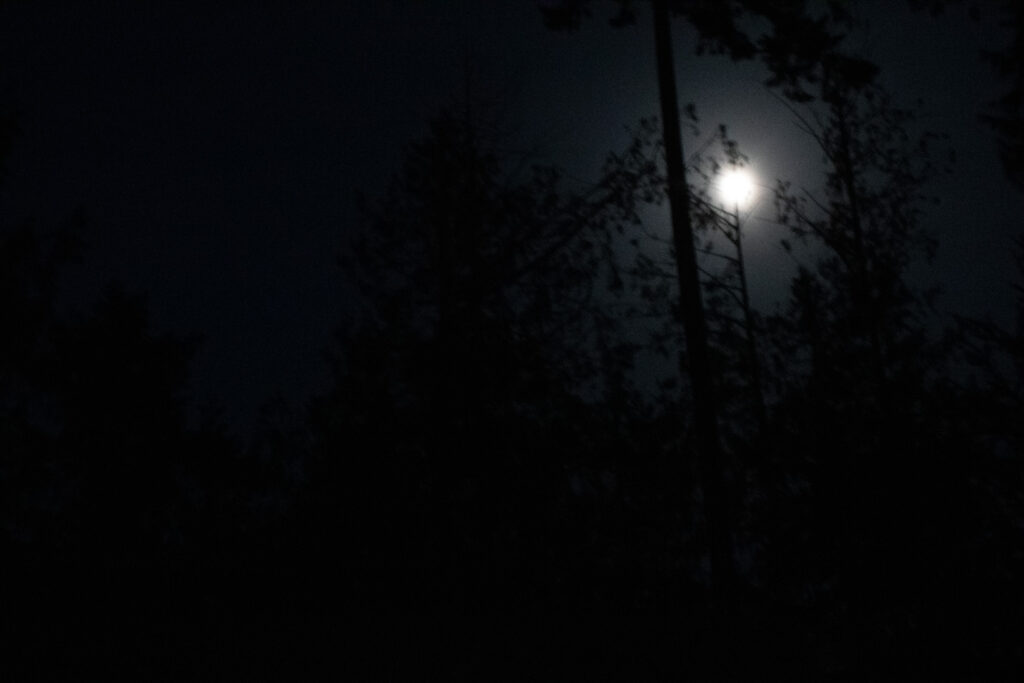
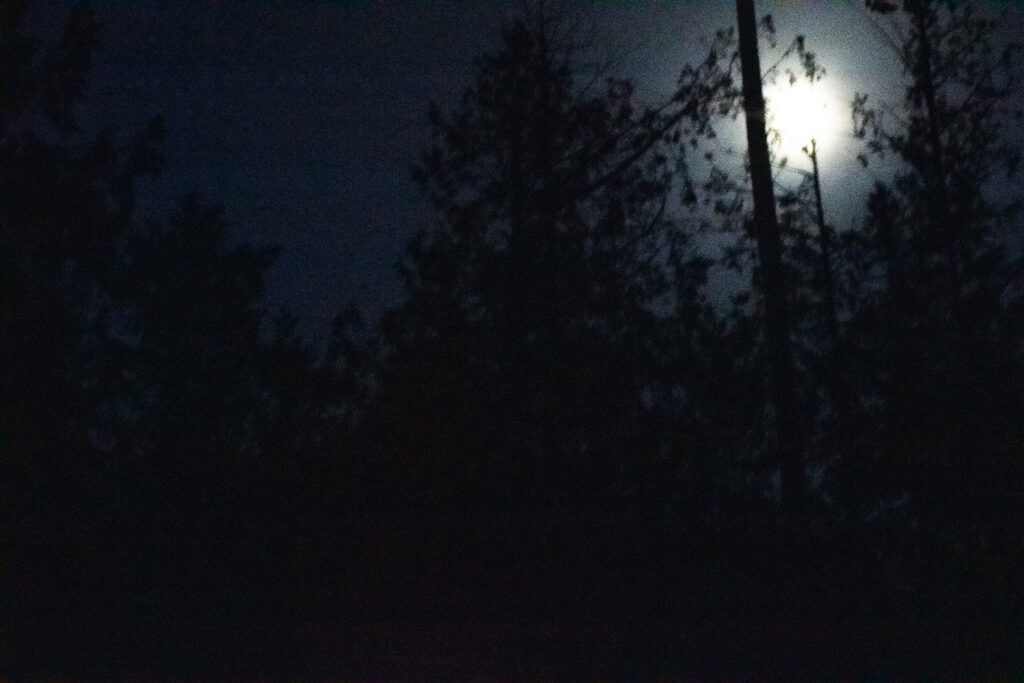
One night a friend helped me take a ton of photos of the moon. She really helped me alot! We had very very slow shutter speeds. The bad thing was, when I looked at them the next day I could see they weren’t focused! I had manual focus switched on my camera. 🙂
March 25 Top Picks


#1 Pick
March 26 Top Picks

#1 Pick

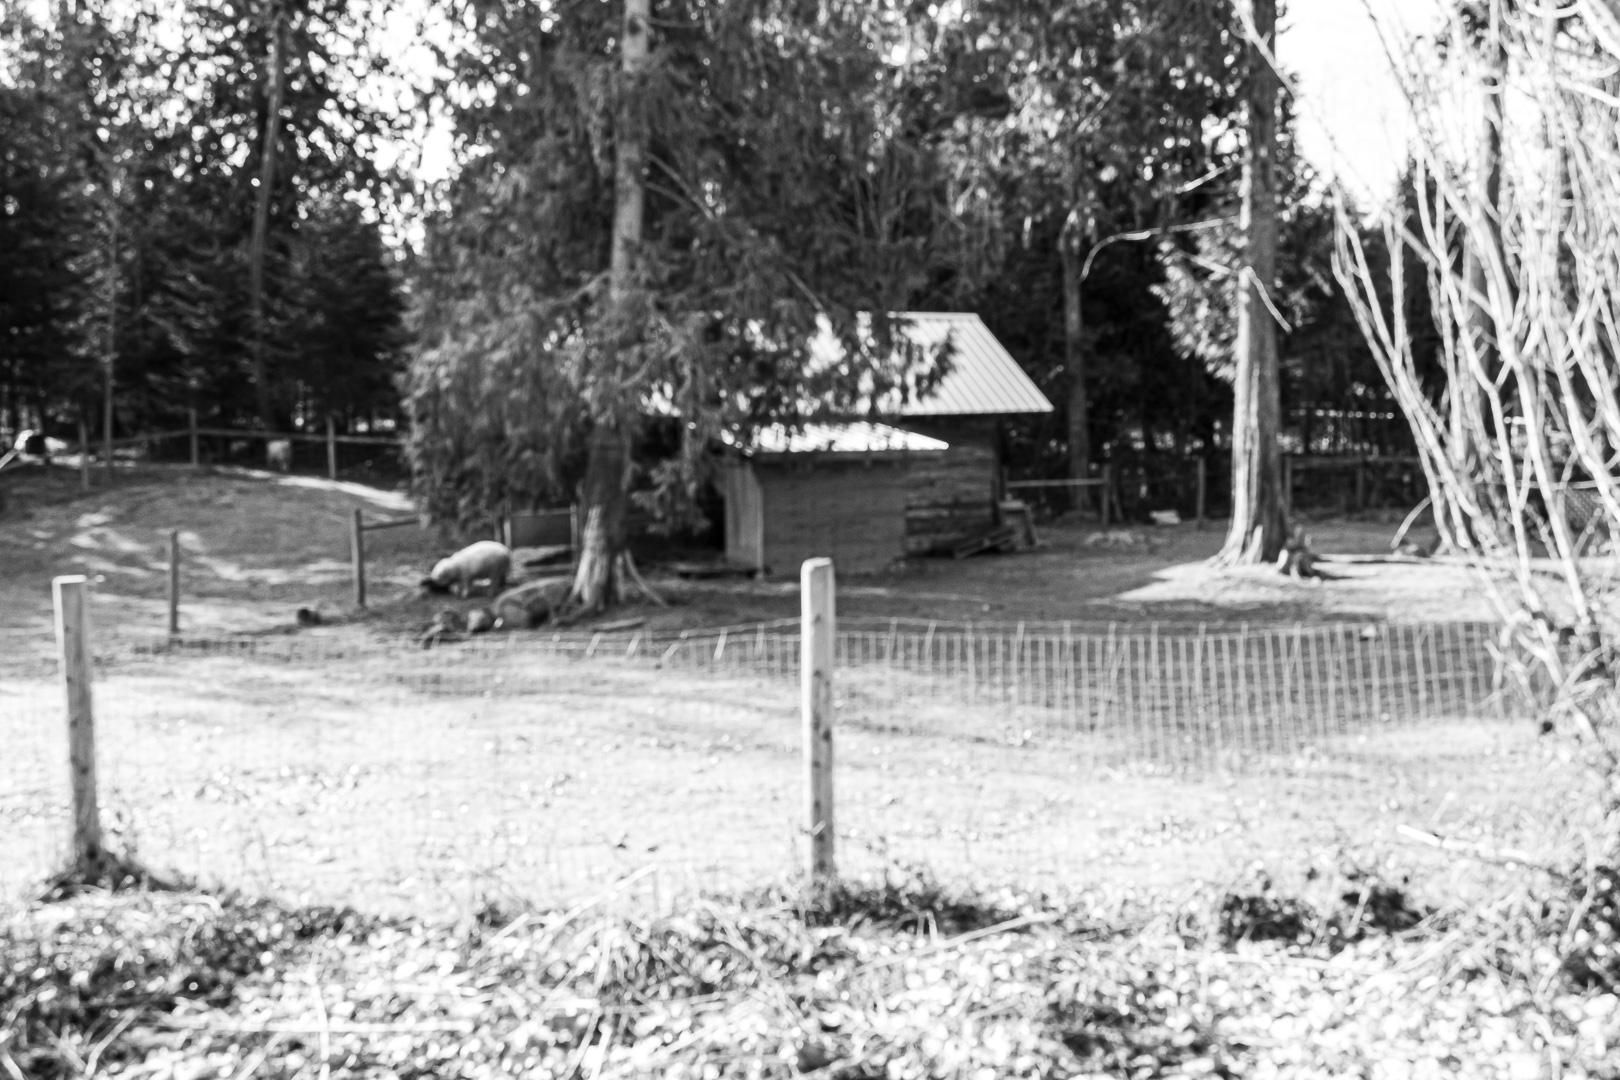
I changed this photo to black and white and developed it for exposure and lightened the whites. It wasn’t well focused, but the black and white looks interesting to me because it really looks like an old photo. 1/160 f7.1 ISO 400
March 27 Top Picks

#1 Pick
#2 Pick

March 28, 29, 30

March 30 Top Picks


Today, I took 39 photos of only 2 subjects, so that I could keep trying and trying until I could get a good photo. Both photos were taken while sitting on the ground. I am trying to figure out the difference between camera shake and poor focus. These were all taken today in manual, I have been shooting in aperture priority.
#1 Pick
#2 Pick
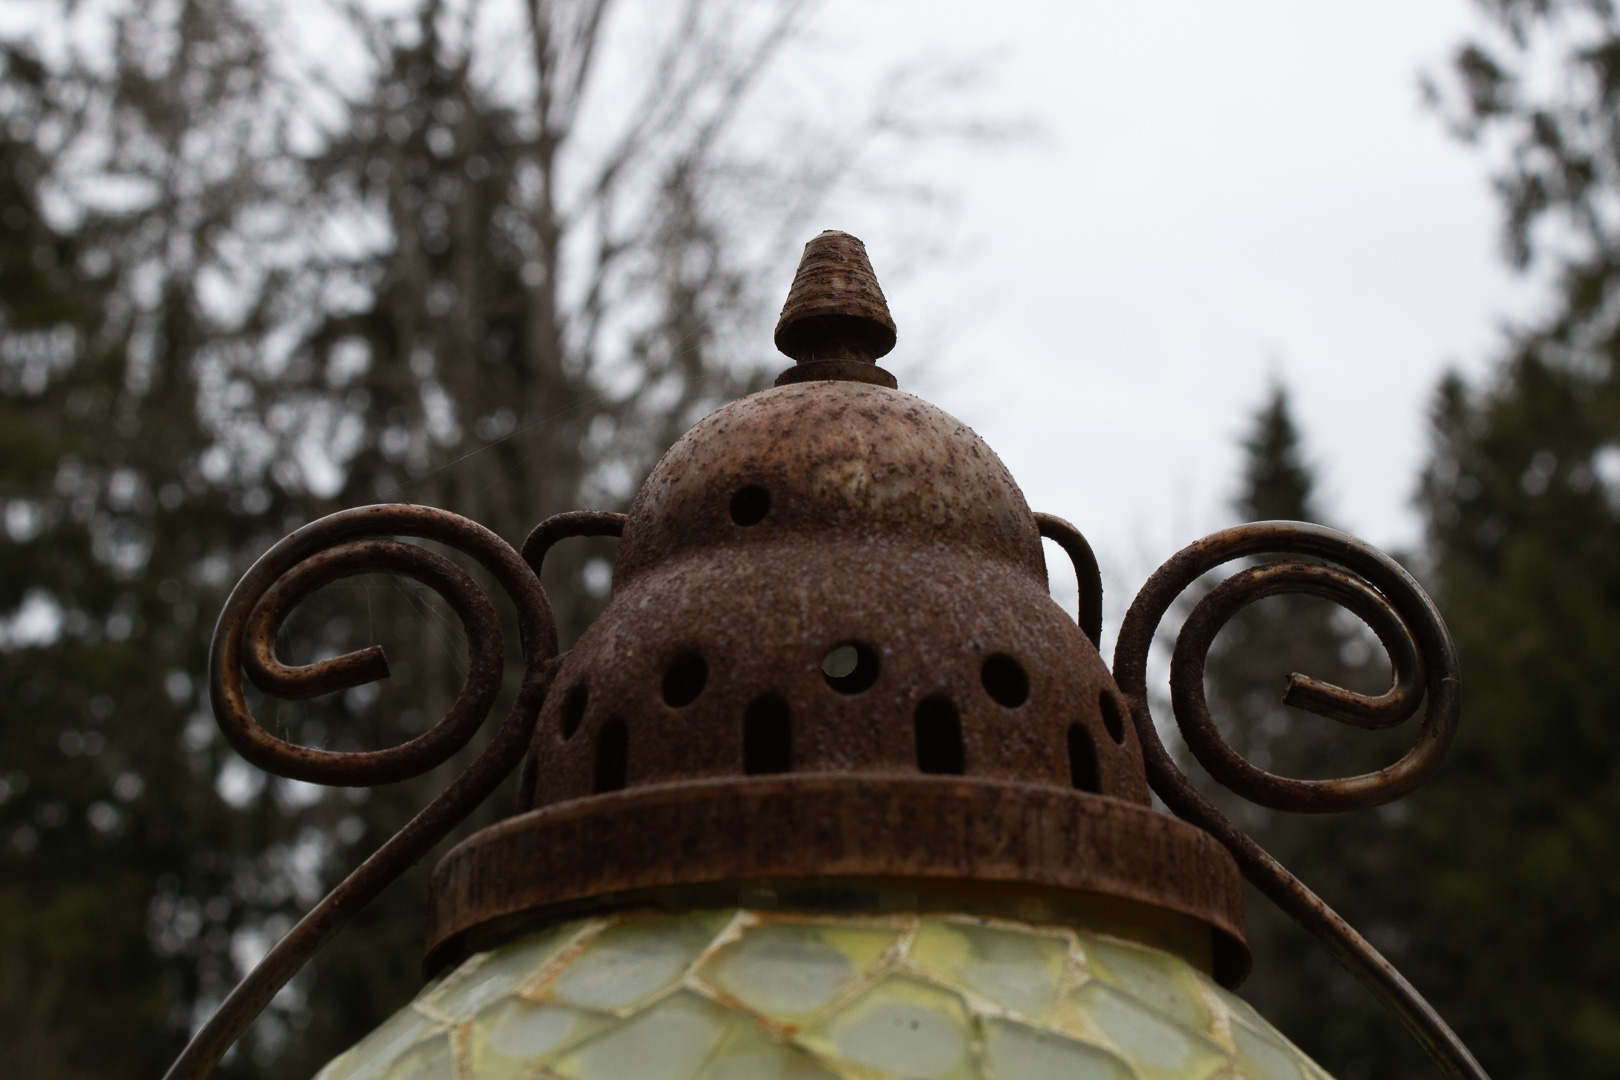
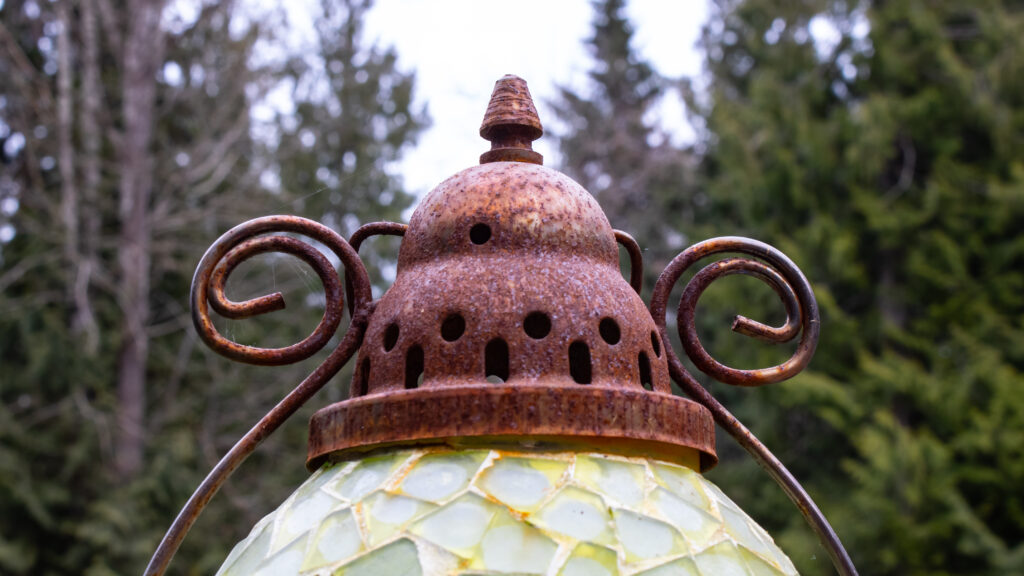
Final Two Shoots
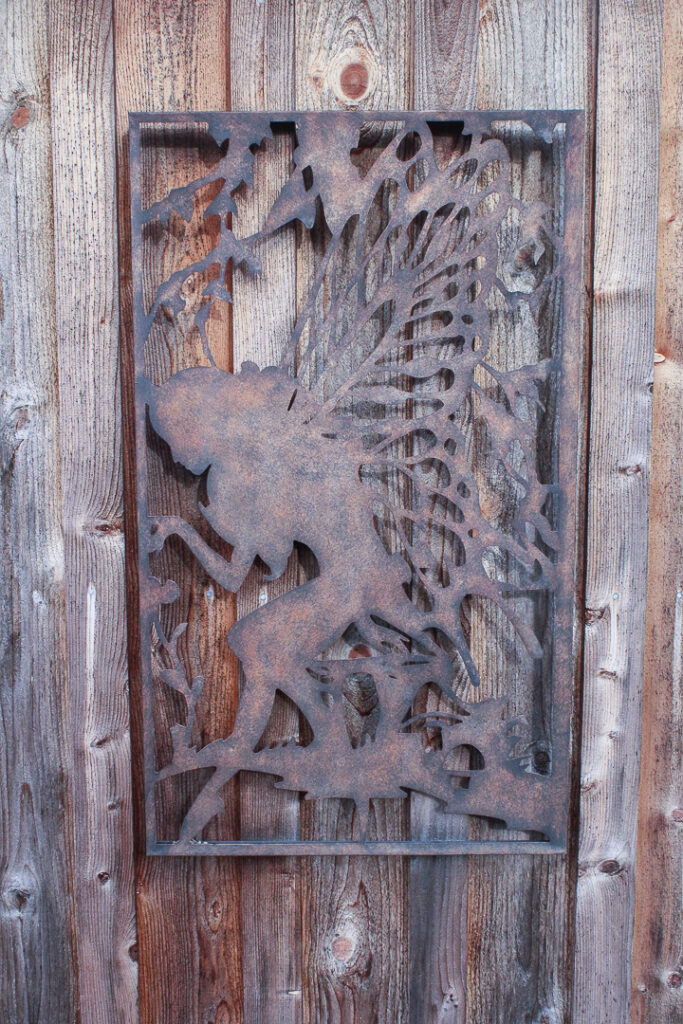
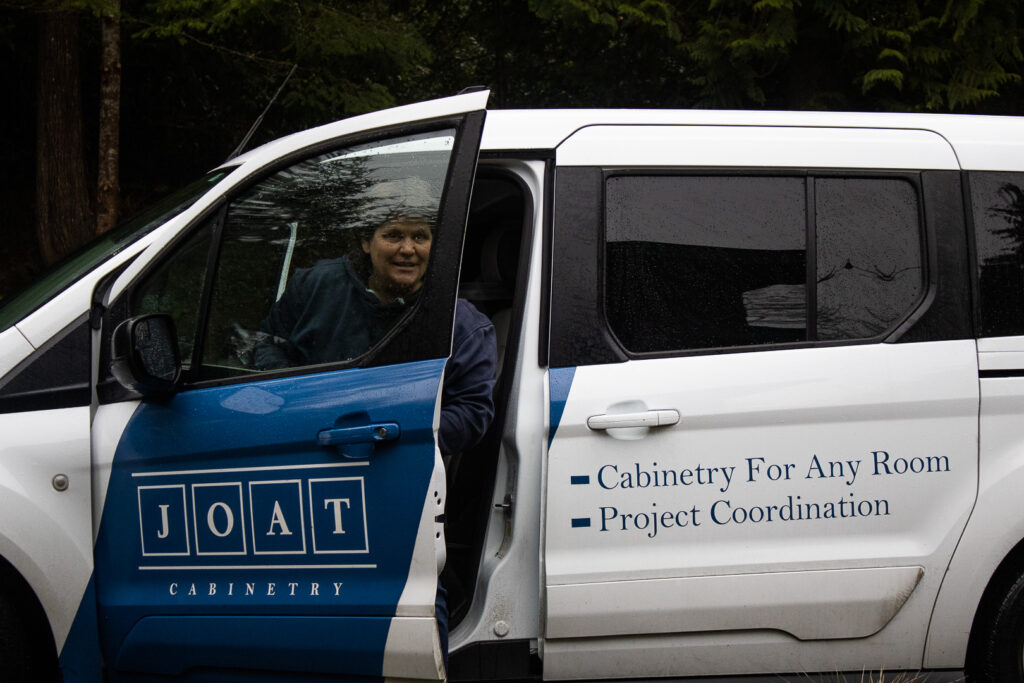
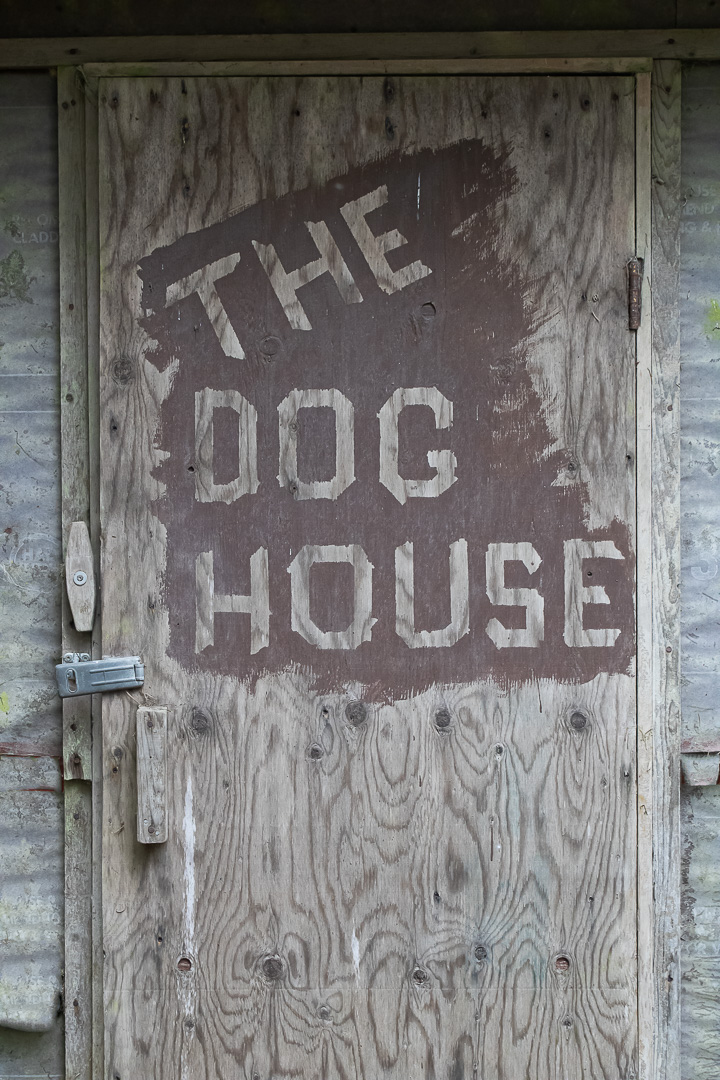
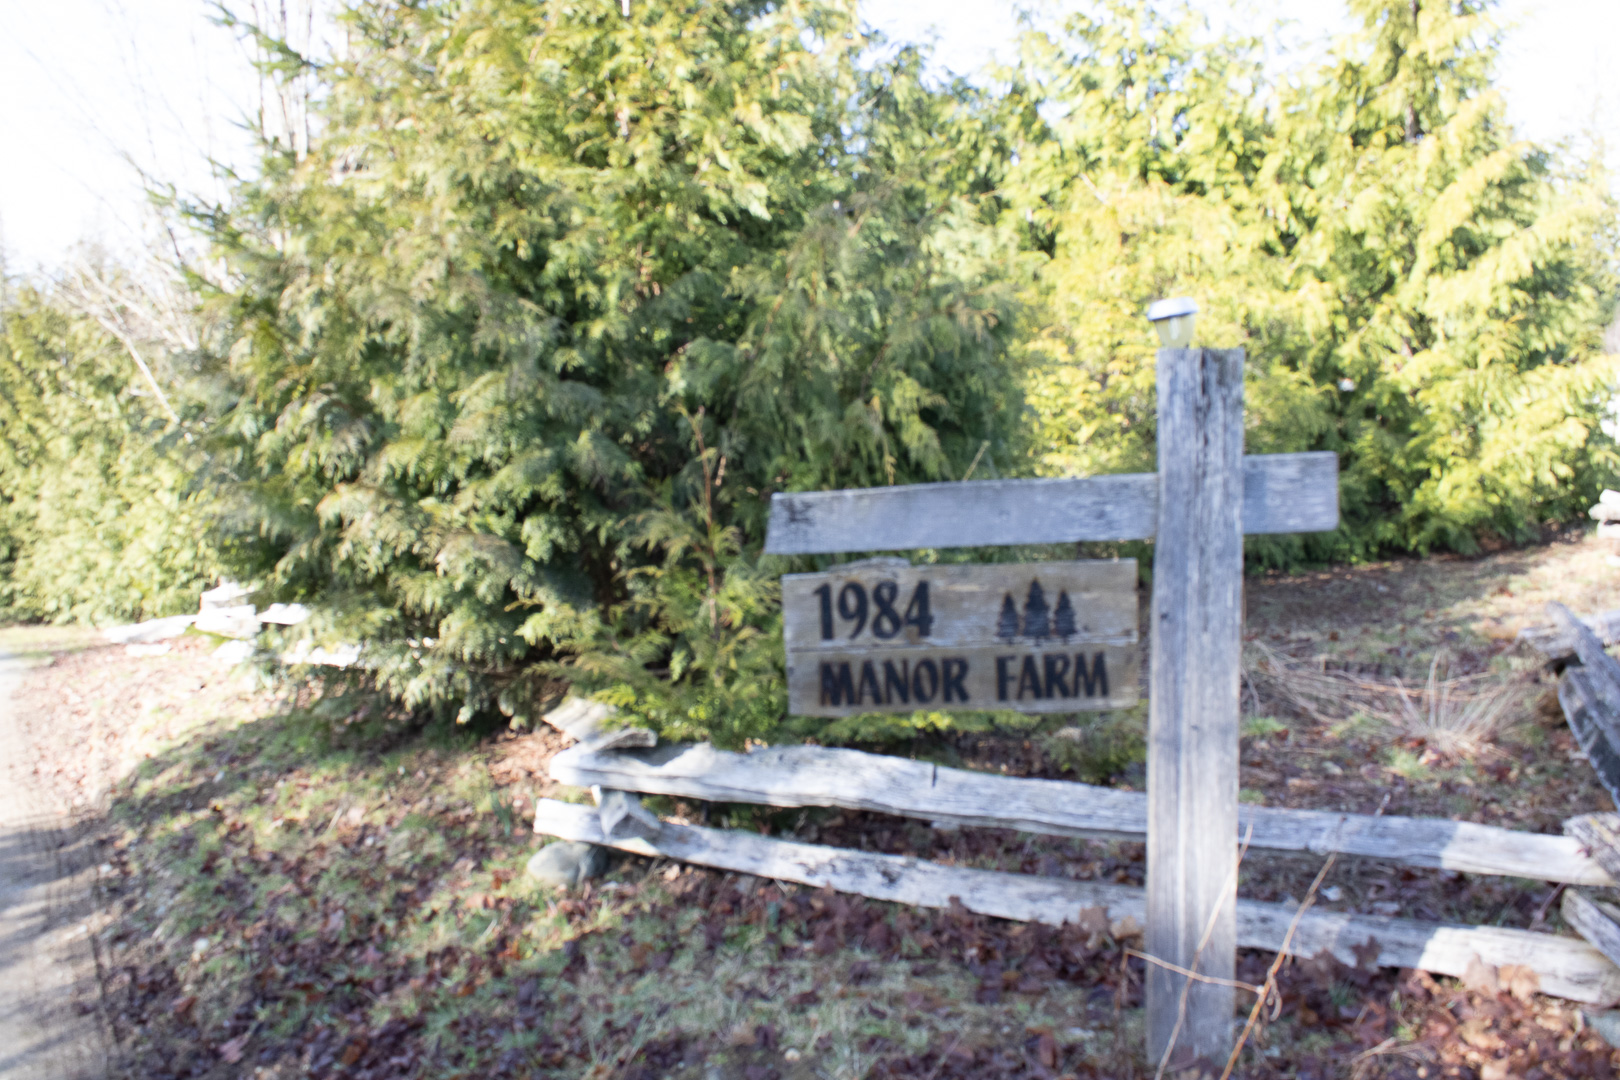
On March 31 and April 5 I took 2 final shoots to give me some more choice for my “Final 21”. This process gave me 4 shots, so I was able to remove 2 jpeg shots (the Fairy and the Sign on my house) and one shot that was underexposed (Joat shot) and from there I added and subtracted until I was happy with the collection.
March 31 Top Pick

April 5
April 5 Top Picks
#1 Pick

#2 Pick

#3 Pick
Final 21 Days Powerpoint Presentation:
UNIT-3-21DAYS_SHAWNA_BRADLEY-1Final Editing/Post Production
Once I had my selections for the 21 days, I then went back and cropped (almost all) to 16:9 ratio. I also made some final editing changes, I really noticed that as time went on I could understand more of what I was seeing, and therefore, my editing needed to change.
Here are my final shots and edits:


FIN 247 Unit 2
Emerging Forms of Togetherness During the Time of Covid
When I was thinking about what I wanted to photograph for this assignment, I wanted to work with an idea that is familiar all around the world; that family and togetherness has been lost in so many ways and we have had to be creative to make it work in each individual family. We are all so different in our approach to following public health regulations, it is a highly politicized issue and each individual needs to find balance within their family relationships to manage mental health and protect both themselves AND their community from the transmission of the virus.
In my family, there is only me, my wife, and our two active dogs. Both of our sisters live alone and are exceptionally limited in their interactions with other people, therefore, the 4 of us spend time together including in our house and out at our favorite pub: we are a non-traditional family of four. Outside of that, we do visit with two other sets of friends and my parents, but the rules are only outside and socially distanced. We recognize that technically, visiting outside is against current health regulations in our province. We have chosen to find a way to be with our closest “family” and keep our interaction infrequent, and as safe as possible.
Resources: Readings and Reflections
I chose two resources that speak to me both from a world view and from a Canadian view; the article from CBC on family isolation portraits and the National Geographic on a world paused by Coronavirus.
When I was a kid, I had a subscription to National Geographic and it continued into my twenties, until I didn’t want to haul around those magazines anymore. I was fascinated by the photography and learning about different places in the world. This hasn’t changed and I am 50 years old. It’s strange, I always considered photography an art that you had to be born talented for, I would see something beautiful or weird or shocking and say “I wish I was a photographer so I could capture what my mind is seeing right now”. In my first year of design, I have learned that the arts are so much about skills and concepts and perseverance, that I too, can learn to do these things. These photograpers in this article, mostly in quarantine or isolation, have learned to find “Quiet Magic in the Everyday” (Alicia Johnson, photographer). I am the type of person that easily finds magic in the everyday, and I hope I can learn to take pictures of what I see.
The second article by CBC really struck a chord because I still see the joy in these family isolation portraits, and I fear that after all this time, the joy is lost. It has gone on too long. These photos were taken last March, when yes, we were all very scared, but we had no idea that almost a year later we would still be inside our homes, precious time lost with young and old family members. In our family, we have missed a trip to Ontario to see our nieces and our one great niece, and now she has a sister. It is possible at this point in time we may not be able to go this summer, either. This provided some inspiration for me so I asked our great niece (she is 5) to send us some drawings in the mail. These drawings will be part of my photo essay.
Project Proposal Outline and Test Shots
Concepts and Ideas
I have chosen to photograph the people we see in the settings that we see them in; neighbors over the fence, our friends that have a huge property so we go to walk or work with them outside, our best friends by a huge fire, and my parents having a weiner roast at our house, all bundled up and joyful to see us even though we don’t kiss or hug. Most Thursdays, “the 4 sisters” go to our local pub, we know the servers now by name.
I have organized my shot dates and warned my subjects it may have to happen more than once, with the exception of a last shot in Parksville (we have planned a 1 night getaway on March 5) , this shot will represent the time with my wife.
Production Approach
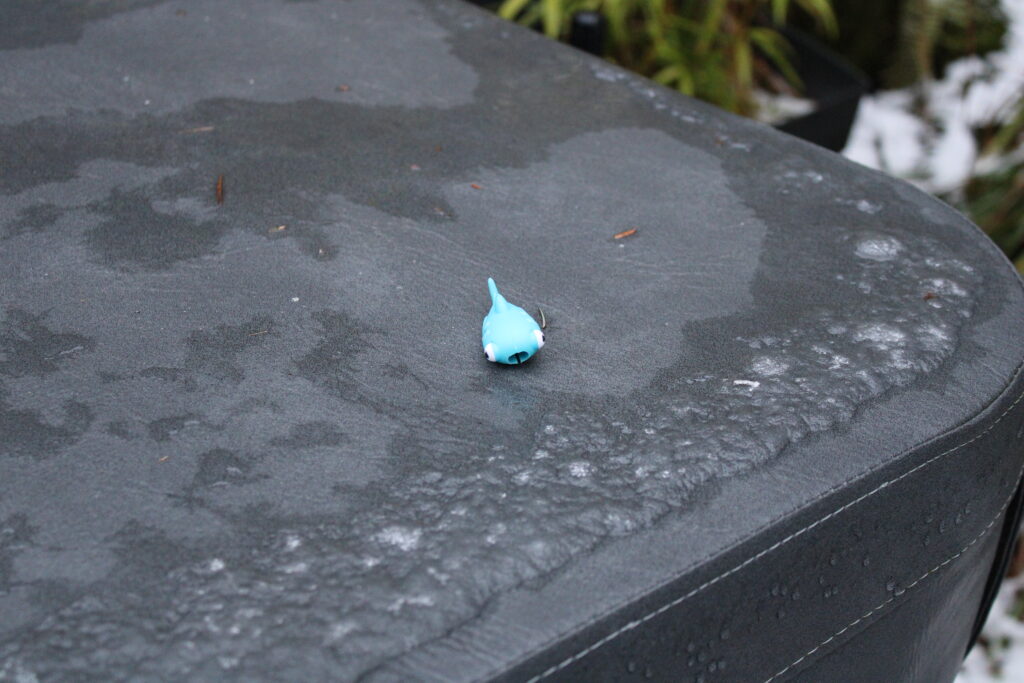
I intend to do test shots at the time of day that I will actually take the shots, so I can figure out the lighting beforehand. In terms of elements, I want to use a small bit of color (yellow) in most shots, if not all, to represent the tiny bit of happiness in most situations. At this point in time, I have 9 shots planned. I hope to begin the series with an opening image and I will experiment afterwards. My plan is for my opening image to be the drawings of my great niece, but I am still thinking about the composition of that photo to make it a tiny bit more clear what it is about. I am also really interested in texture, and I am hoping that one of my fire shots can focus on the texture of a piece of wood, with my best friends’ hands in the background feeding the fire. My plan is to create some contrast between the different compositions using scale. For example, one of my shots includes a tractor, and one includes a rubber duckie. The question is will it be more interesting to reverse the natural scale? A big rubber duck and a small tractor? One of my shots is our neighbours standing at the fence. The family is the two older parents, and the young mom, dad, baby and ten year old. I want to make it casual and informal, and will include my yellow coffee cup. I am hoping to take this shot from an angle to make it more casual.
Shot List:
- Drawings from a 5 year old
- Weinie roast with the folks
- Sisters night out
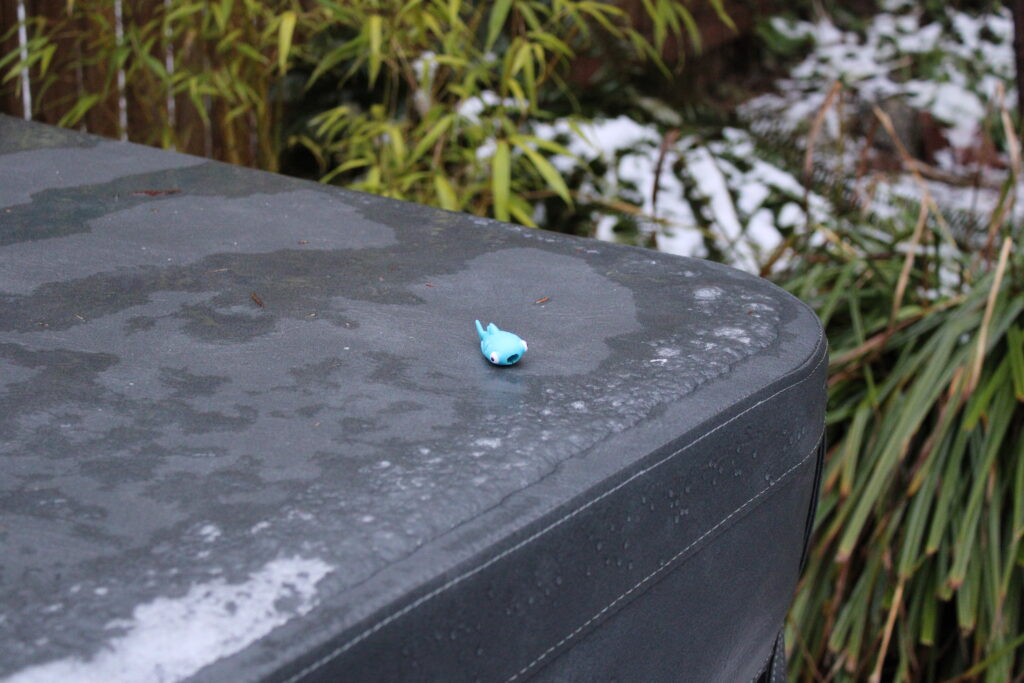
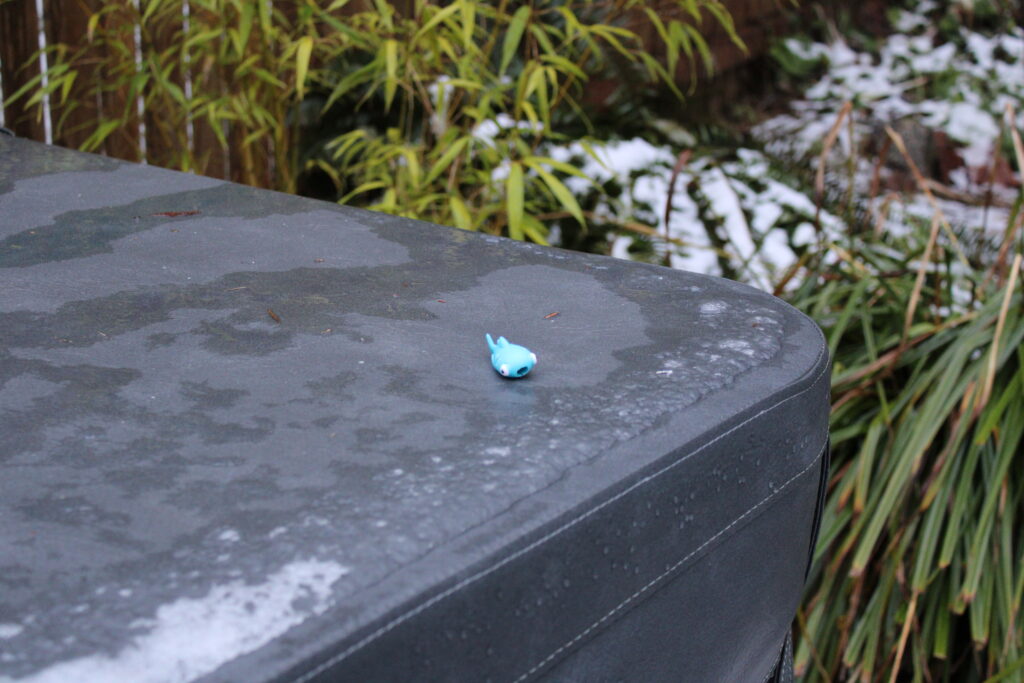
- Hot Tub Time with wife (rubber duckie shot)
- Deck at girls (Casey dog with yellow toy)
- Neighbors at fence
- Tractor shot
- Huge fire with Denise and piece of wood
- Beach at Parksville with wife in yellow boots and coat
Detailed timeline
Feb 24
3 test shots: Backyard fireplace at 3pm, neighbours fence at 11 am, friends tractor at 1 pm.

I now have 3 “cards” that I will take on my first three shots to help me with settings, composition etc.
Feb 25
Photography class in am. Take any feedback and apply it to my project.
Sisters night out shot.
Feb 26
Collect “yellow” items for all shots. Confirm plans and timing with all subjects for the weekend.
Check and work on sisters night out shot in post production.
Drawings shot.
Check and work on drawings shot in post production.
Feb 27
2 shots this day:
Hot Tub (rubber duckie shot) at 5pm
Deck at girls at 3:30pm
Feb 28
3 shots this day: Neighbors at 11am, Tractor at 1pm, Family Weinie Roast Shot at 3pm
March 1
Post production :
Tractor, Neighbors, Weinie Roast, Hot Tub, Deck
March 3
Present Revisions and Shots 1-7
March 5
Parksville Shot
March 7
Huge Fire shot
March 8:
Post Production Fire shot and Parksville Shot
March 8
Arrange Composition and Shots in WordPress
Wed March 10
Blog Post 3 : Final Series and reflection statement
Thursday: March 11
Present work
FIN 247 Unit 1
Technical Assignment 1: Photoshop Tutorials
- Get to know Photoshop
2. Change the image size


3. Adjust the image quality

4. Crop and straighten photos to improve composition
5. Save a photo in the best format for your needs
Camera Technical Exercise 1
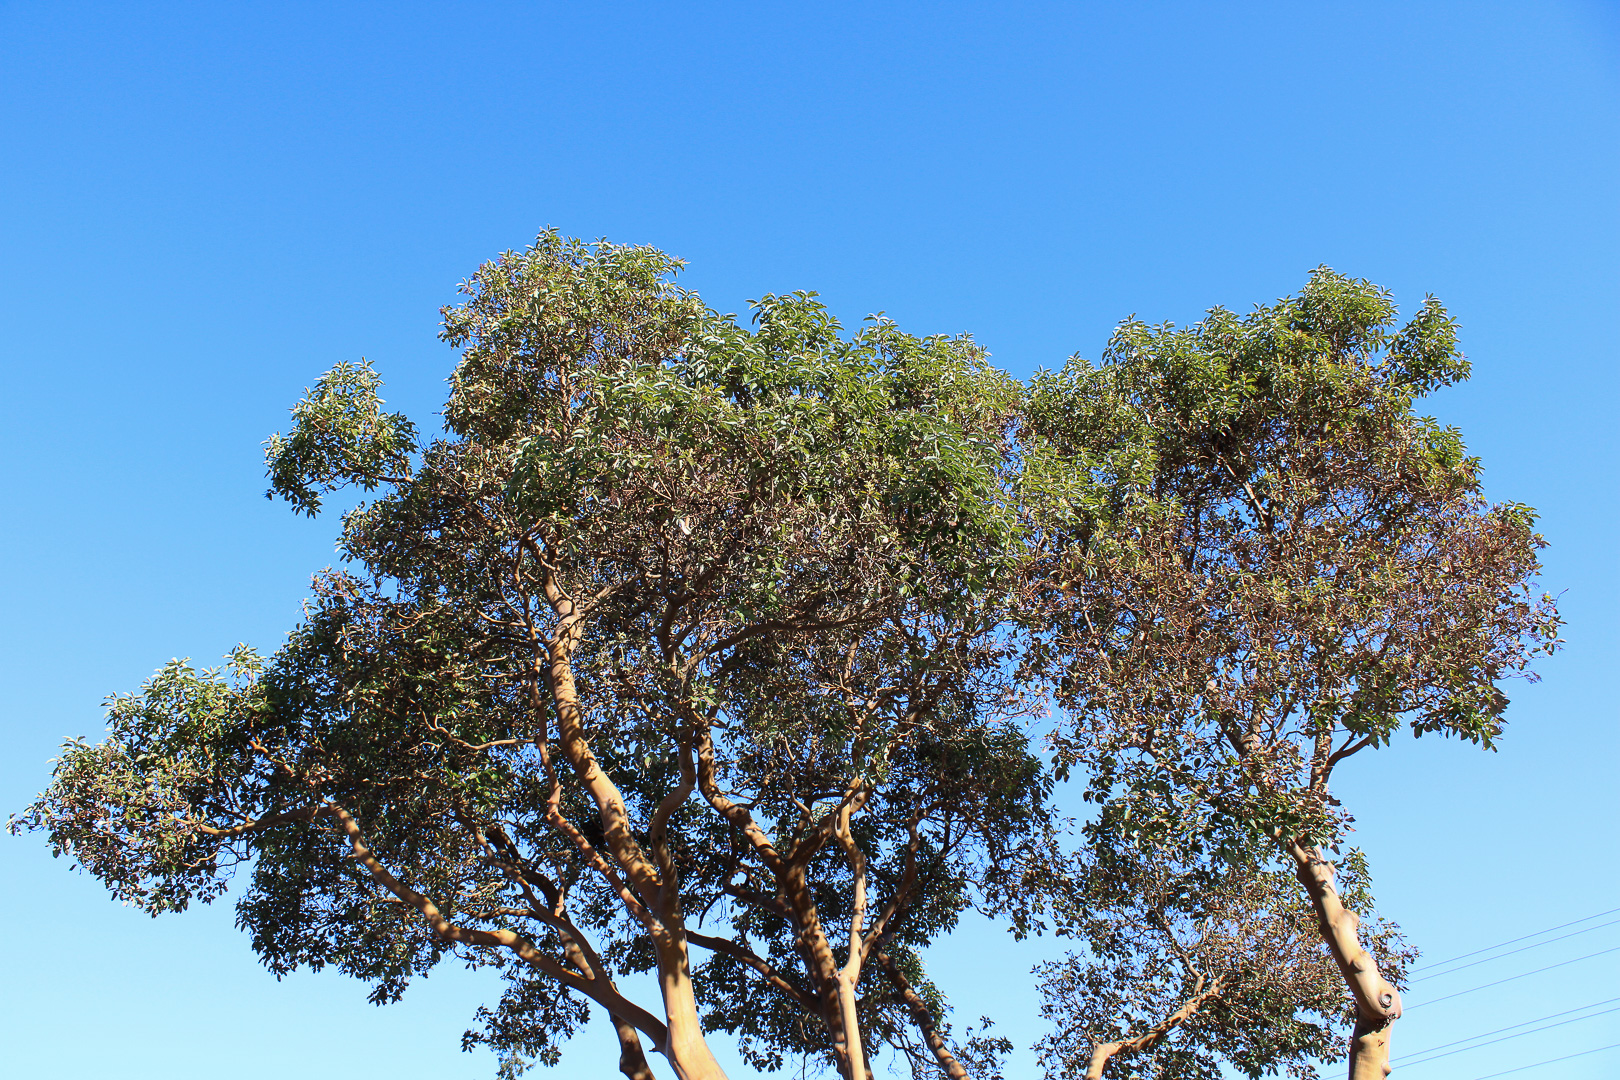
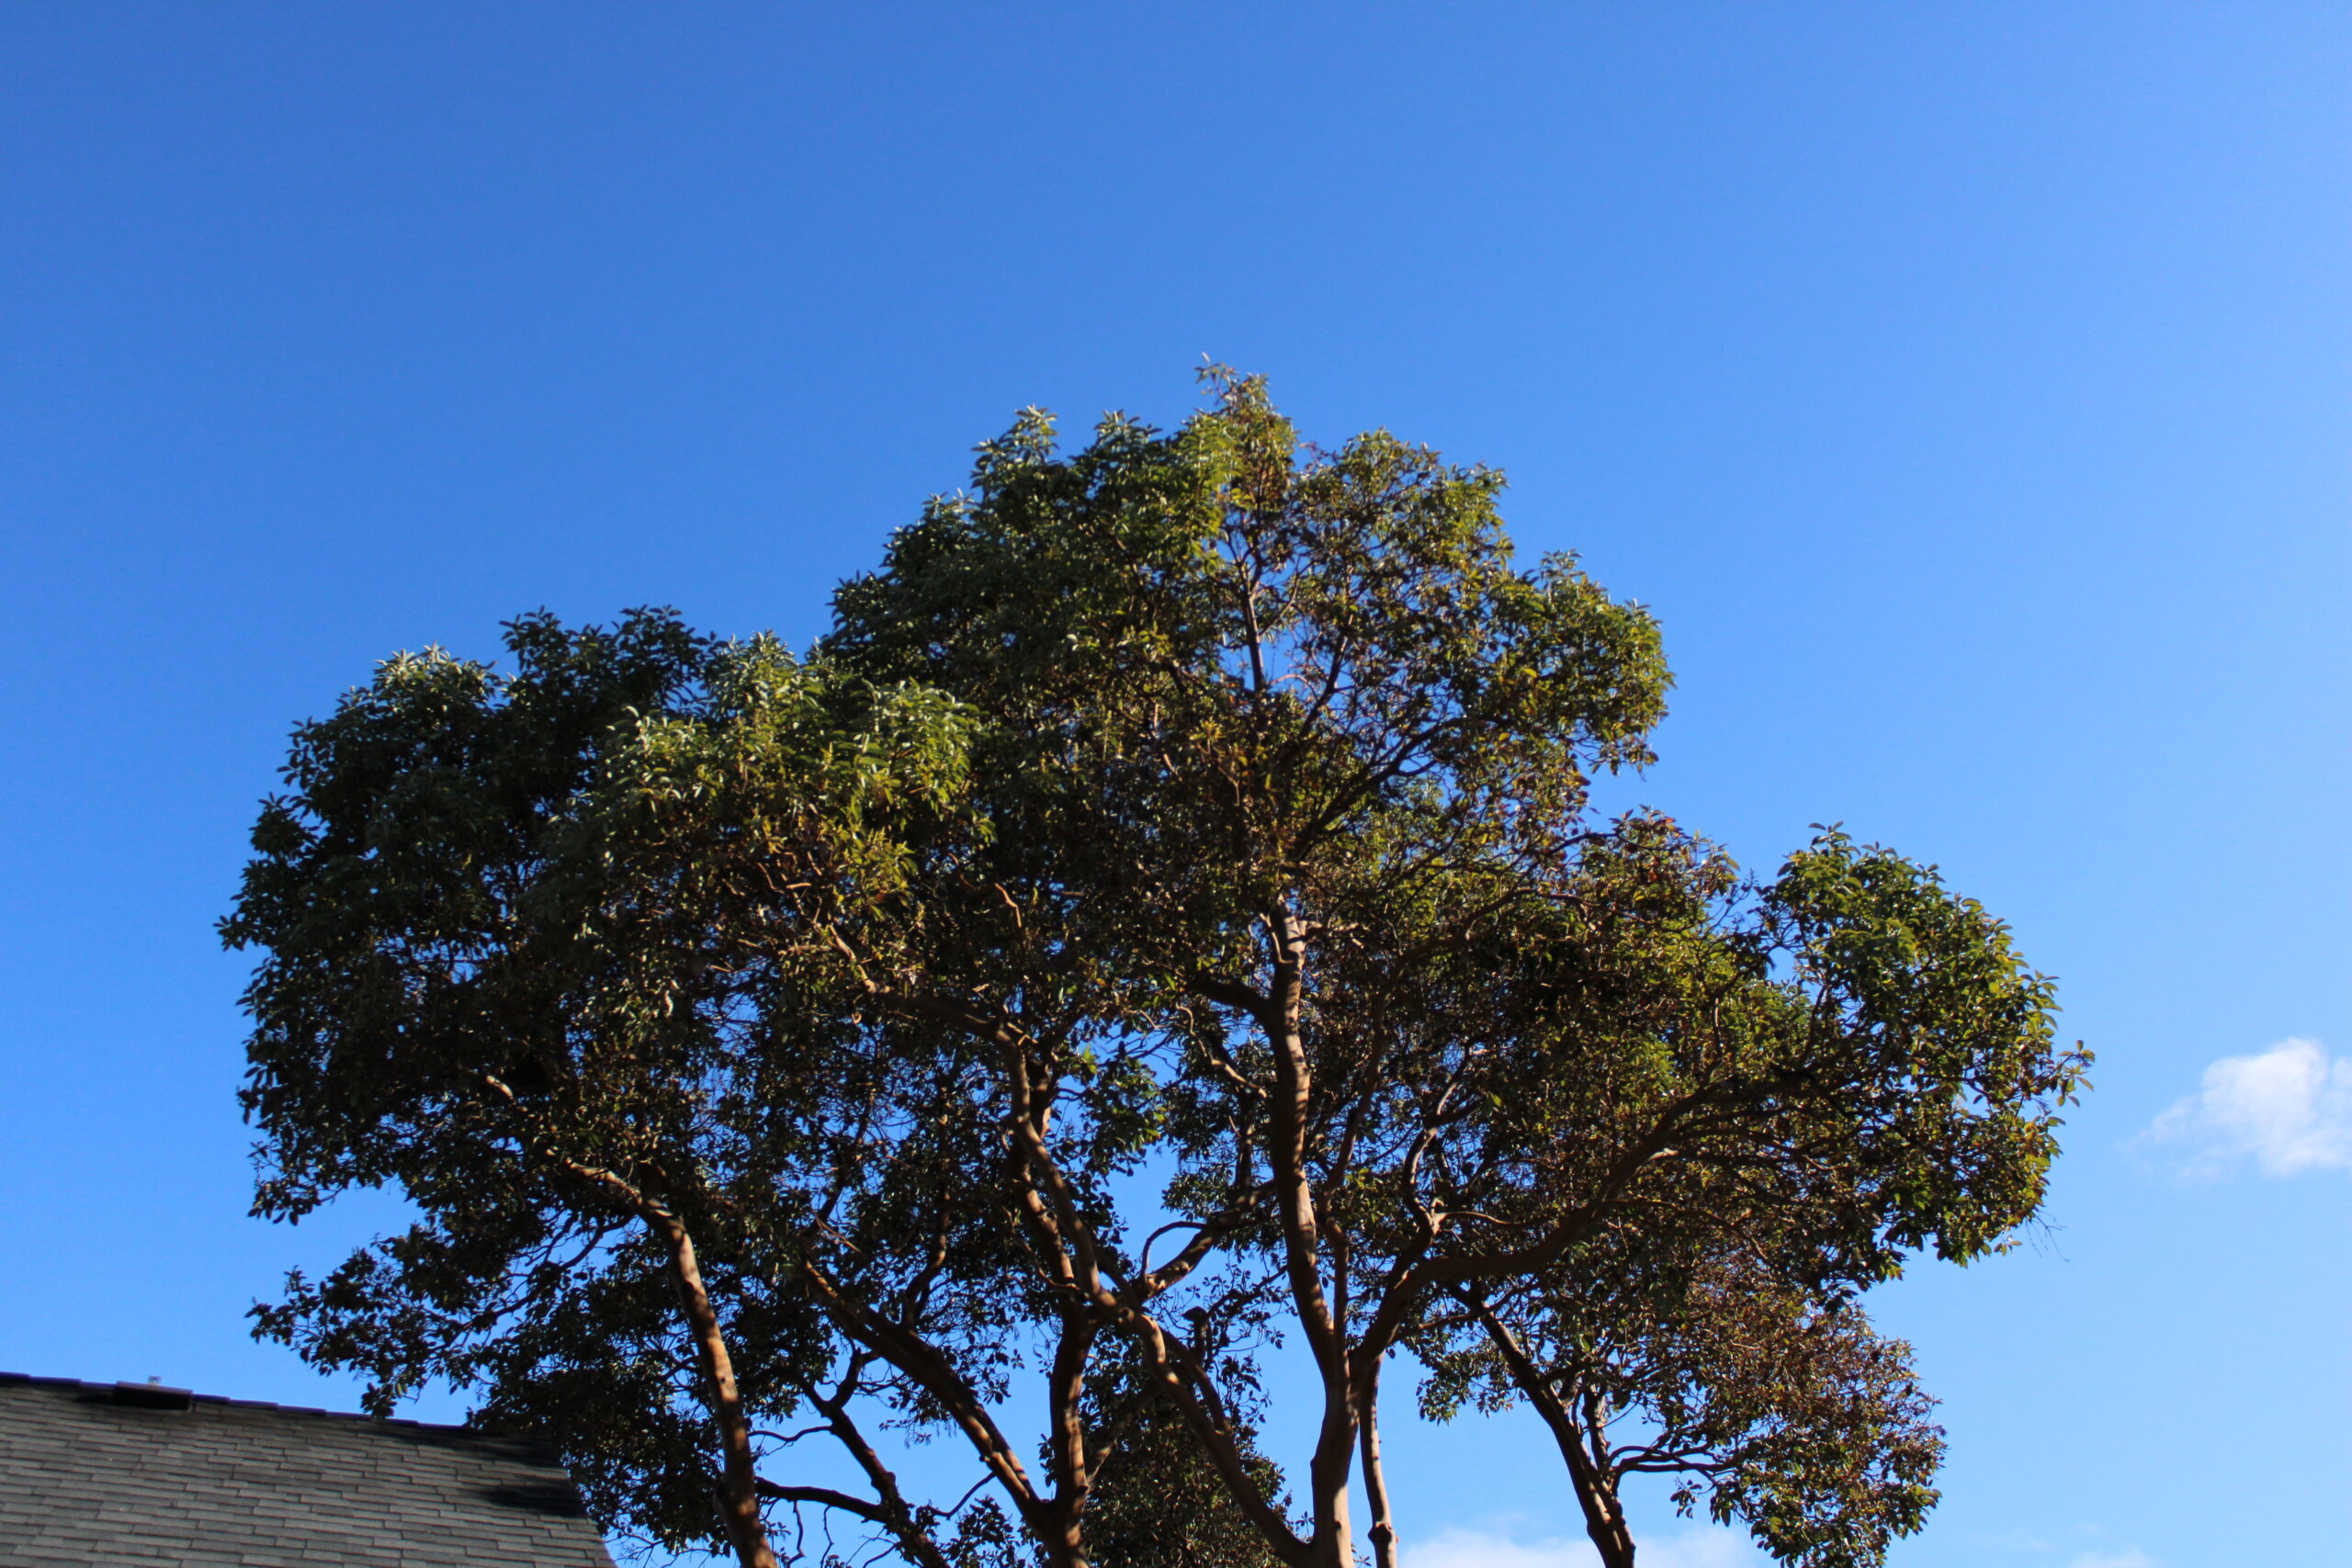
On my camera I have:
Partial Metering, Center Metering & Evaluative (Matrix) Metering
On the bright area of the photo (the top of the tree) the F stop stayed the same on all settings. (5.6)
On the mid value area of the photo (the middle of the tree) the F stop ranged from 6.3-7.1
On the dark area of the photo the F stop ranged from 7.1-9.
So what I think this means is the bigger numbers in the dark area of the photo have the smallest aperature (which didn’t let as much light in).
Tech Exercise 1- Part 2
Technical Exercise 2 – Camera Exercises 1-6
1.Shallow Depth of Field
2. Deeper depth of field
Ex 1 ISO 1250 SS 1/250 F 5 
Ex 2 ISO 1600 SS 1/160 F7.1 
Ex 2 ISO 1600 SS 1/160 F5.6 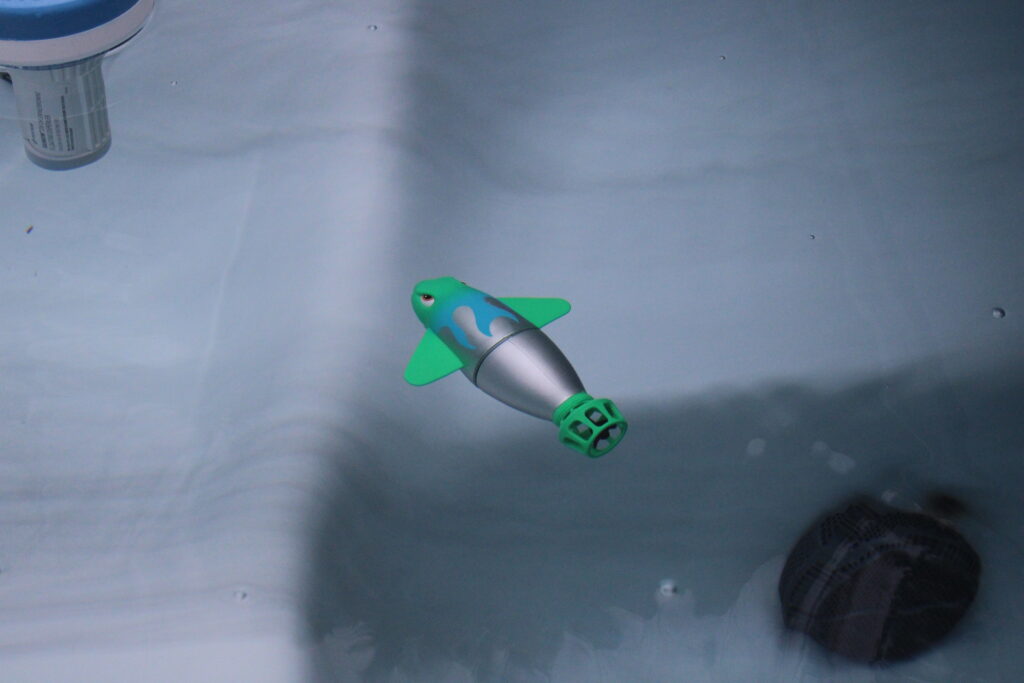
For fun-it is moving
ISO 1600 SS 1/1000 F5.6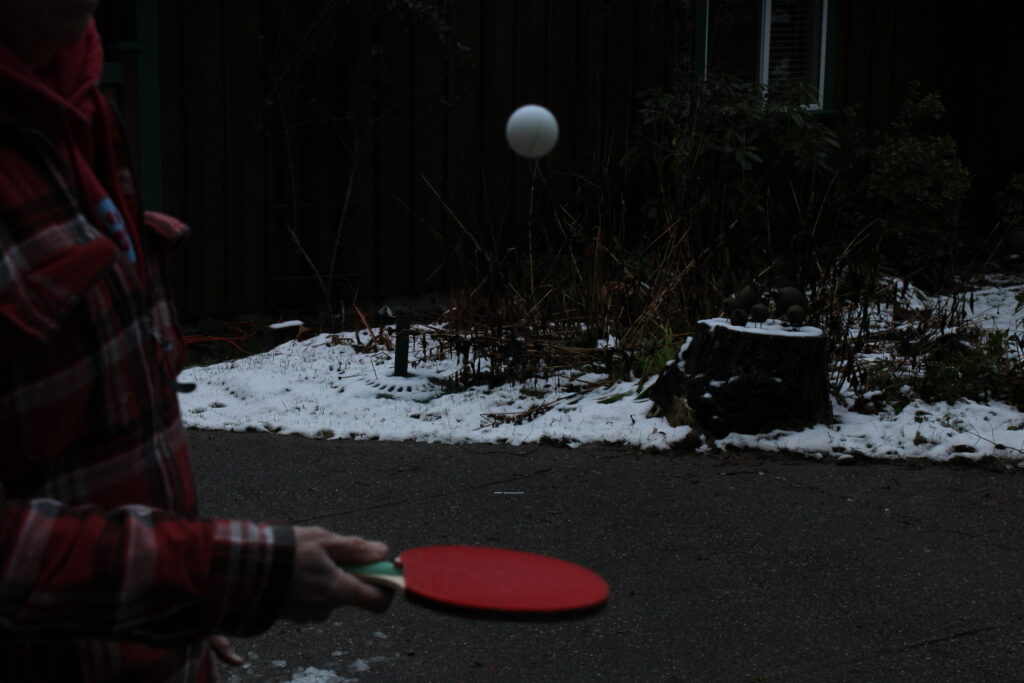
Ex 3ISO 800 SS 1/250 F9 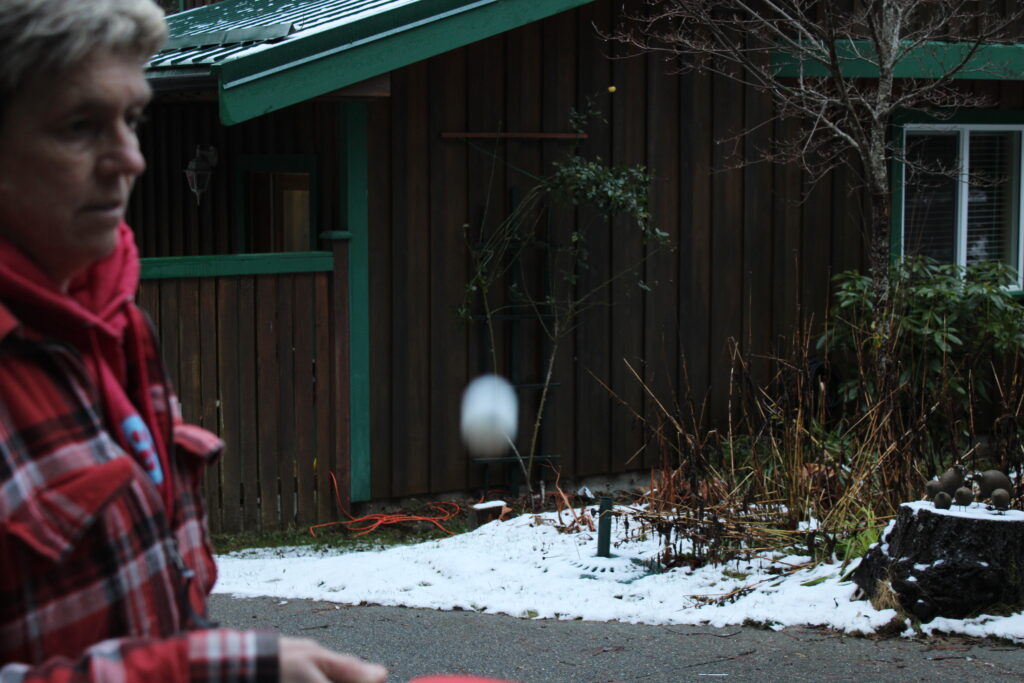
Ex 4 ISO 400 SS 1/80 F5.6 
Ex 5 Underexposed for mood ISO400 SS 1/125 F11 
Ex 6 Low light ISO3200 SS 1/100 F7.1
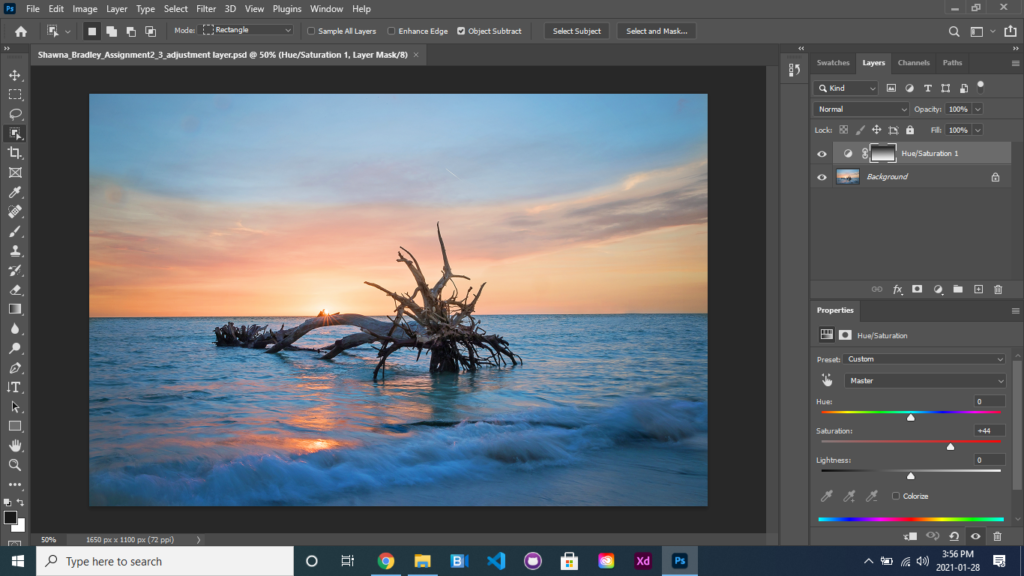
Technical Exercise 2 – Photoshop
Tutorial 2: How to use a layer mask to hide parts of a layer
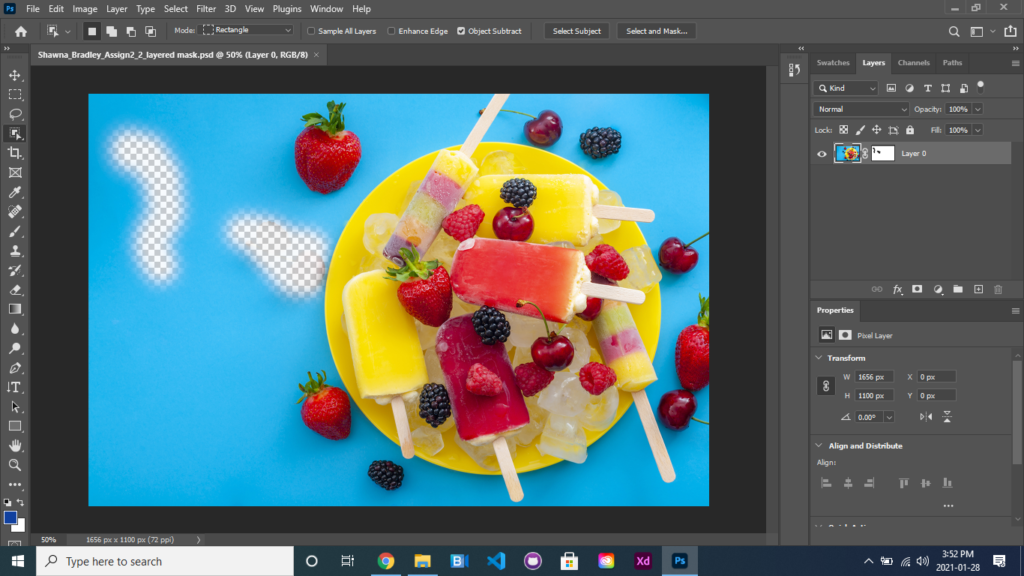
3. Use Layer masks to adjust part of a photo
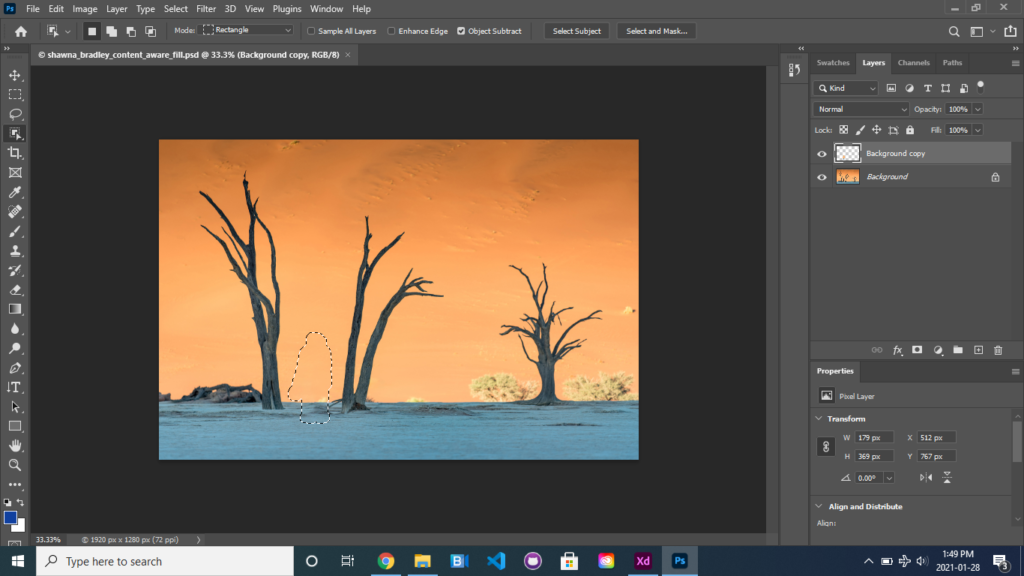
4.Remove objects with content aware fill
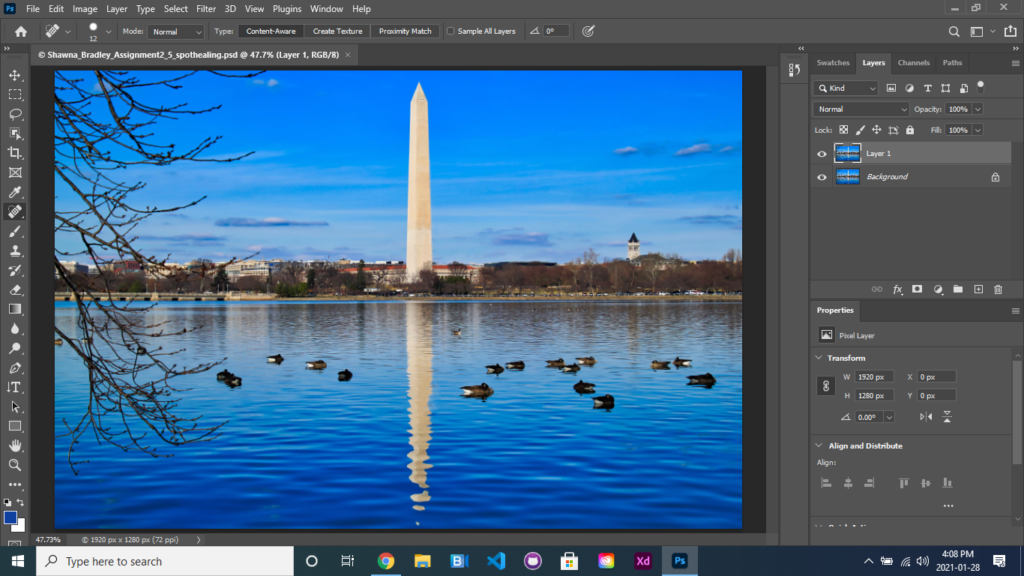
5. Clean up imperfections with spot healing
6. Retouch photos with healing brush tool
7. Remove objects with clone stamp tool
8. Hide unwanted content with patch tool
Technical Exercise 3 – Camera

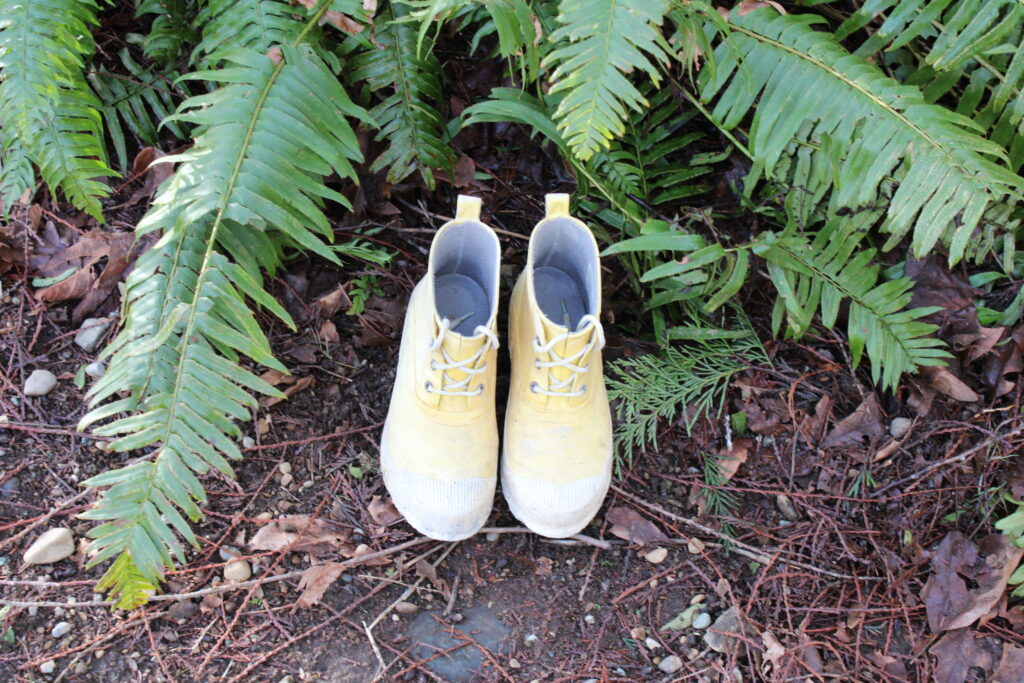
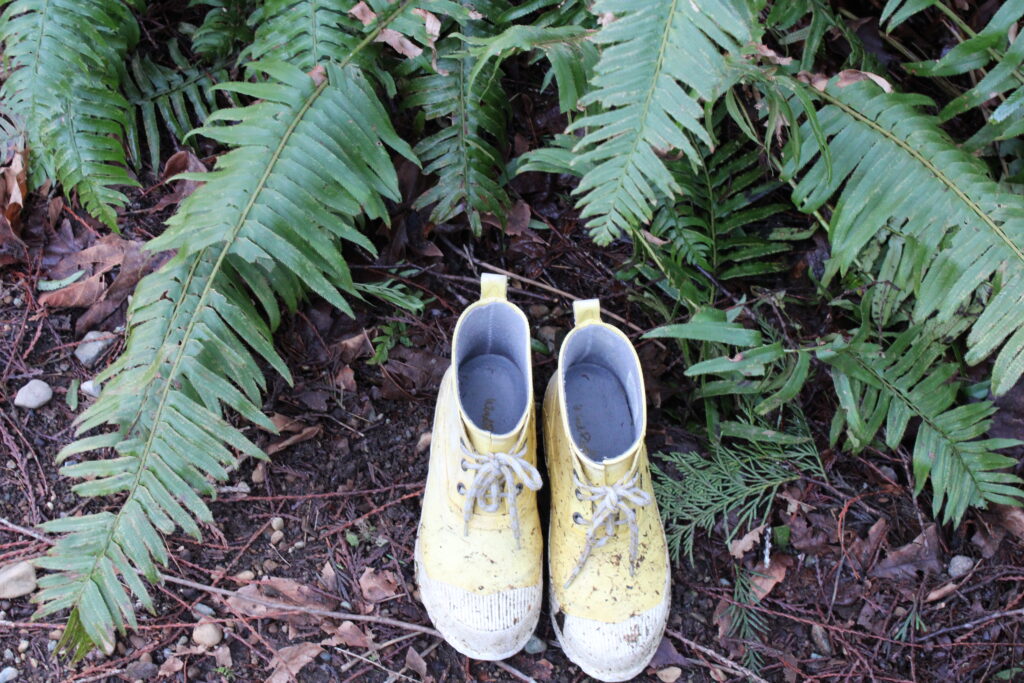
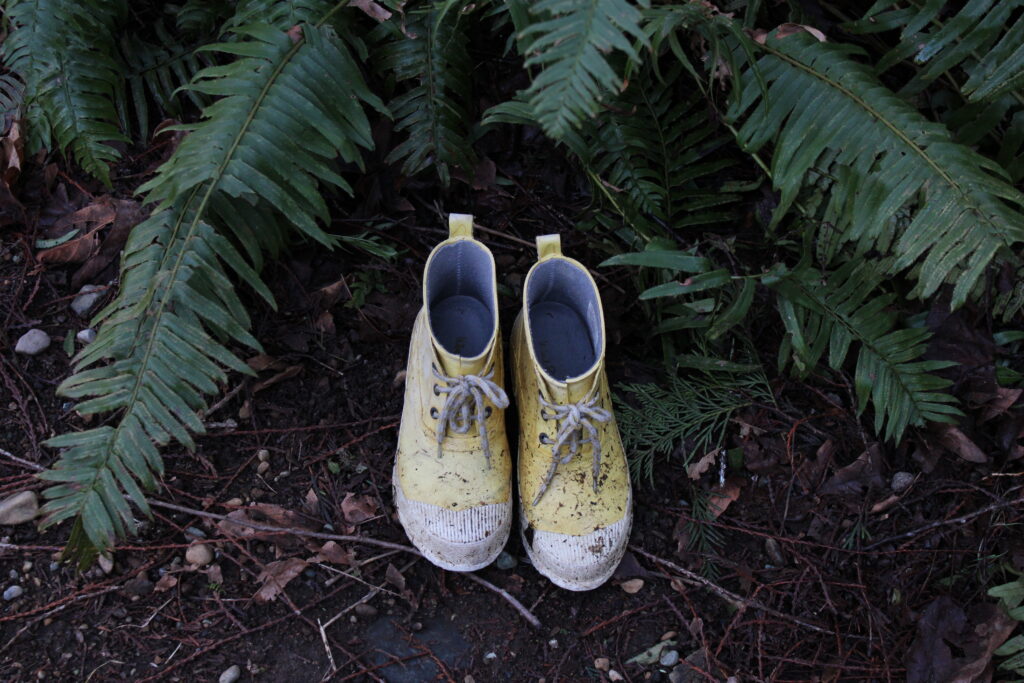
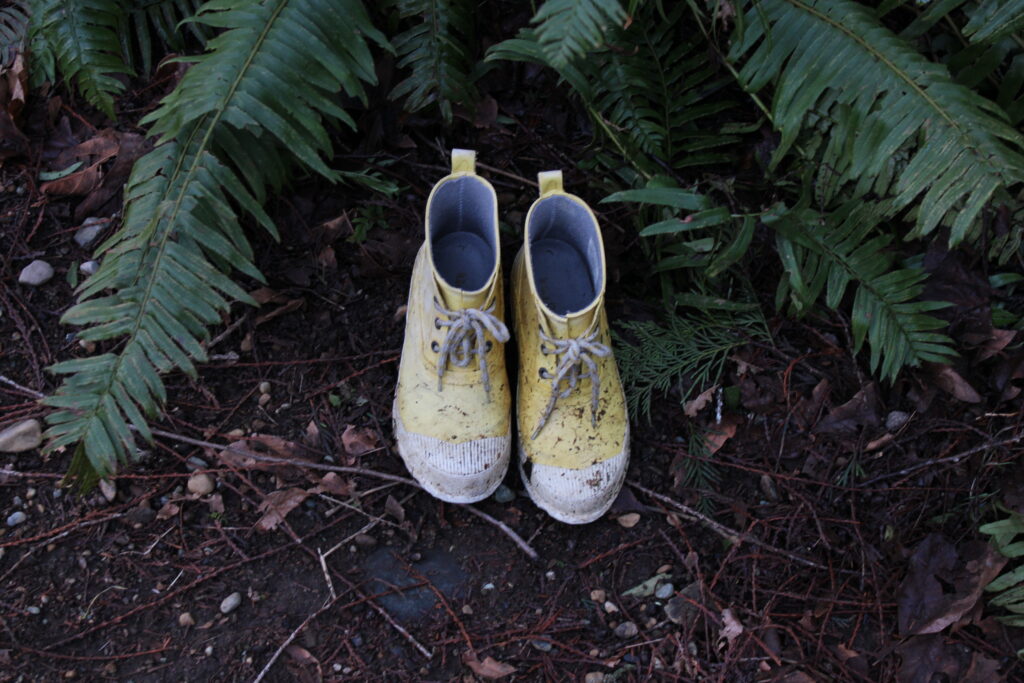
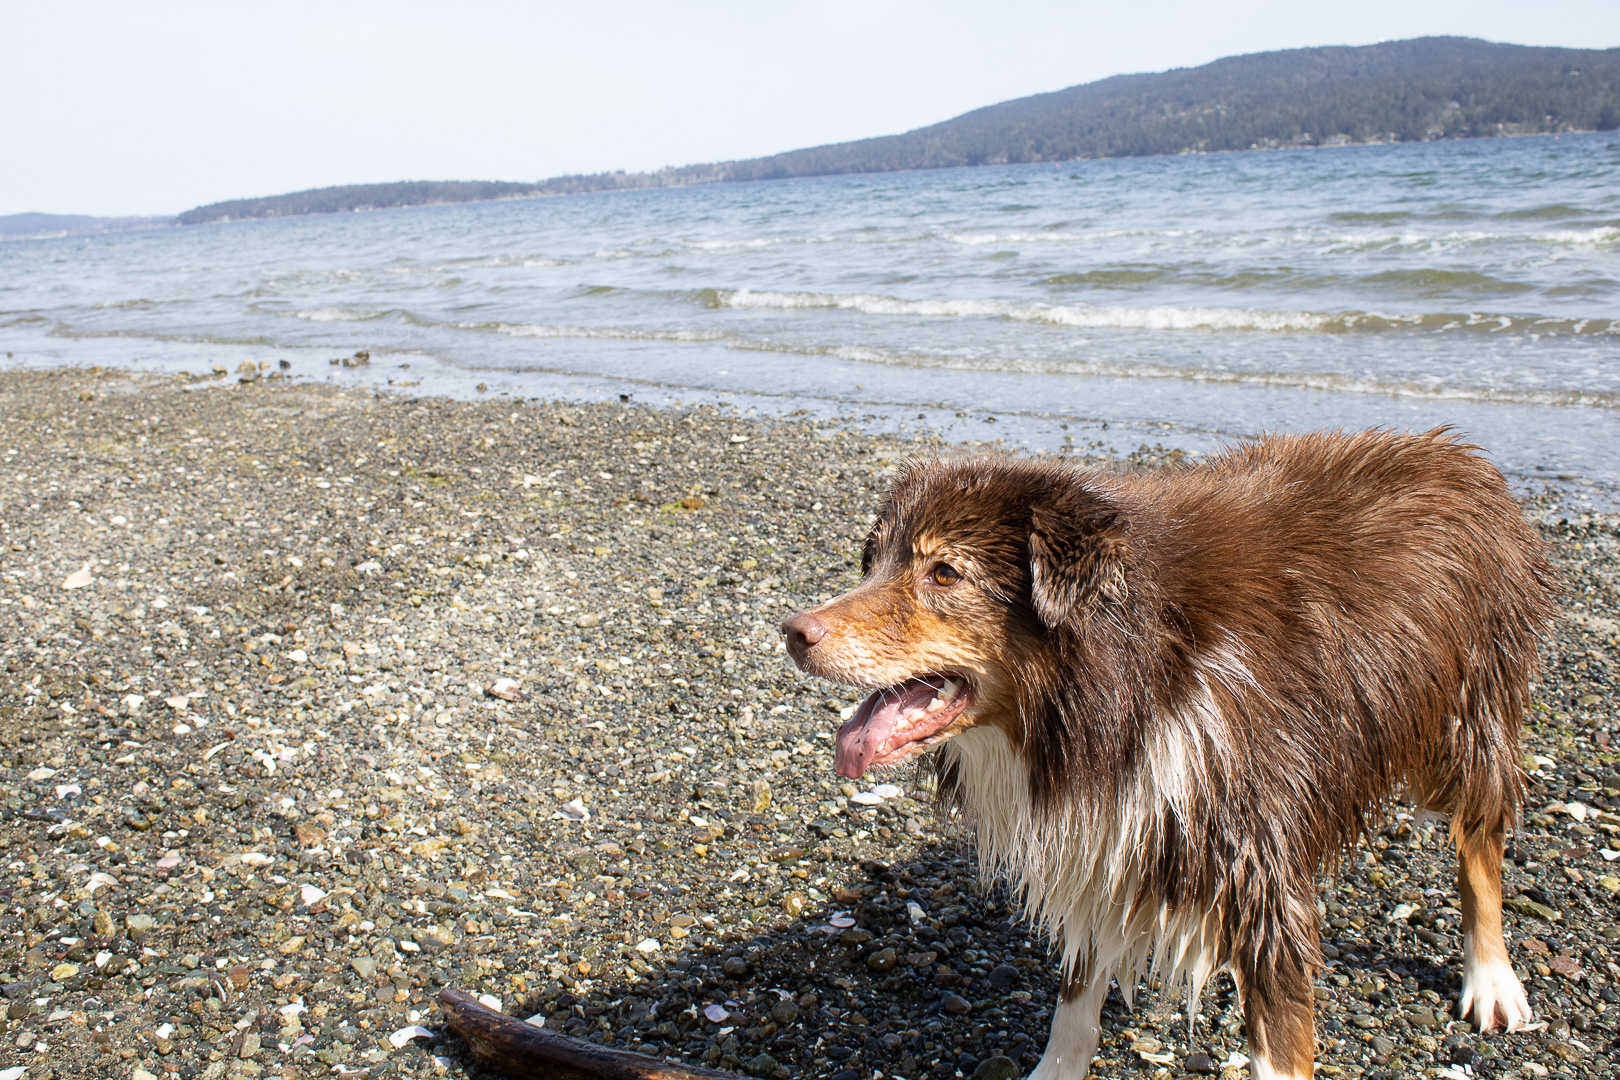
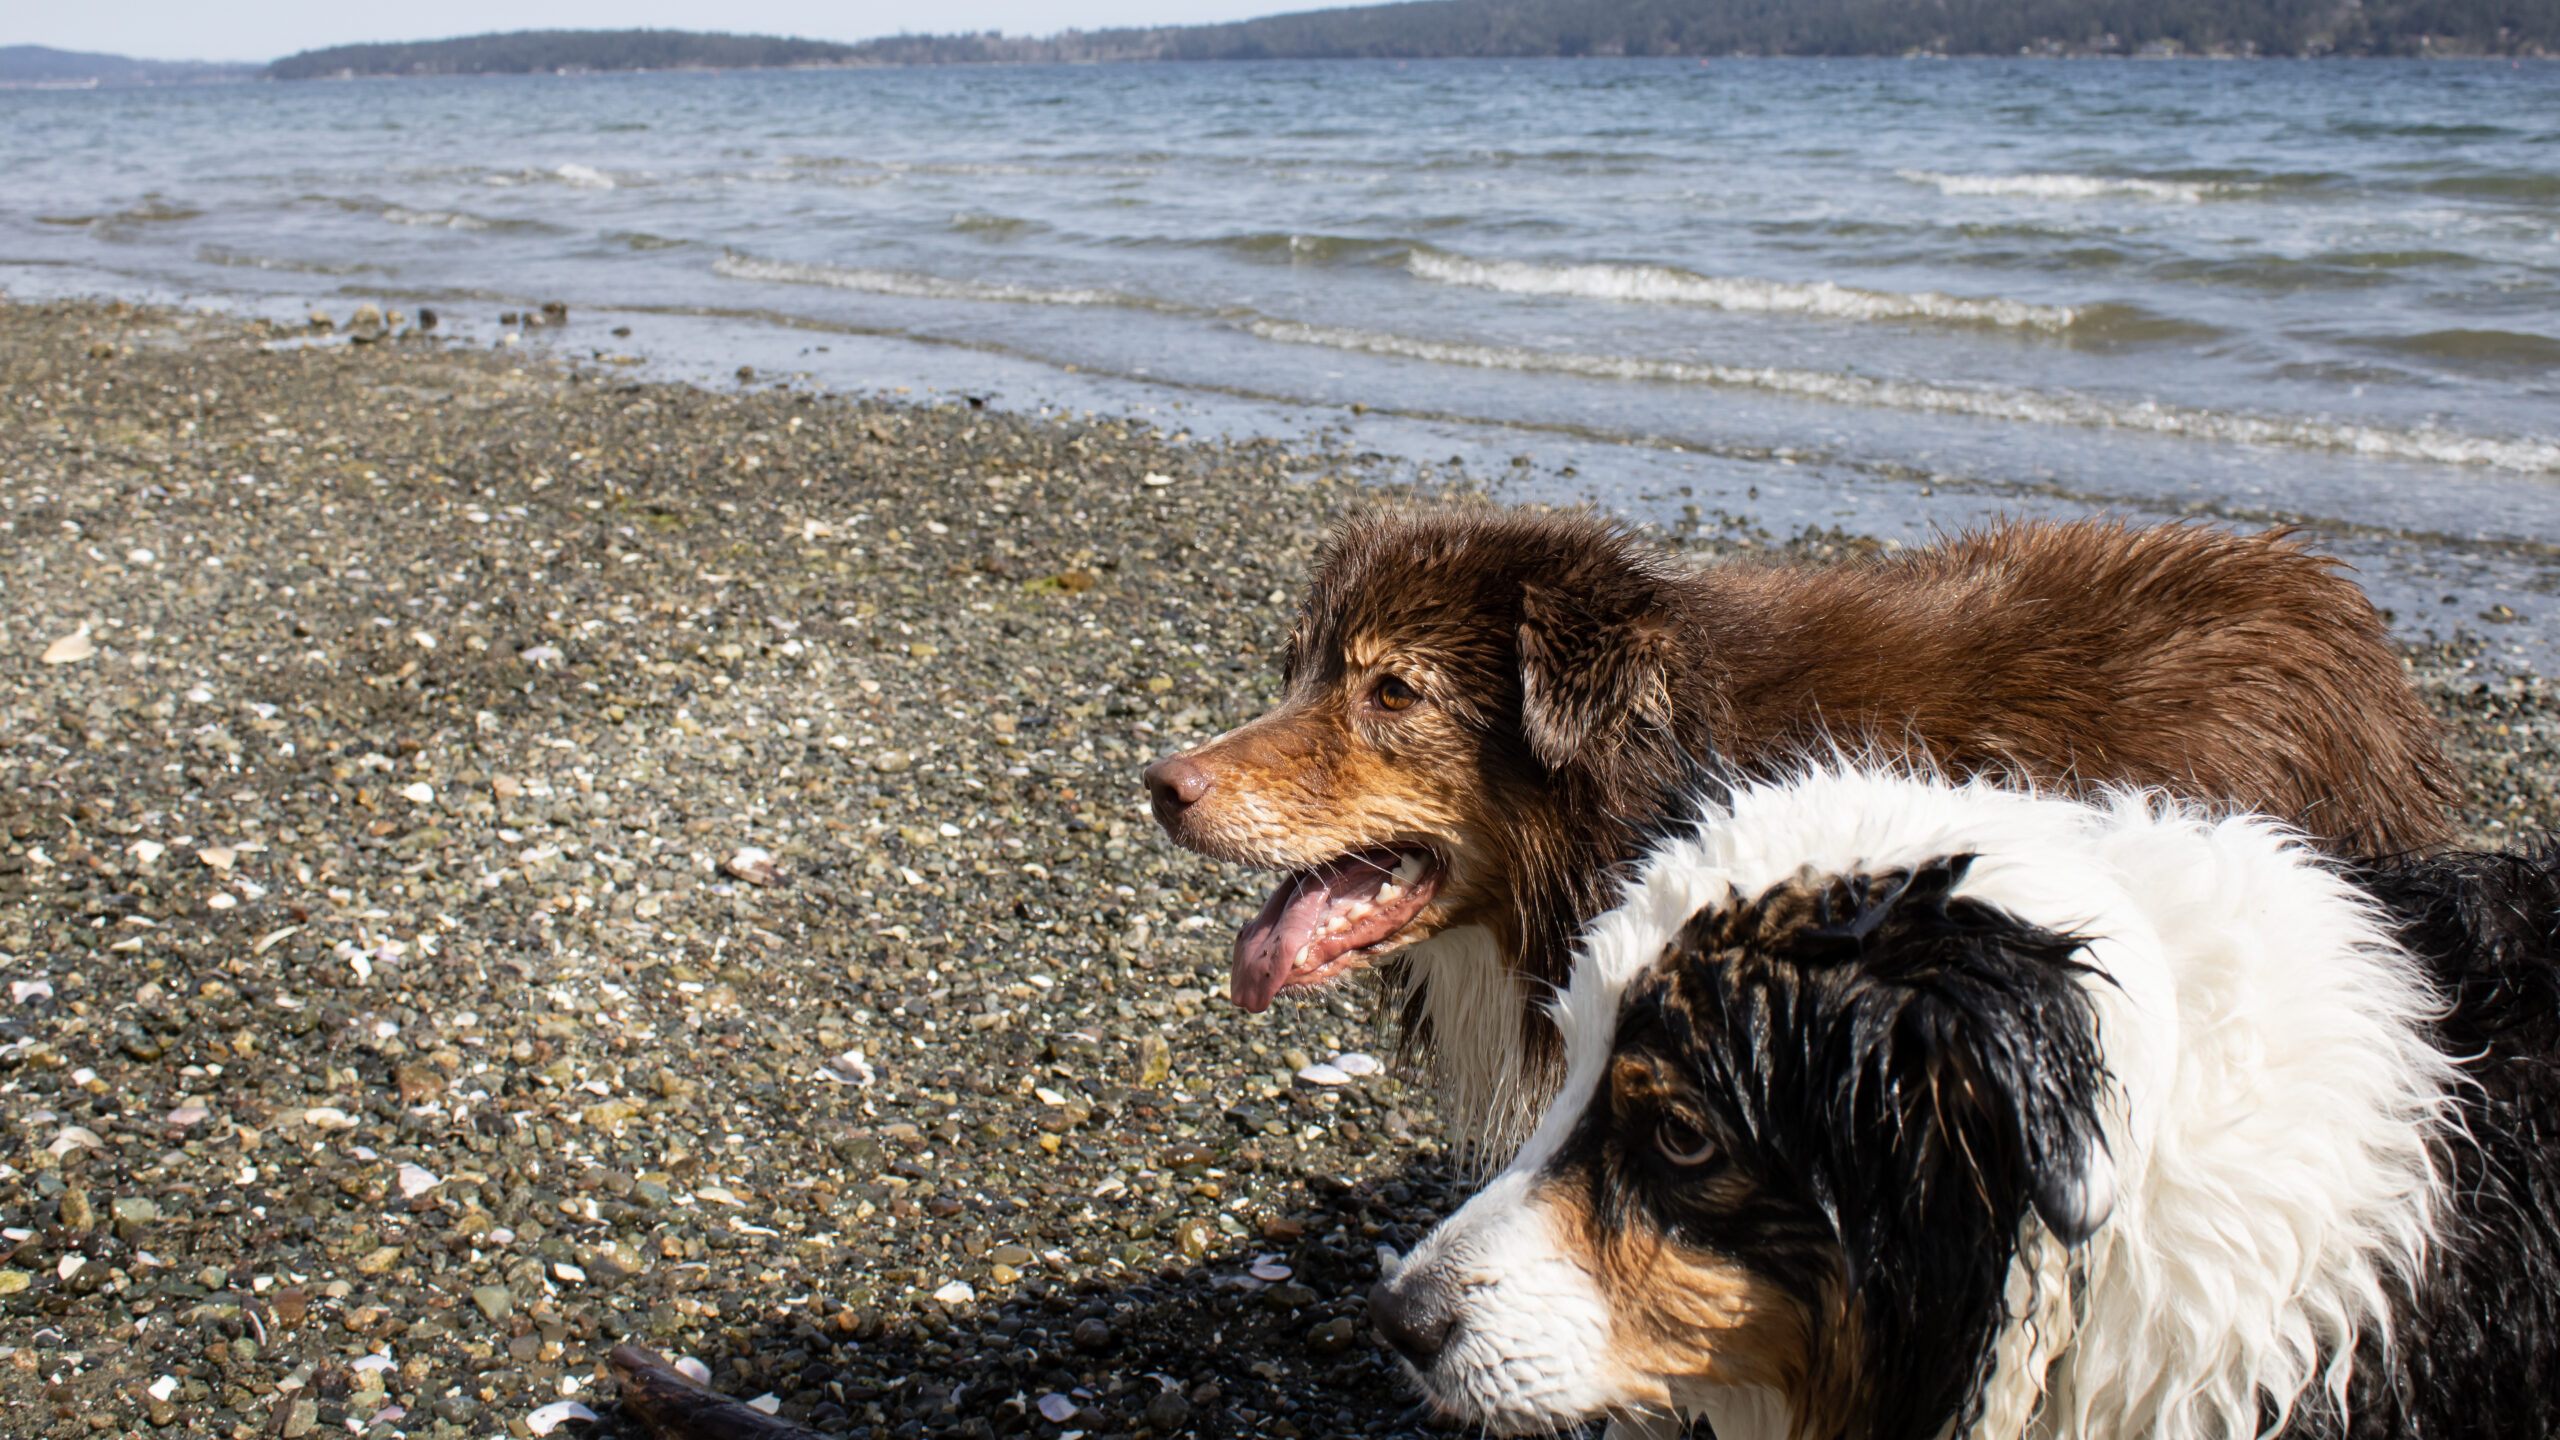
Exercise 2- Shoes in Motion
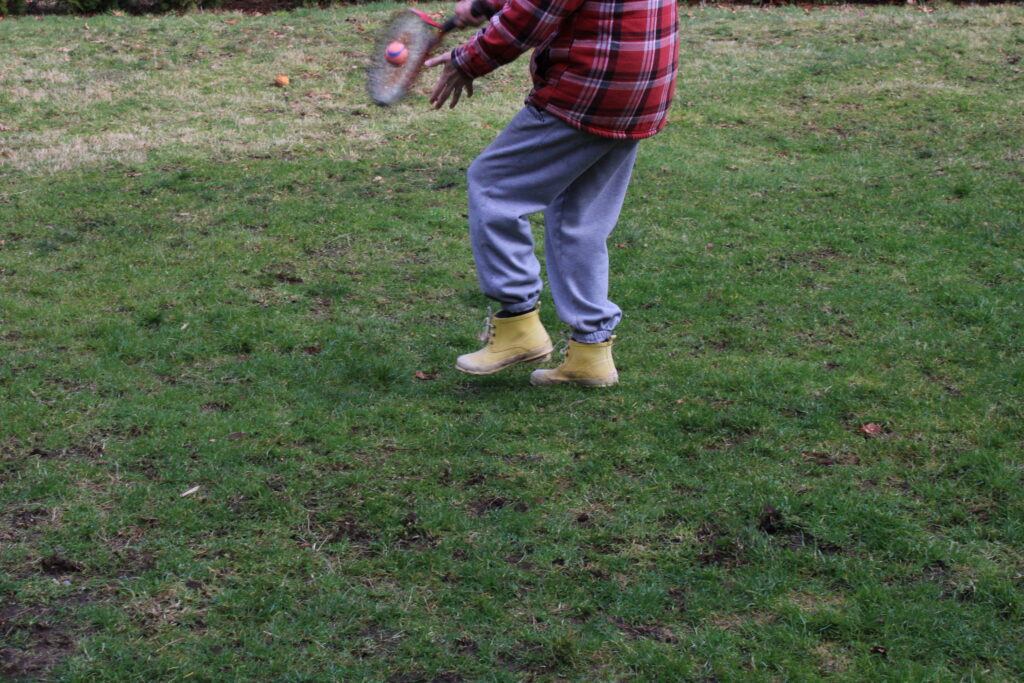
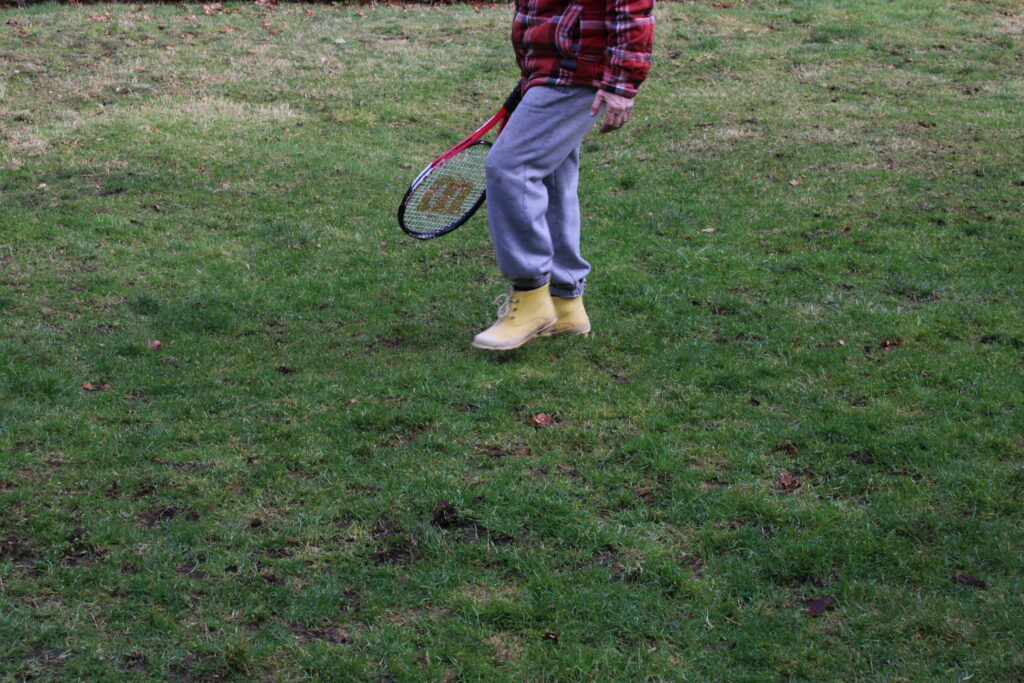
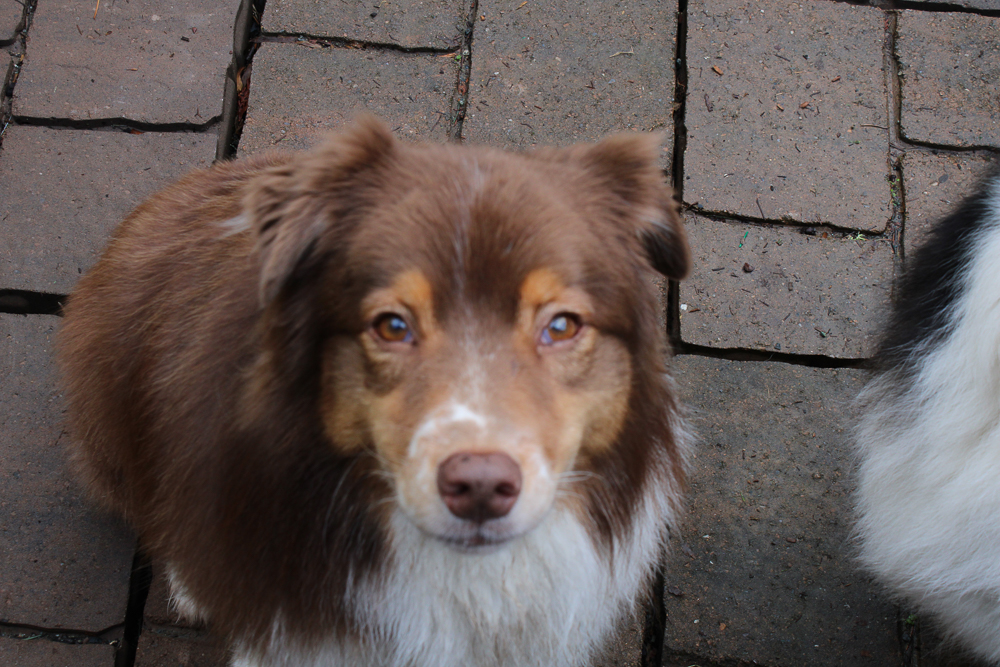
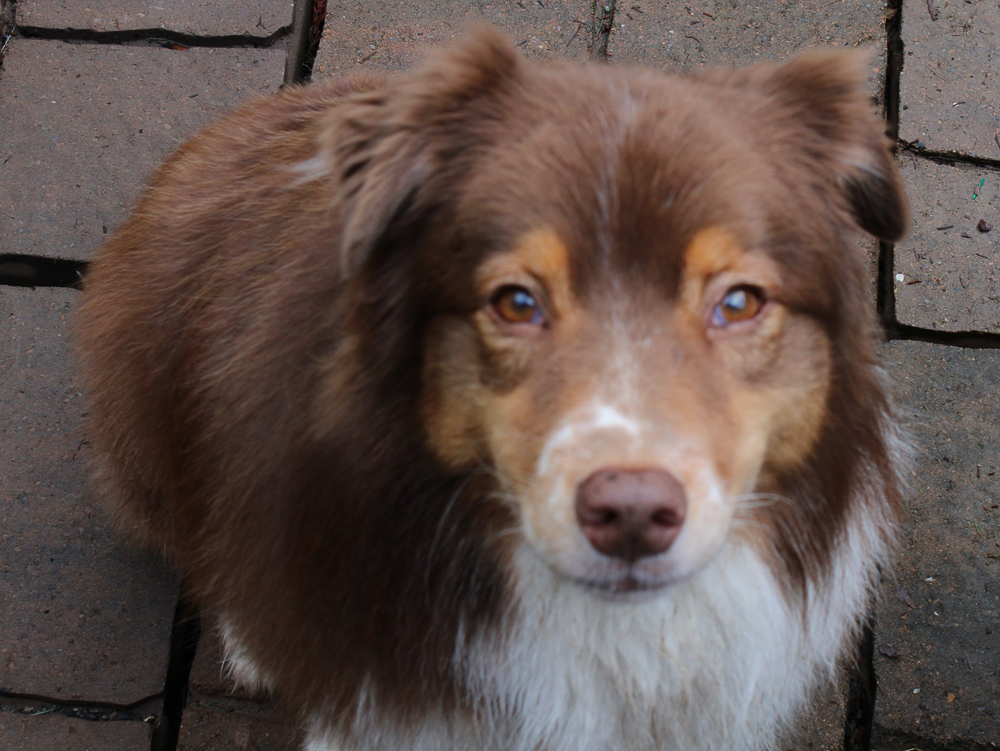
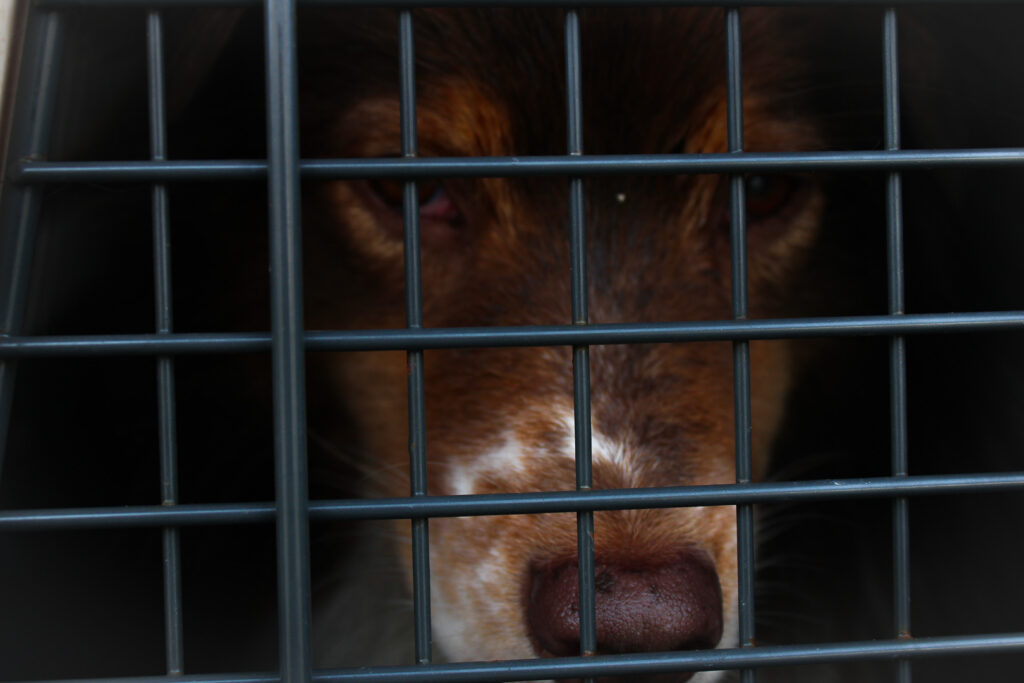
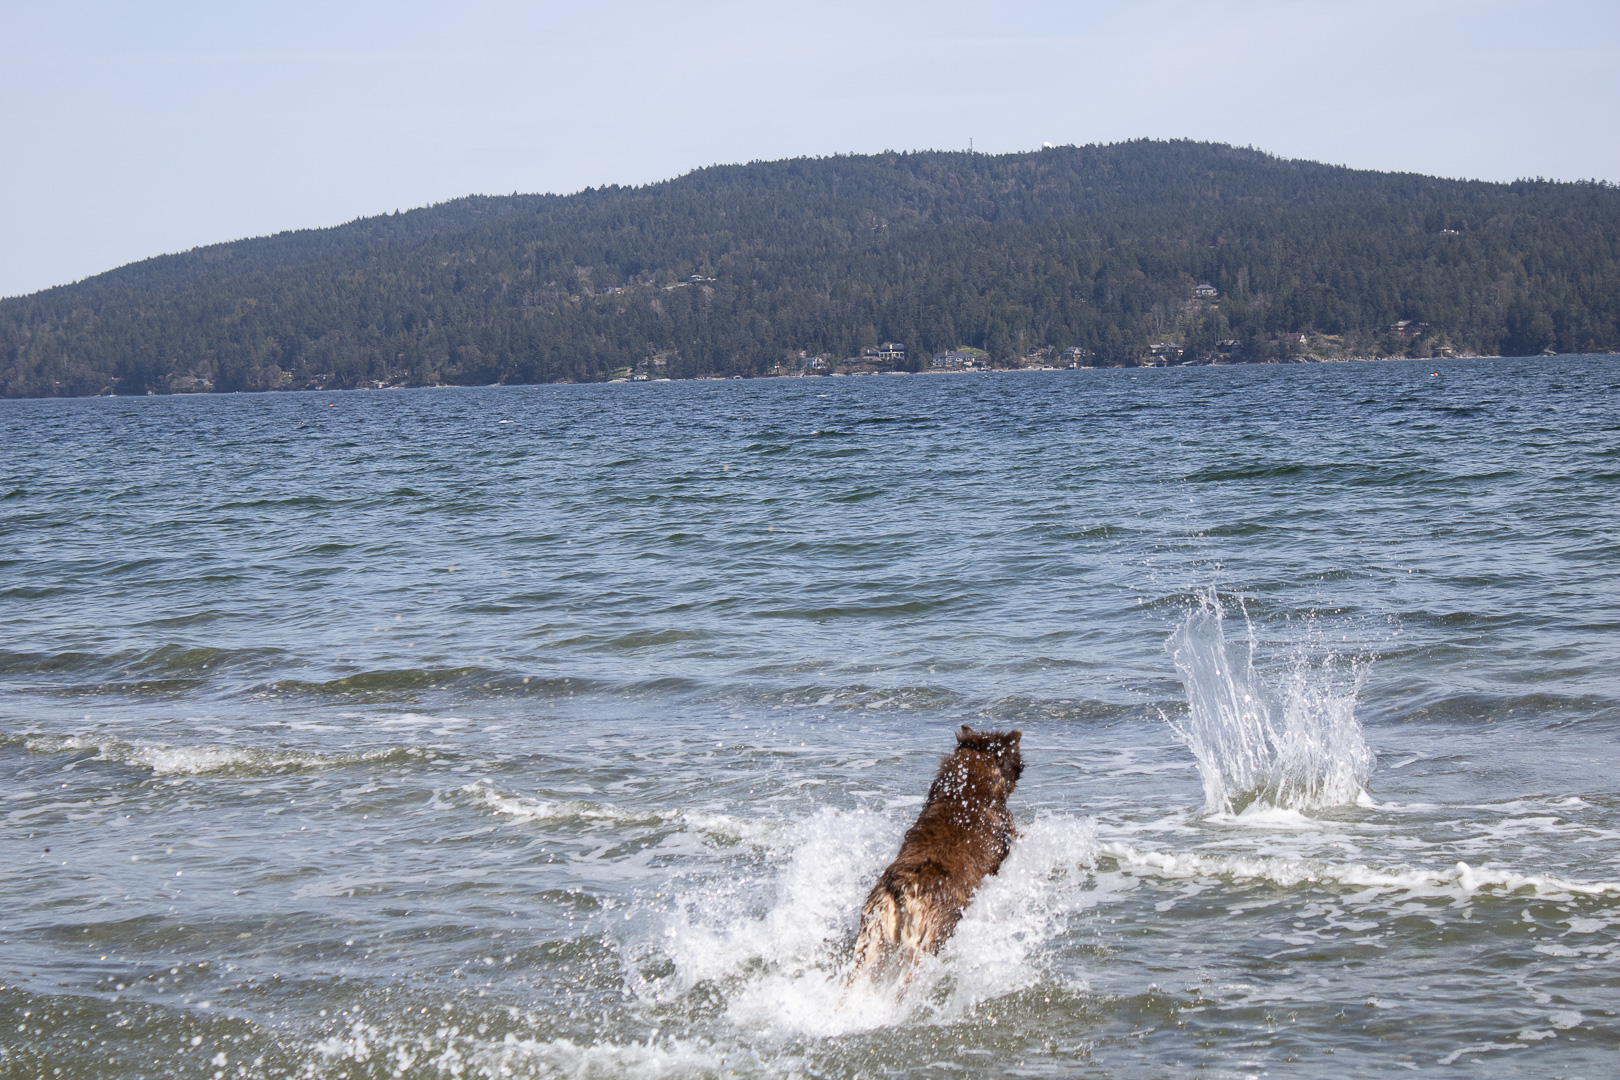
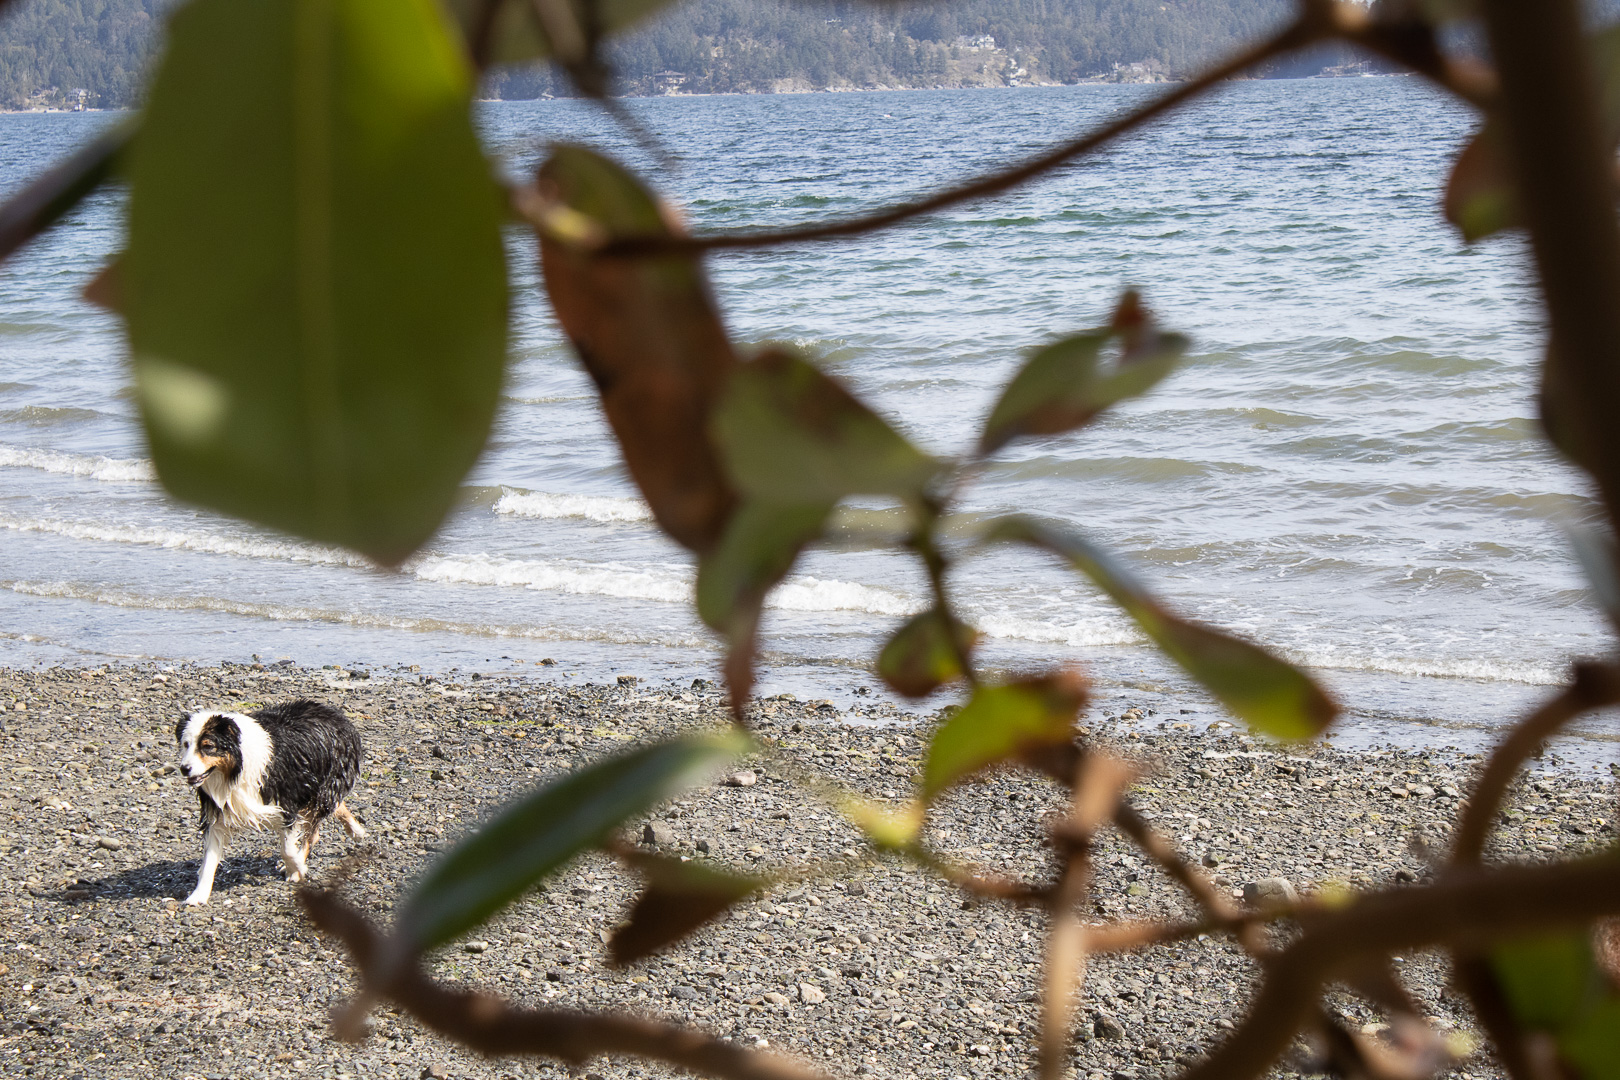
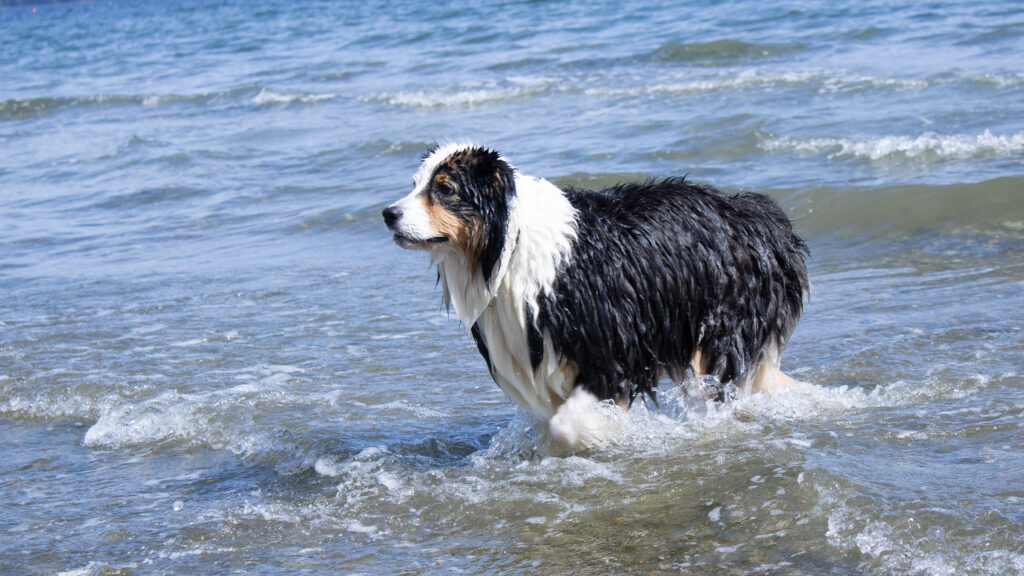
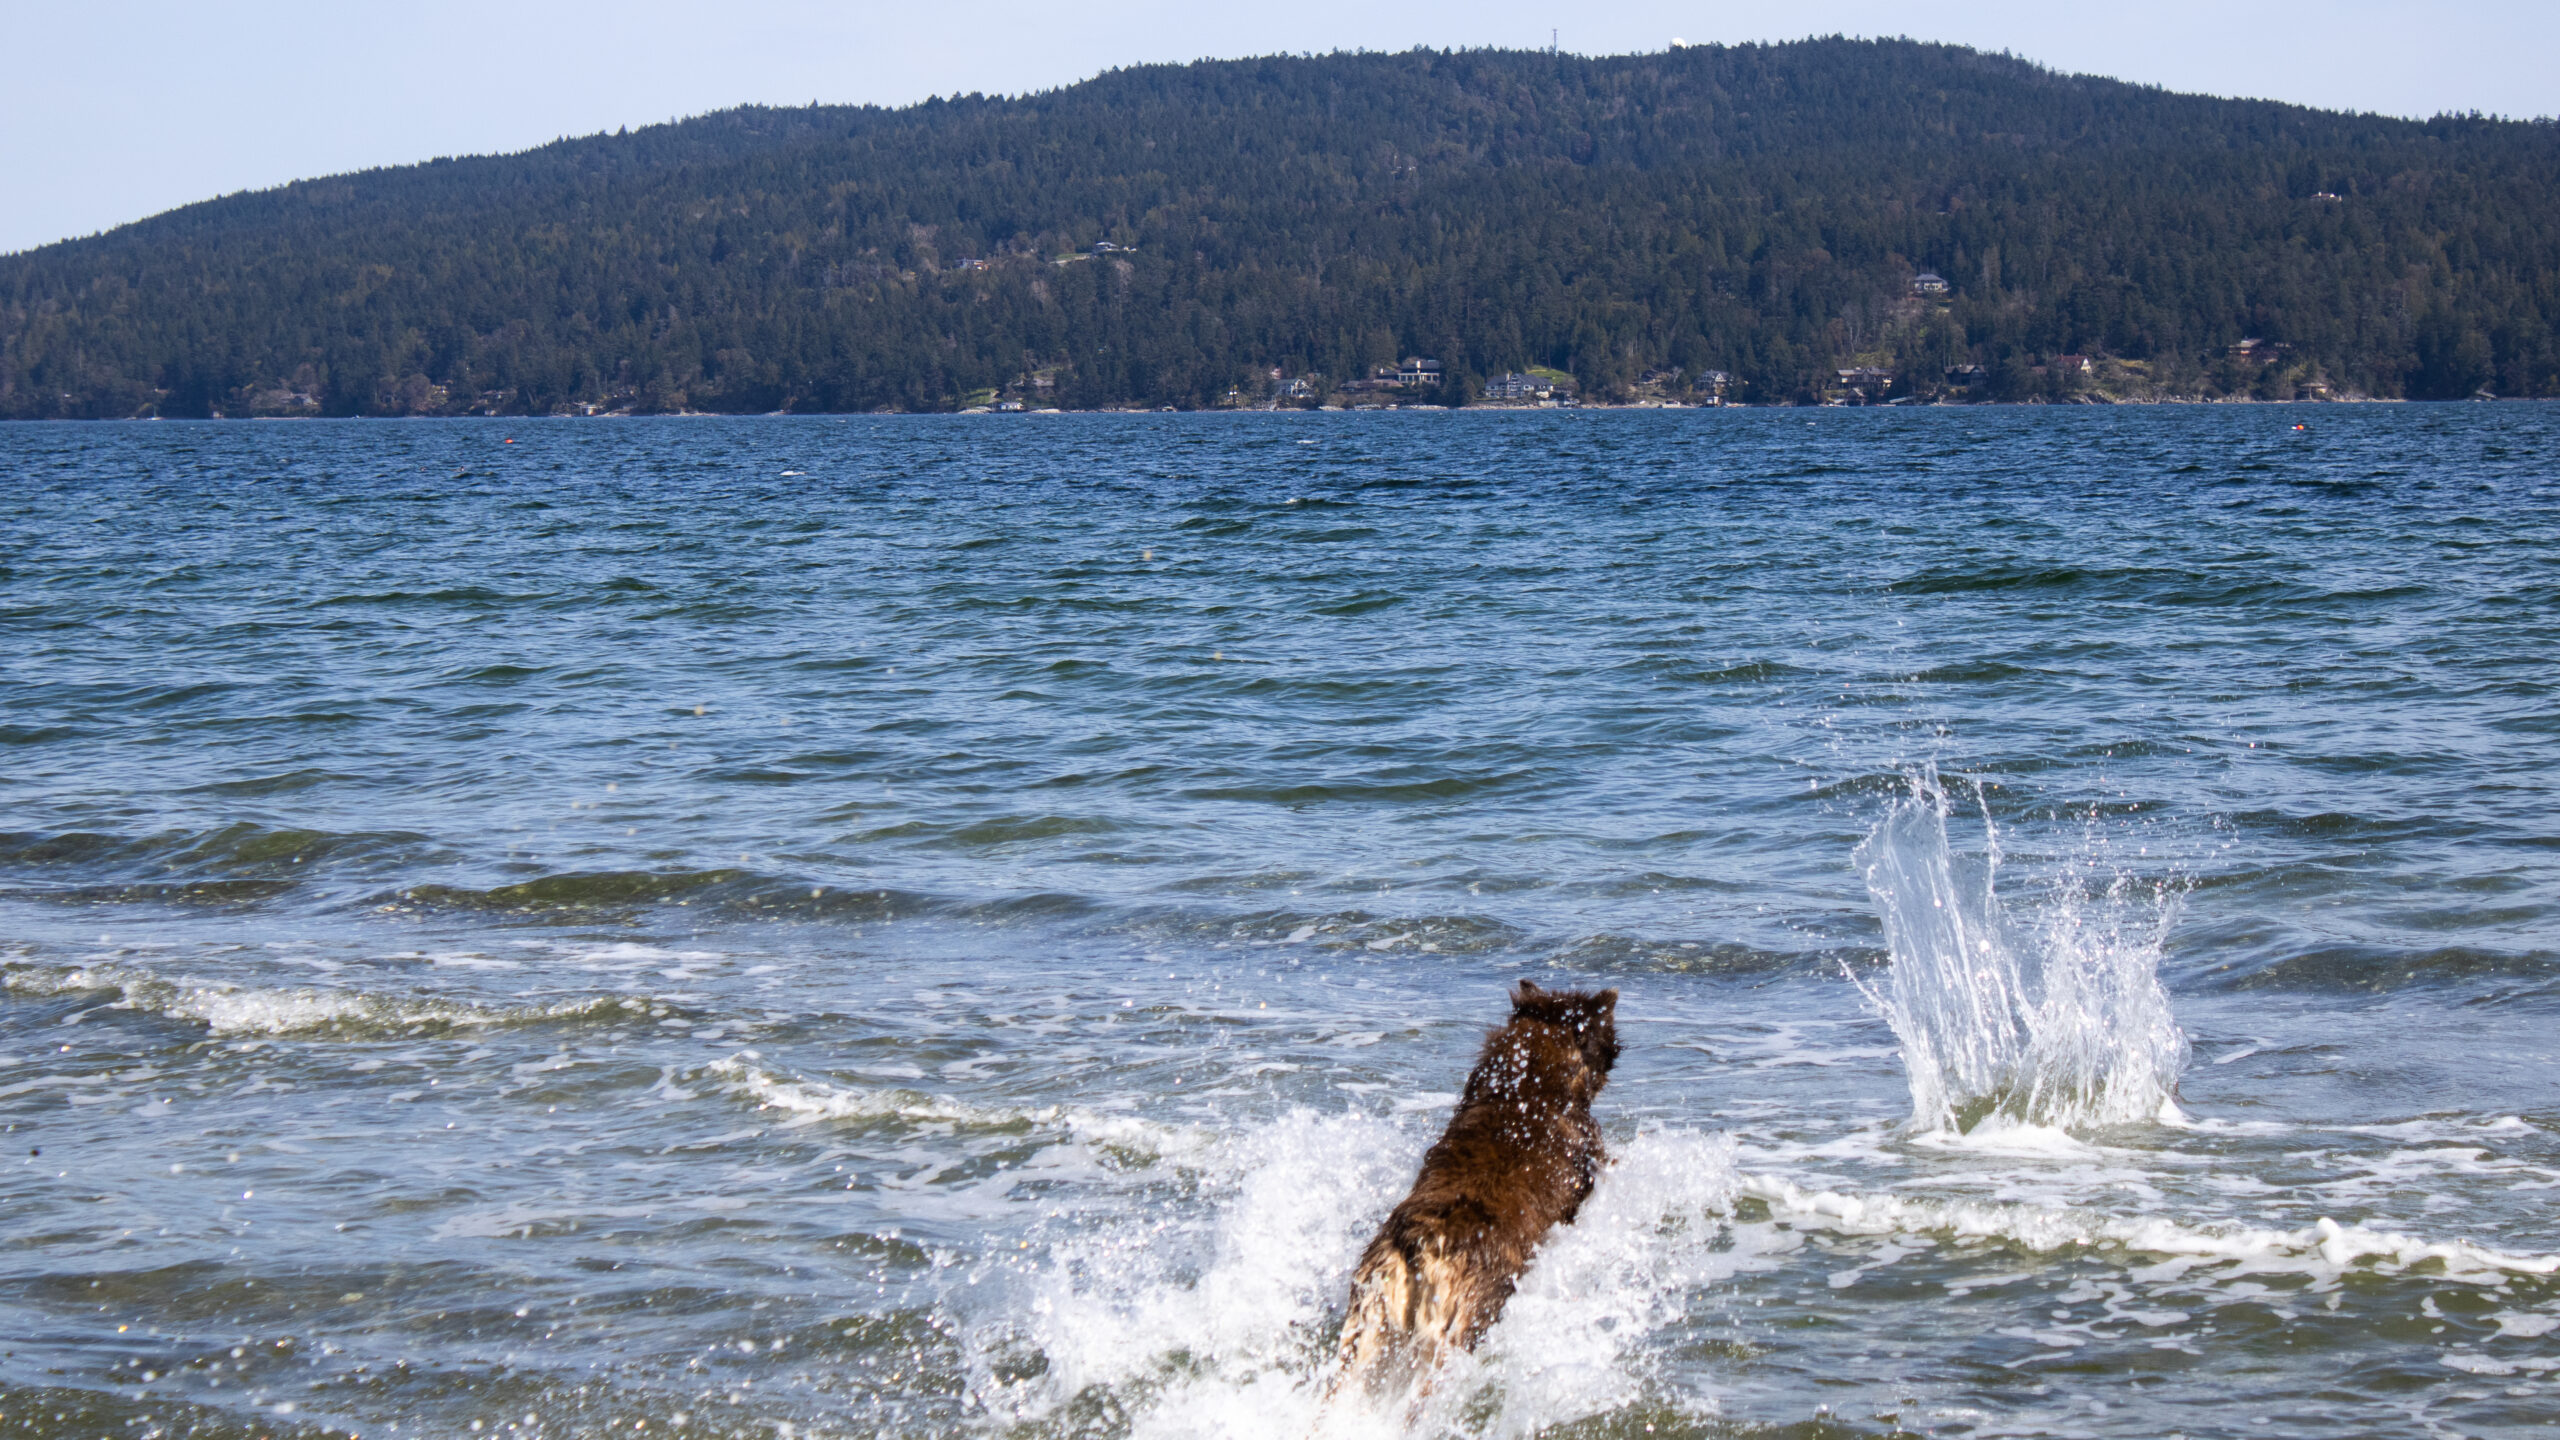
The definition of motion: a 4 year old Australian Shepherd

Camera Technical Assignment 4
Exercise 1:
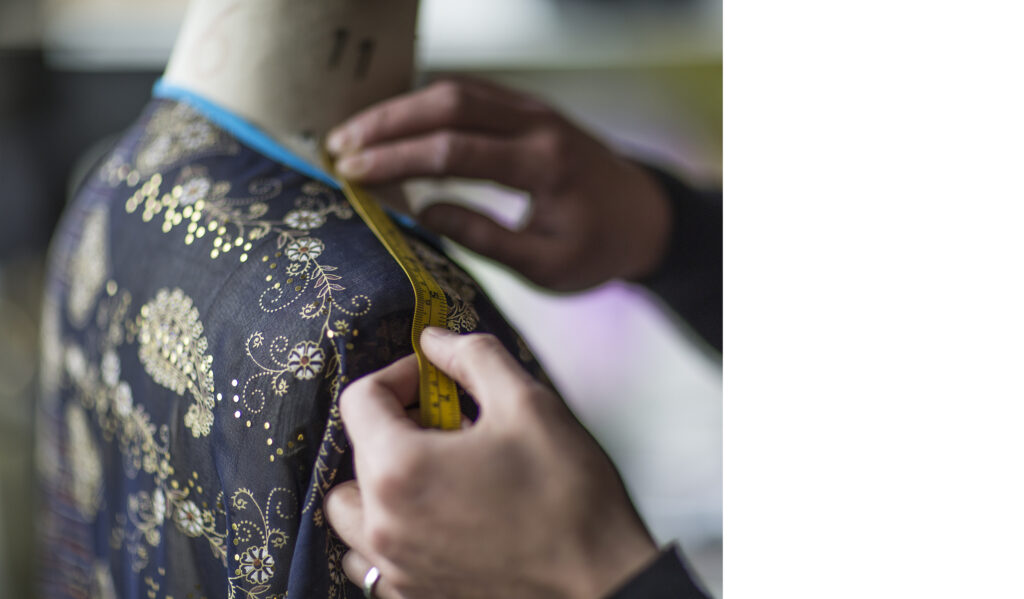
Hands at Rest:

Hands in Context
I had a hard time with these images as they were at night in my dark kitchen! Upon reflection, I think if I used a tripod it would have worked better, I could slow down the shutter speed more and then decrease the ISO. I also could have used my flash possibly? The pot lights really glare off my counter, so next time I will need some more light. Also, knowing I wouldn’t crop these images was difficult to set up too, as I didn’t want background “stuff”.
Exercise 2
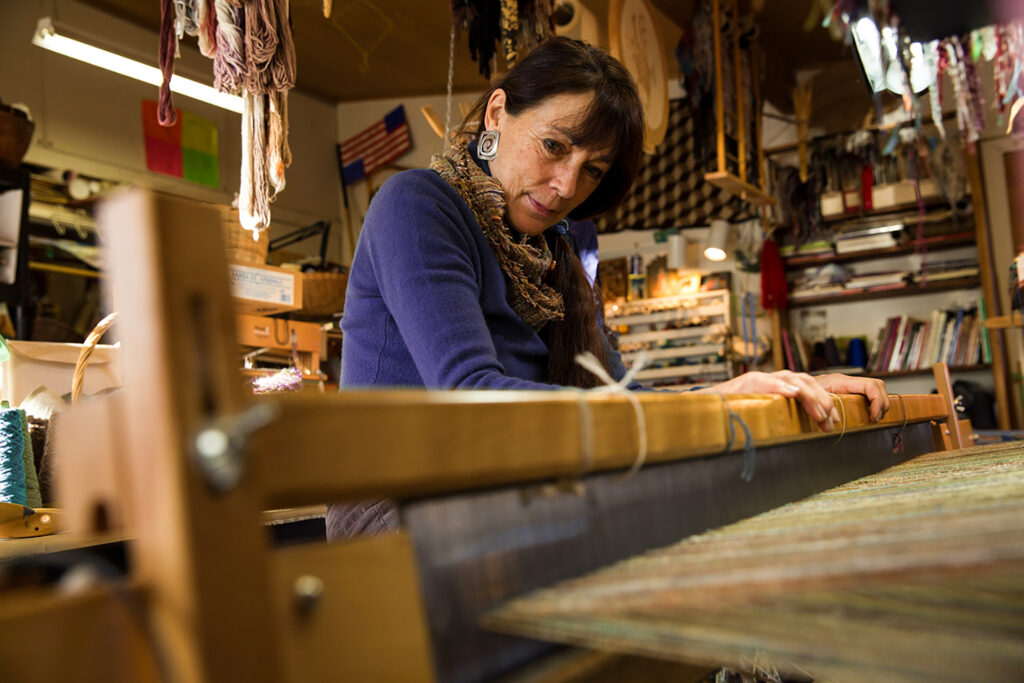
Hands in Motion
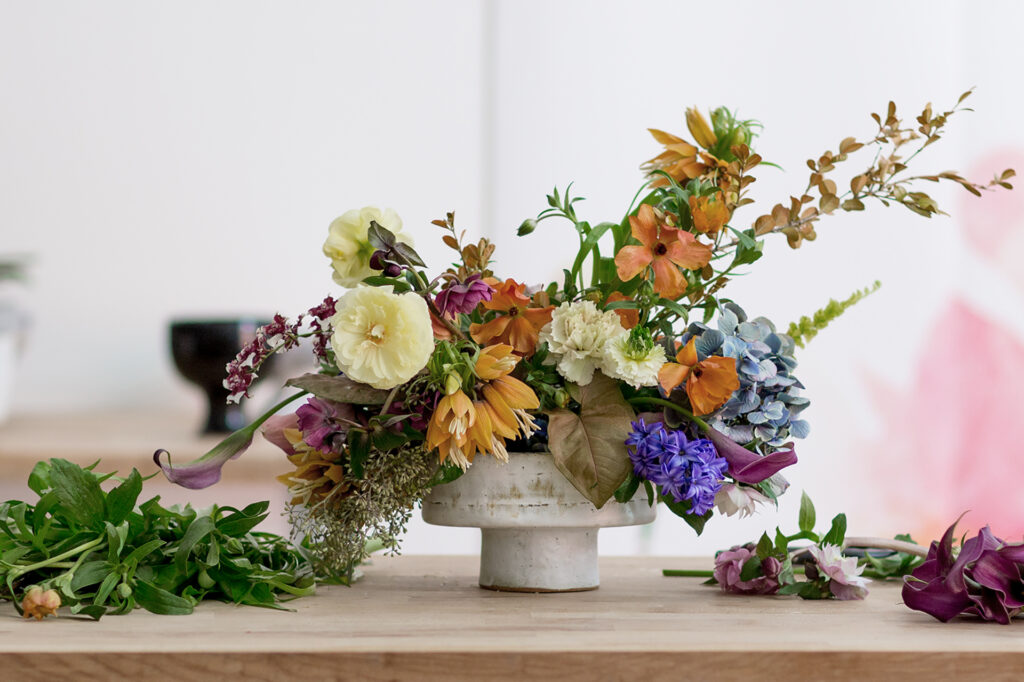
Outcome of hands labour
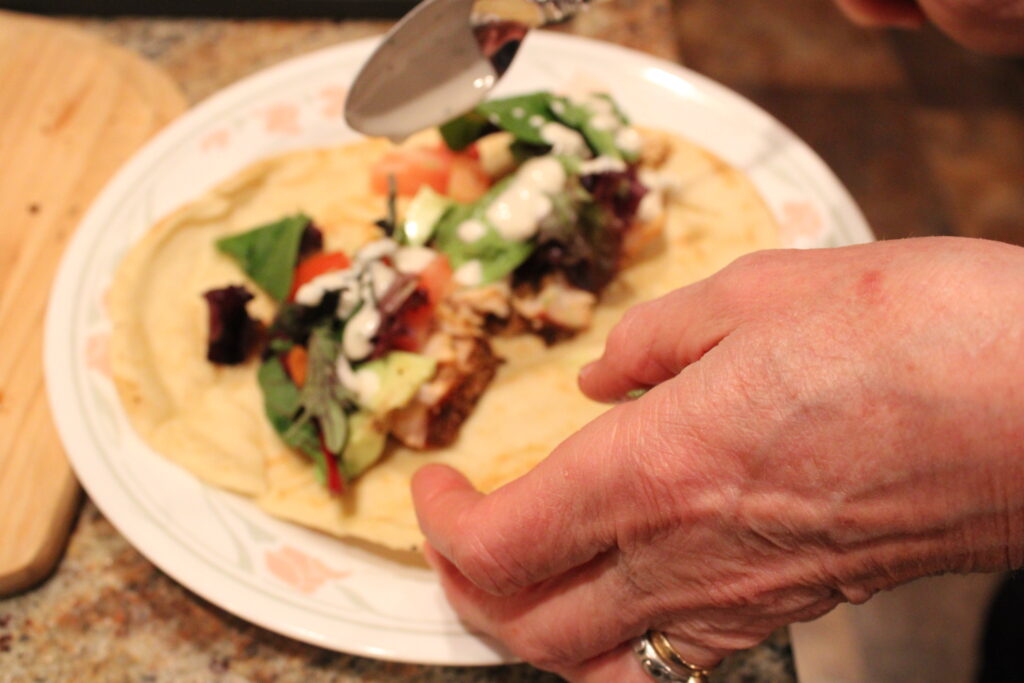
Image 476 – 1/50 F5.6 ISO 3200
On these 2 images above, I also had the same problems with light and composition. I like the spoon and the drip! But, I think I have some camera shake here.
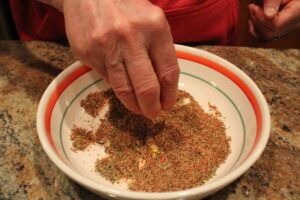
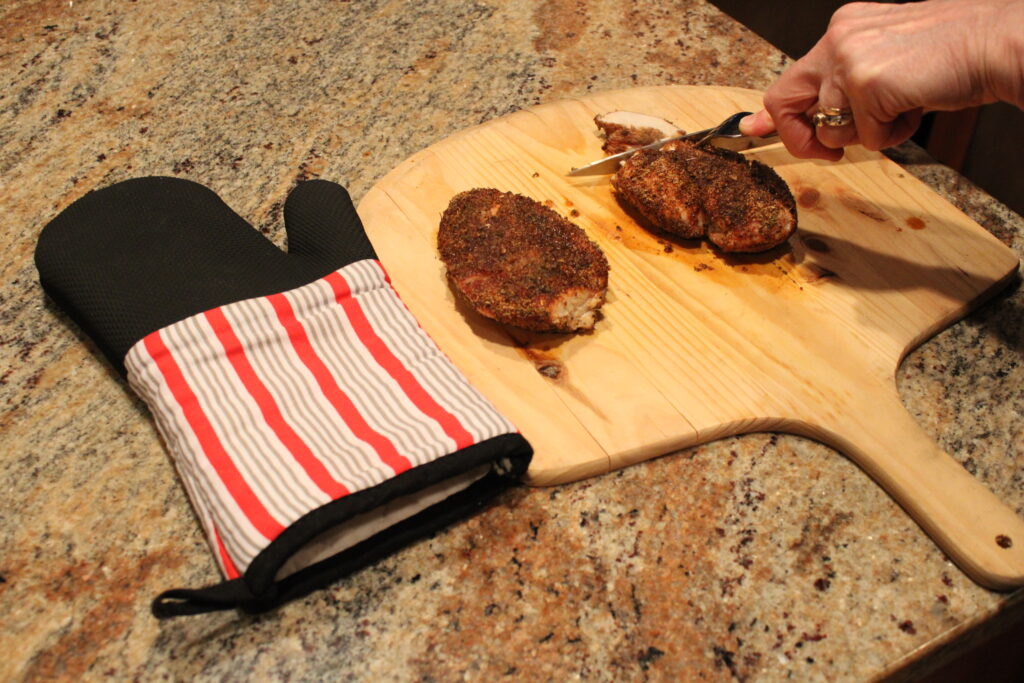
Exercise 3: Strong juxtaposition

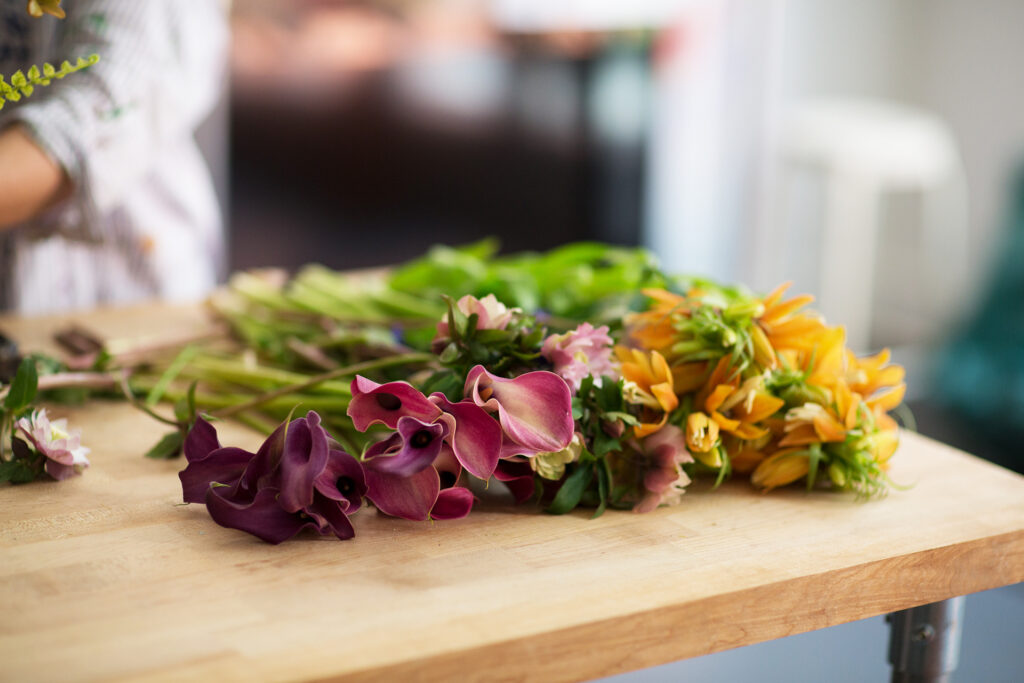
The beginning of the process and the end! The best part of having someone cook for you while you are in school!
Assignment 4 -Post Production Exercises (Before/After Editing)
With each set of images I wanted to try slightly different editing practice.