4. Crop and straighten photos to improve composition
5. Save a photo in the best format for your needs
Camera Technical Exercise 1
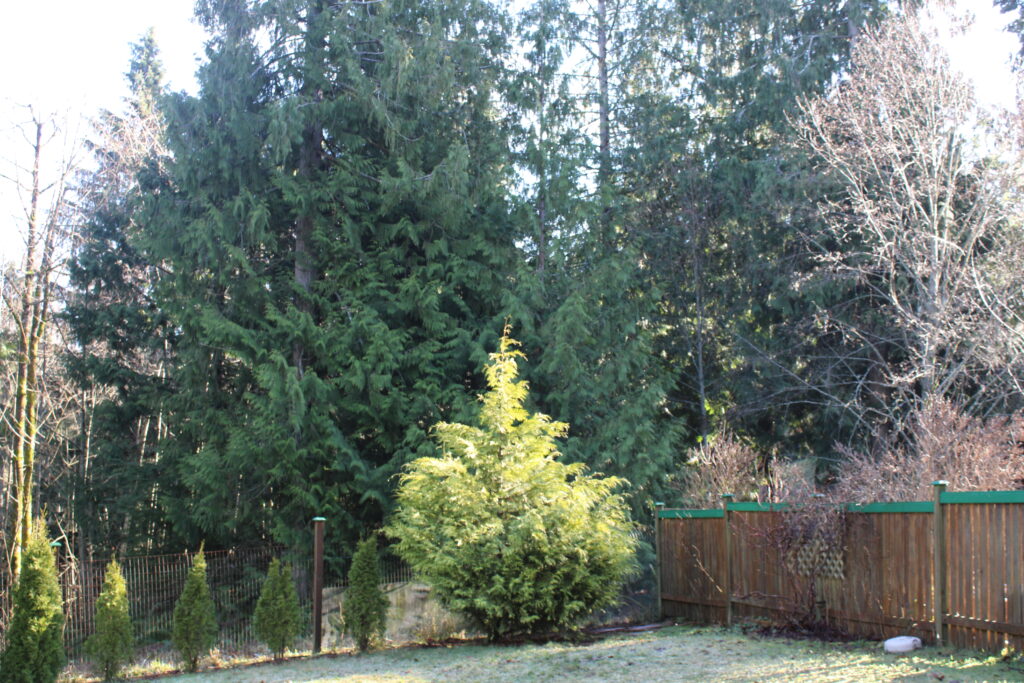
On my camera I have:
Partial Metering, Center Metering & Evaluative (Matrix) Metering
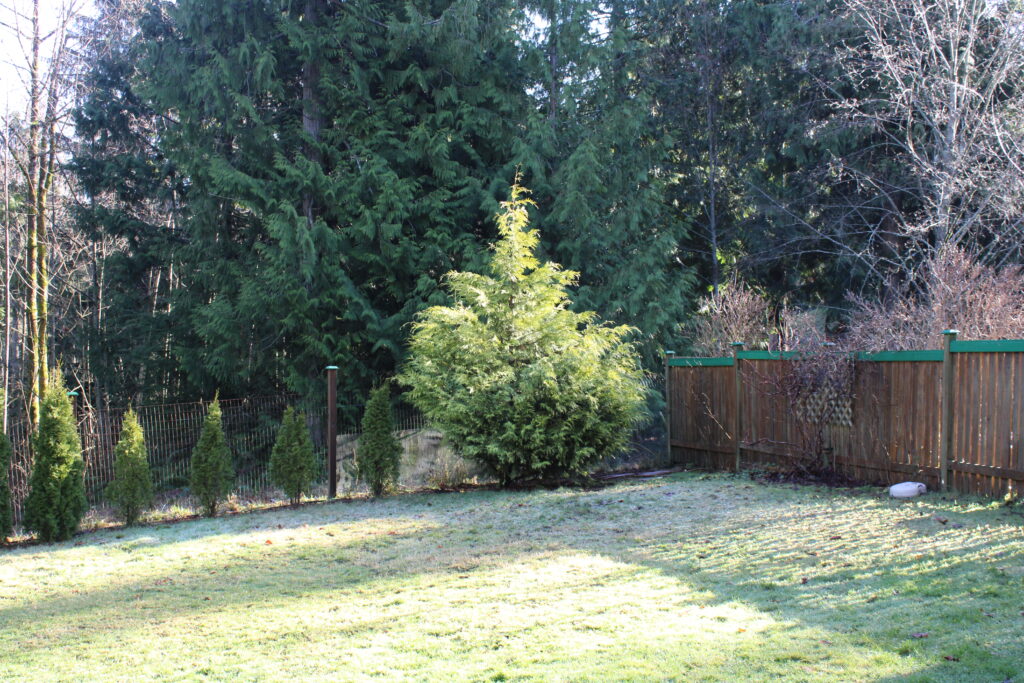
On the bright area of the photo (the top of the tree) the F stop stayed the same on all settings. (5.6)
On the mid value area of the photo (the middle of the tree) the F stop ranged from 6.3-7.1
On the dark area of the photo the F stop ranged from 7.1-9.
So what I think this means is the bigger numbers in the dark area of the photo have the smallest aperature (which didn’t let as much light in).
After I did this exercise I realized it was done incorrectly. I re-did the assignment, however, I also erased those images when I formatted my SD card! Oh well. Live and learn!
Tech Exercise 1- Part 2
Although I didn’t take these in the correct order, you can see which ones are properly exposed and which ones aren’t. The second last image is correctly exposed at 1/125 and F7.1. The first three images are all under exposed at F9, F10,F11. All were ISO 400.
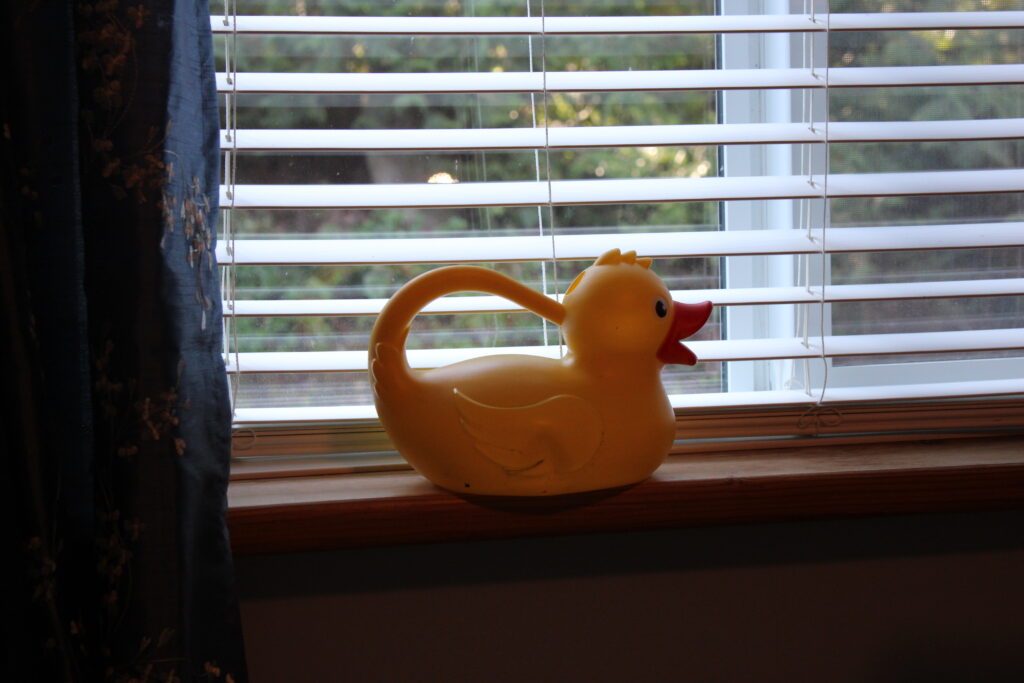
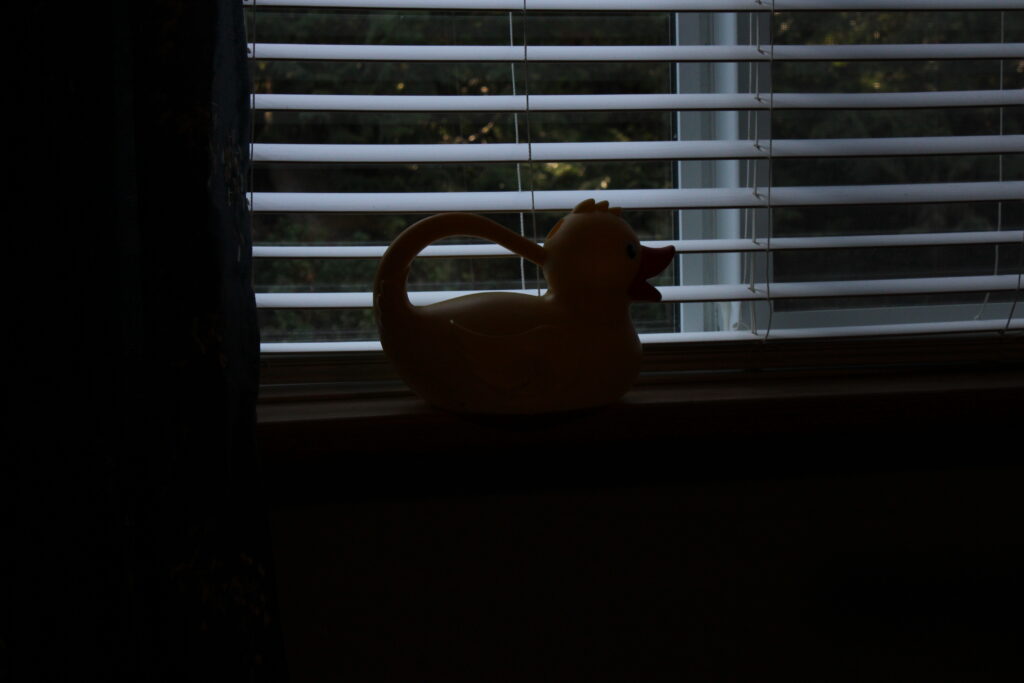
The duck more correctly exposed was 1/50 6.3F and ISO 800. The shadow duck is at F10.
Technical Exercise 2 – Camera Exercises 1-6
1.Shallow Depth of Field
Exercise 1 – Shallow depth of field ISO 2000 SS 1/400 F 5
2. Deeper depth of field
Ex 2 ISO 2000 SS 1/400 F5
Ex 1 ISO 1250 SS 1/250 F 5
Ex 2 ISO 1600 SS 1/160 F7.1
Ex 2 ISO 1600 SS 1/160 F5.6
For fun-it is moving ISO 1600 SS 1/1000 F5.6
Ex 3ISO 800 SS 1/250 F9
Ex 4 ISO 400 SS 1/80 F5.6
Ex 5 Underexposed for mood ISO400 SS 1/125 F11
Ex 6 Low light ISO3200 SS 1/100 F7.1
Technical Exercise 2 – Photoshop
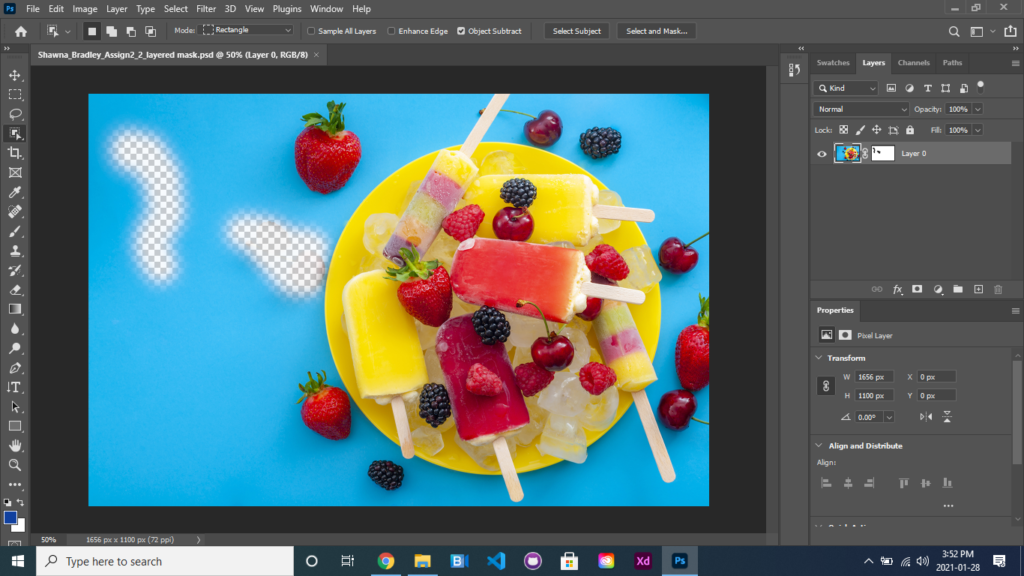
Tutorial 2: How to use a layer mask to hide parts of a layer
3. Use Layer masks to adjust part of a photo
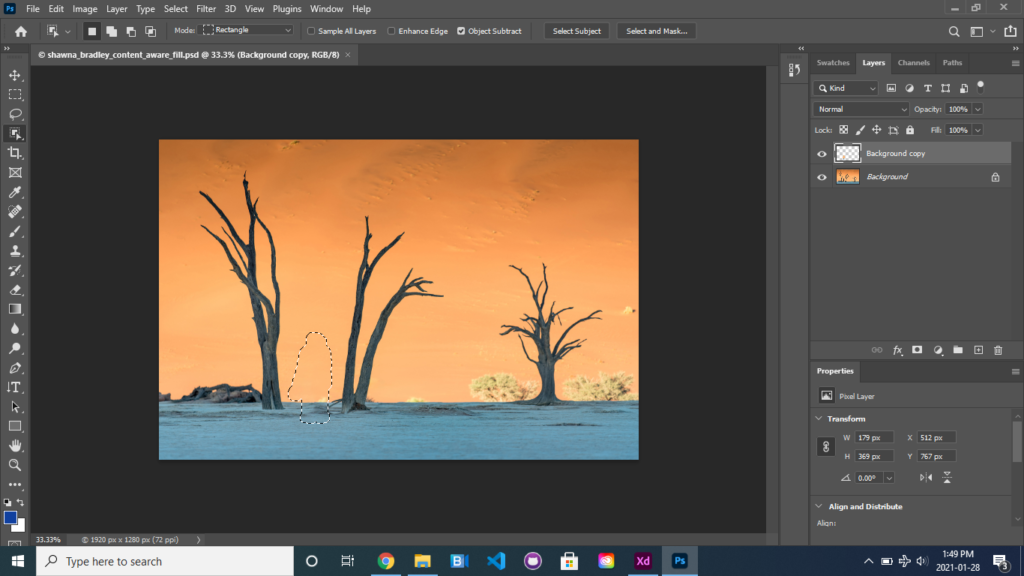
4.Remove objects with content aware fill
I tried this one ten times and couldn’t get the result in the video. I gave up!
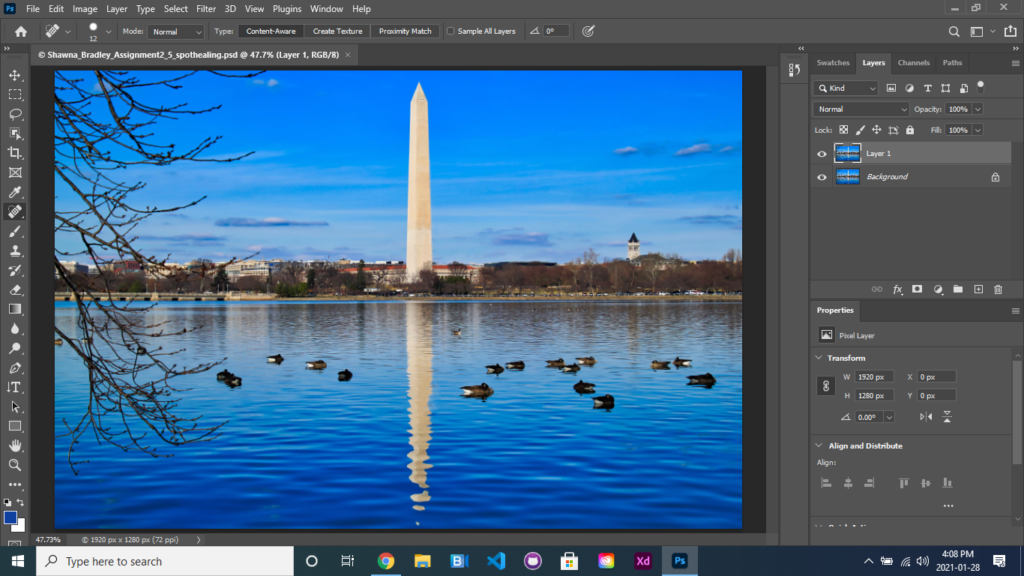
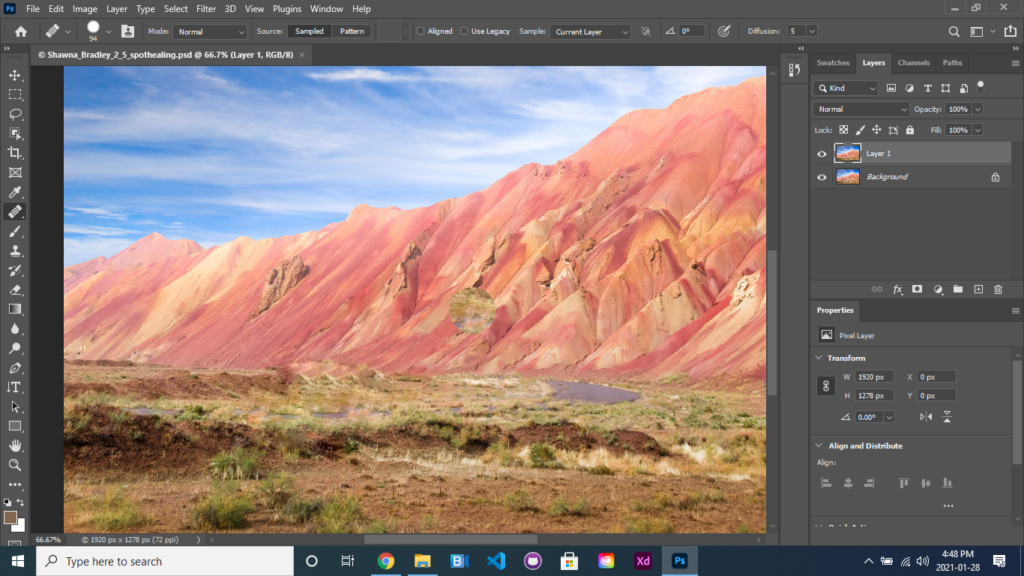
5. Clean up imperfections with spot healing
6. Retouch photos with healing brush tool
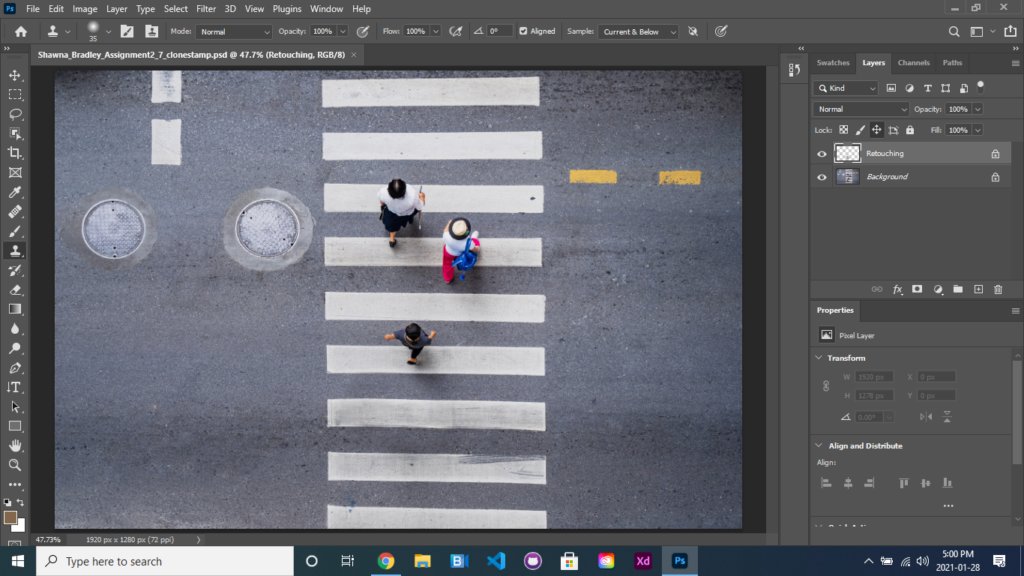
7. Remove objects with clone stamp tool
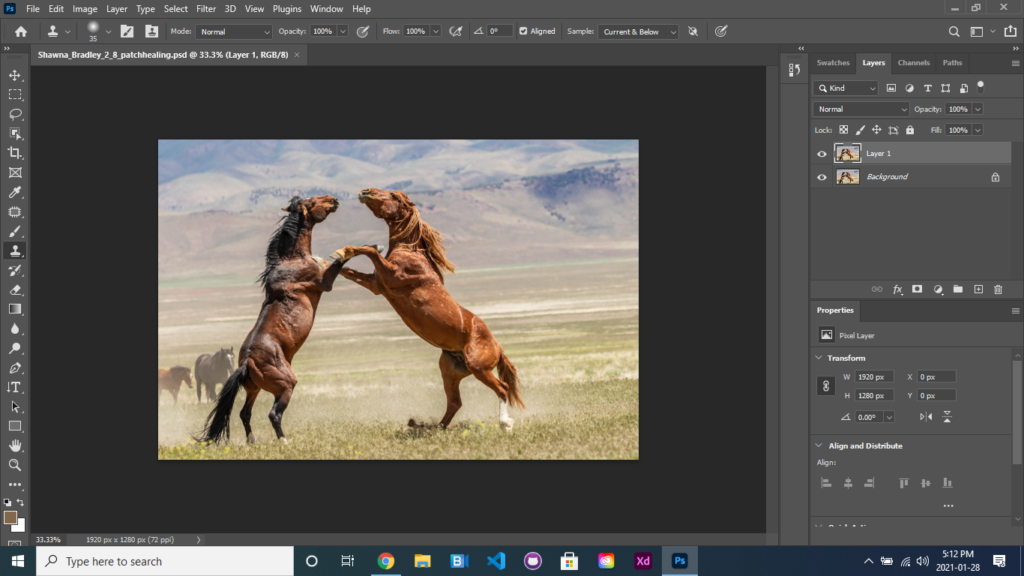
8. Hide unwanted content with patch tool
Technical Exercise 3 – Camera
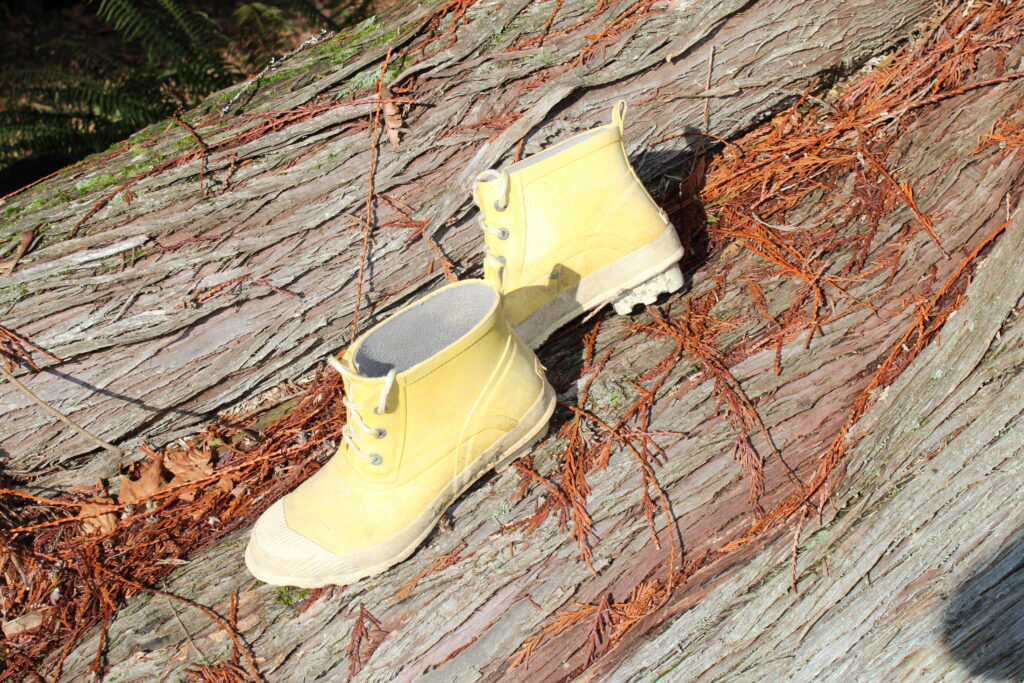
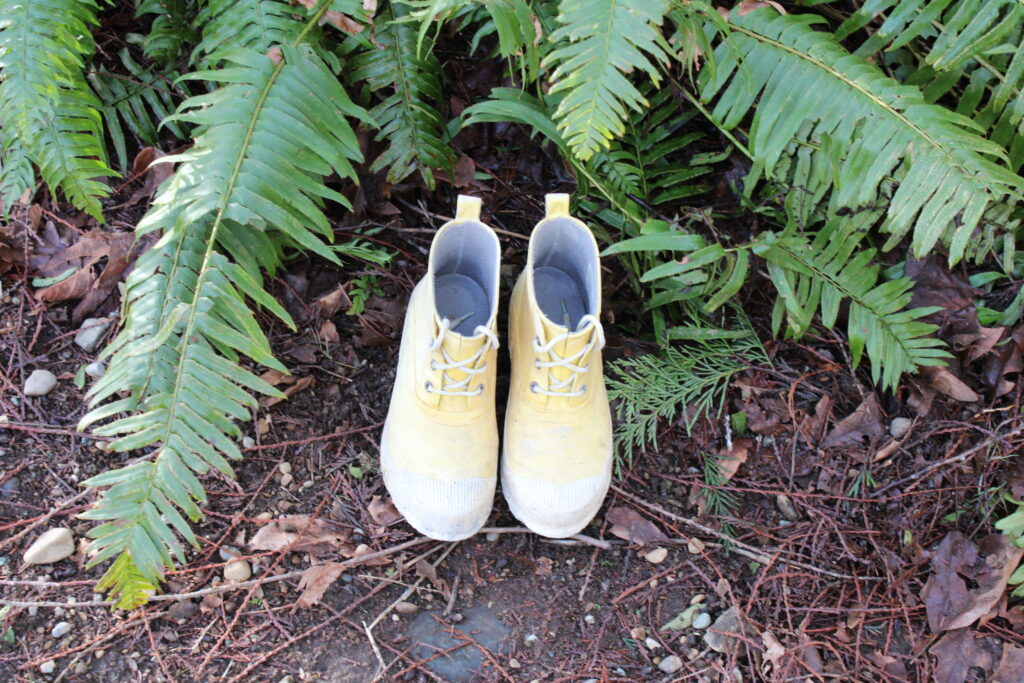
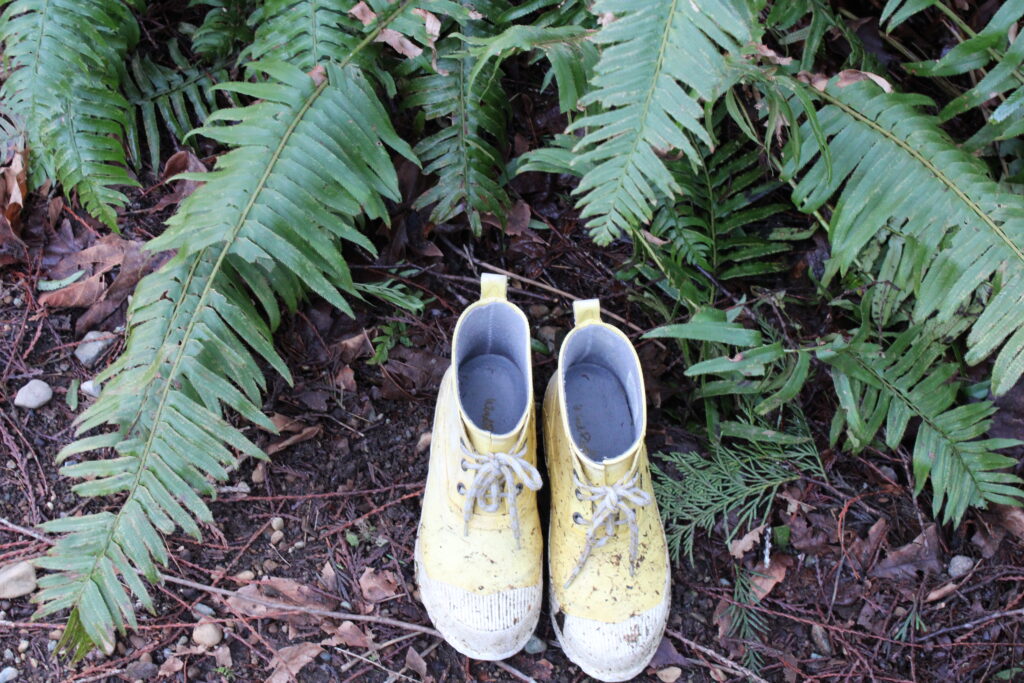
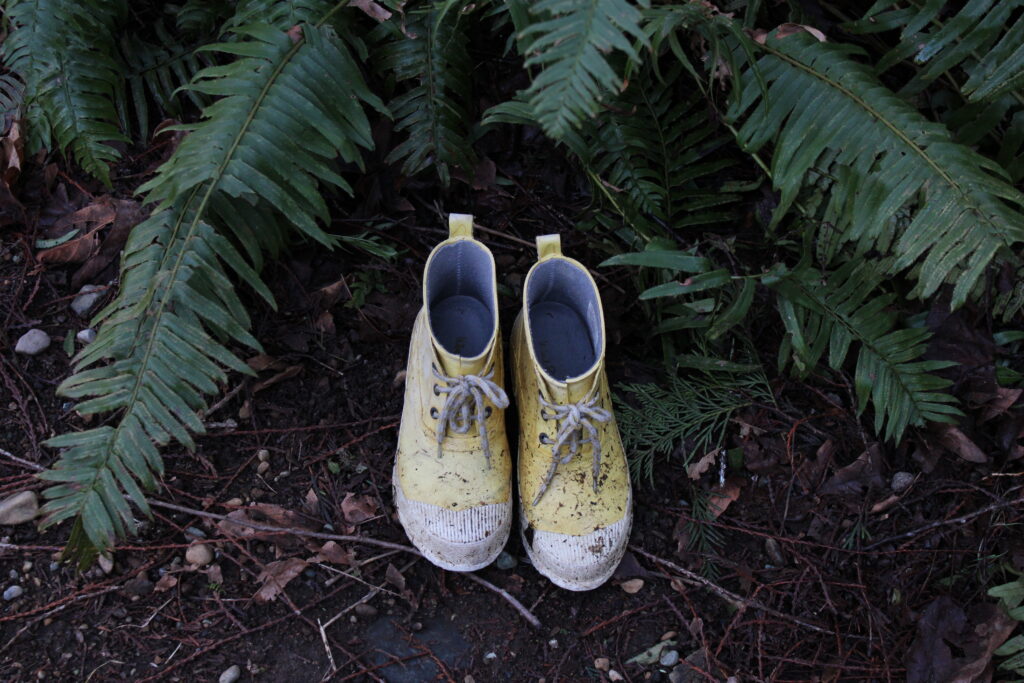
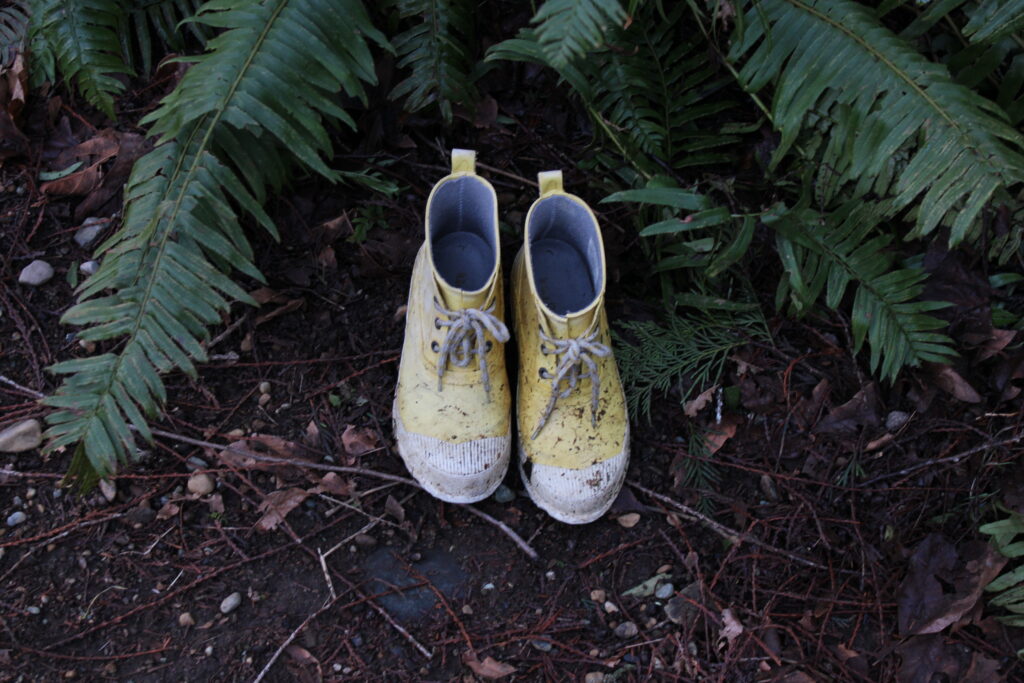
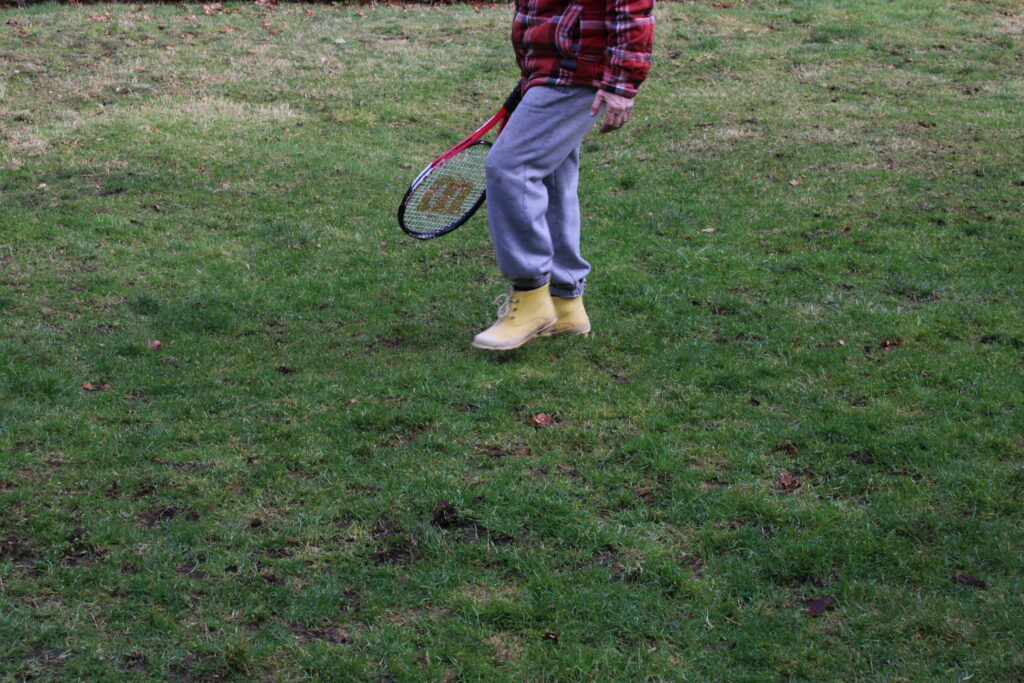
Image 264 1/200 F11 ISO 200Photobomber 15 year old Baxter climbing up the cedar tree Image 283 1/50 f8 ISO 800 This is the photo where I like the composition, however it is a bit overexposed (I think) as it washes out the yellow. I like that the ferns are in the depth of field, but I wanted both the shoes and the ferns. I like the story, as this huge fern in a muddy part of our yard is exactly where you need these pretty rubber boots! I am going to try the photo at 4pm (this was about 2 pm, in the shade, on a sunny day).Image 365 The same boots 2 hours later! A bit mucky! 1/20 F10 ISO 1600Image 375 This one is better. I changed it to F5.6 and 1/100 and ISO 800. I still wanted to get the ISO lower, but it ended up being to dark (and not as clear) -see in the image below. My aperture doesn’t go lower than 5,6. I think if it did, I would maybe have more flexibility with the shutter speed and ISO? I actually like the light better in this picture than at 2pm, it is moodier and more interesting. Image 377 1/50 F5.6 ISO 400
Exercise 2- Shoes in Motion
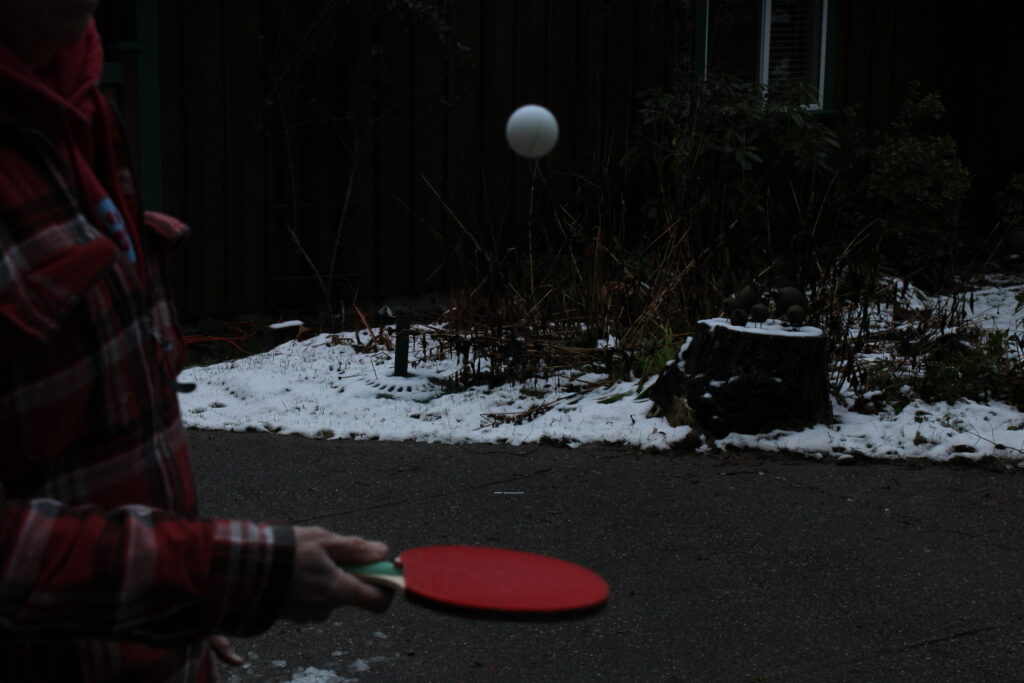
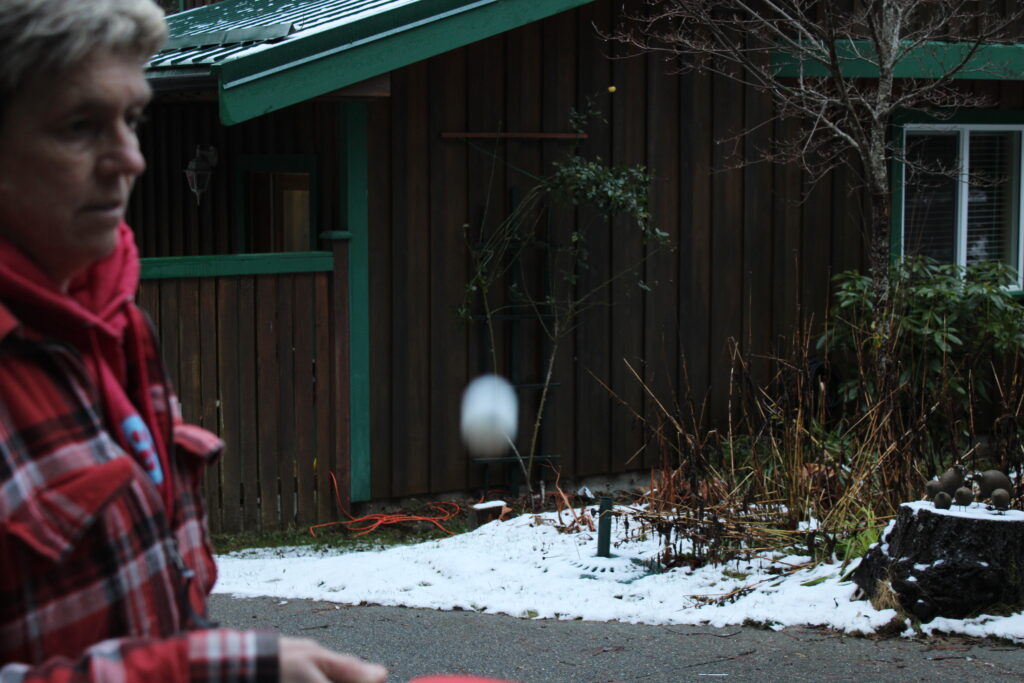
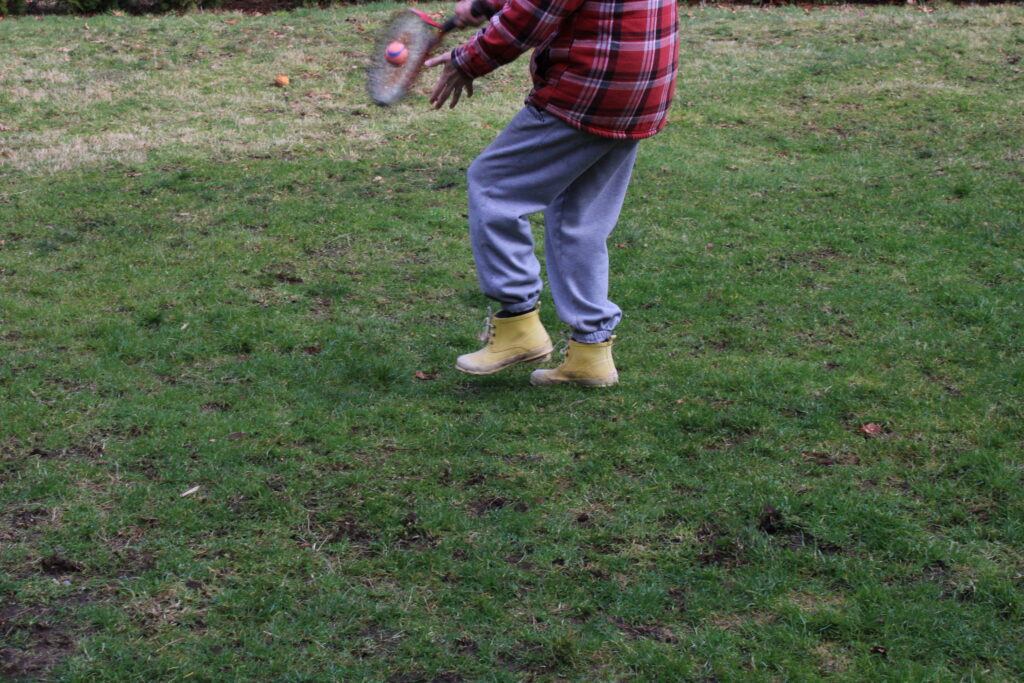
Image 329 1/200 F13 ISO 800 I like this one where I tried to freeze the motion. It is interesting because I was focussing on the feet, and stopped the motion, but the ball is blurry in it’s motion. Is this because of the light metering? The light was hard here as the clouds were moving over on a bright day, changing quickly before I could figure out the shot. Image 330 1/200 F13 ISO 800 The shutter speed worked pretty well here to stop the motion, and I like that the foot in the air look as it is almost standing on something rather than raising in the air on it’s own. It is not quite in focus, I am not sure if I moved? It was quite different than trying to catch the speed of my dog, in the following picture…
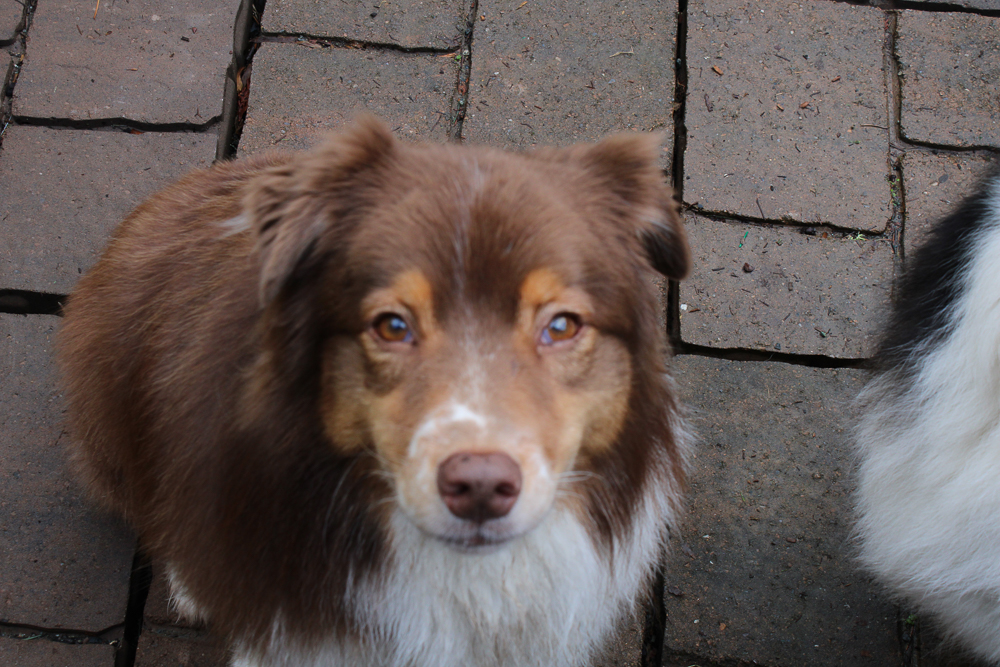
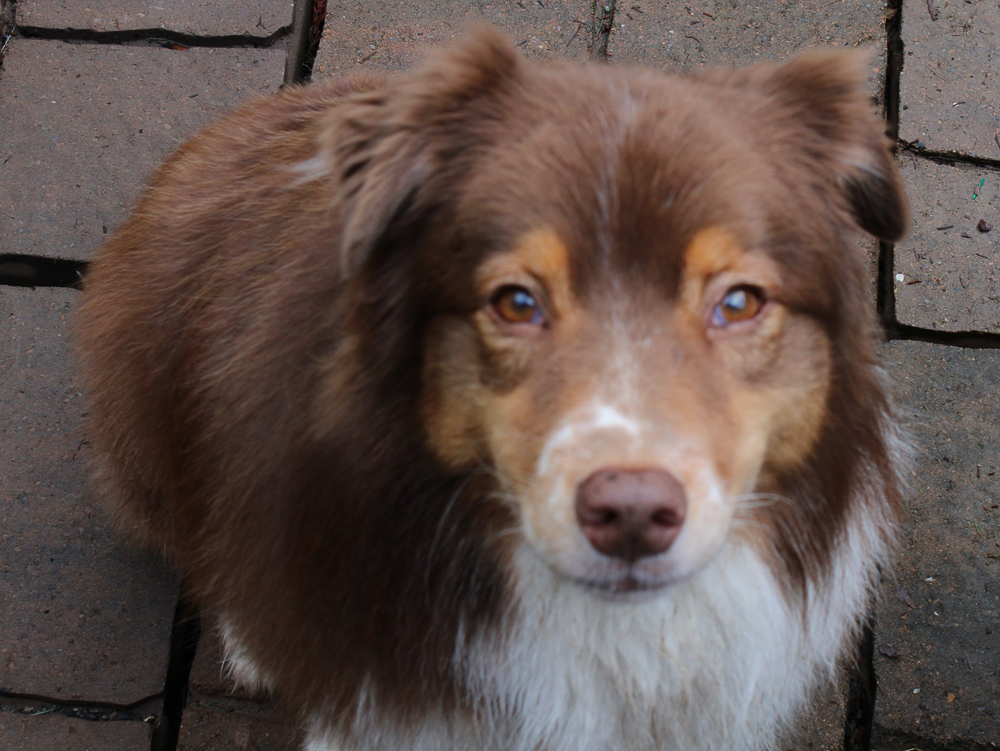
The definition of motion: a 4 year old Australian Shepherd
Although this shot wasn’t part of the assignment it is a good example because it was around the same time, in the same spot as the photo above. 1/250 F13 ISO 800.
Camera Technical Assignment 4
Exercise 1:
Hands at Rest:
Image 456 1/50 F5.6 ISO 3200
Hands in Context
Image 453 – 1/60 F5.6 ISO 3200
I had a hard time with these images as they were at night in my dark kitchen! Upon reflection, I think if I used a tripod it would have worked better, I could slow down the shutter speed more and then decrease the ISO. I also could have used my flash possibly? The pot lights really glare off my counter, so next time I will need some more light. Also, knowing I wouldn’t crop these images was difficult to set up too, as I didn’t want background “stuff”.
Exercise 2
Hands in Motion
Technical Assignment 4.2 Hands in Motion Image 465 1/50 F5.6 ISO 3200
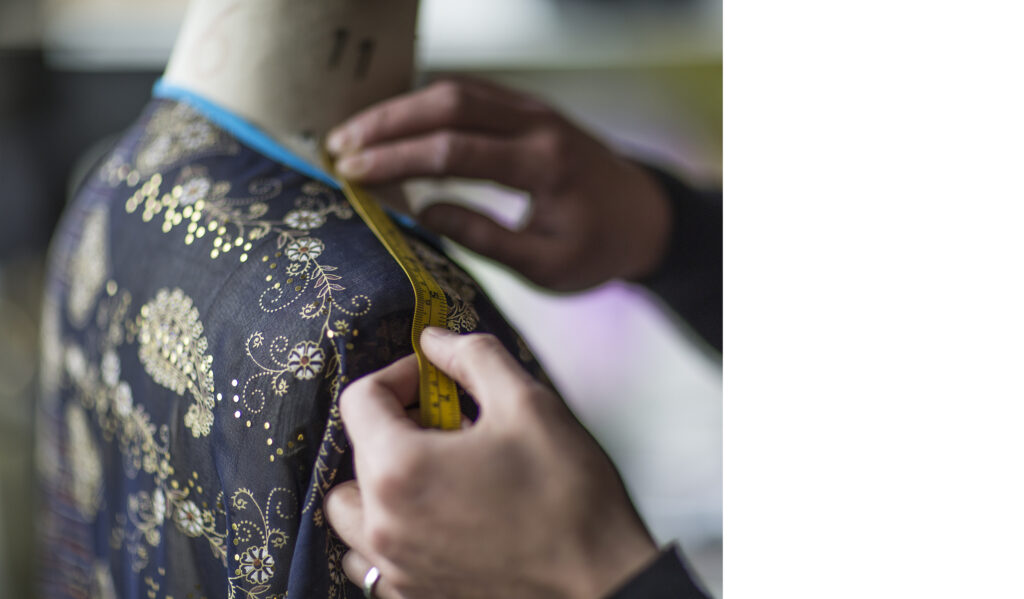
Outcome of hands labour
Technical Assignment 4.2 Hands-outcome of labour Image 476 – 1/50 F5.6 ISO 3200
On these 2 images above, I also had the same problems with light and composition. I like the spoon and the drip! But, I think I have some camera shake here.
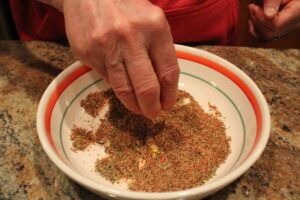
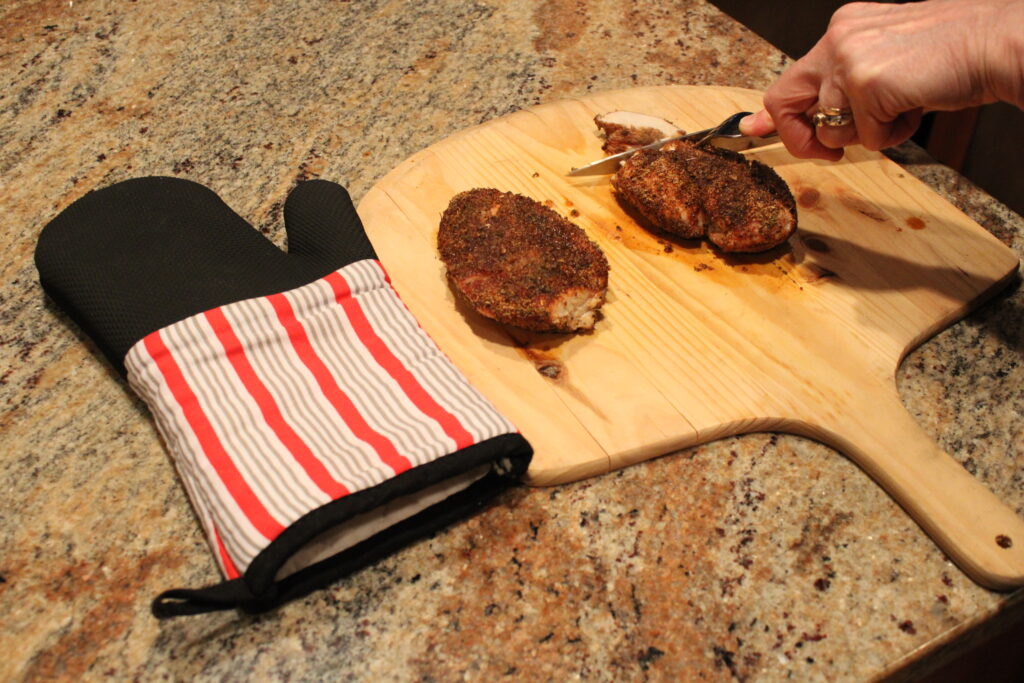
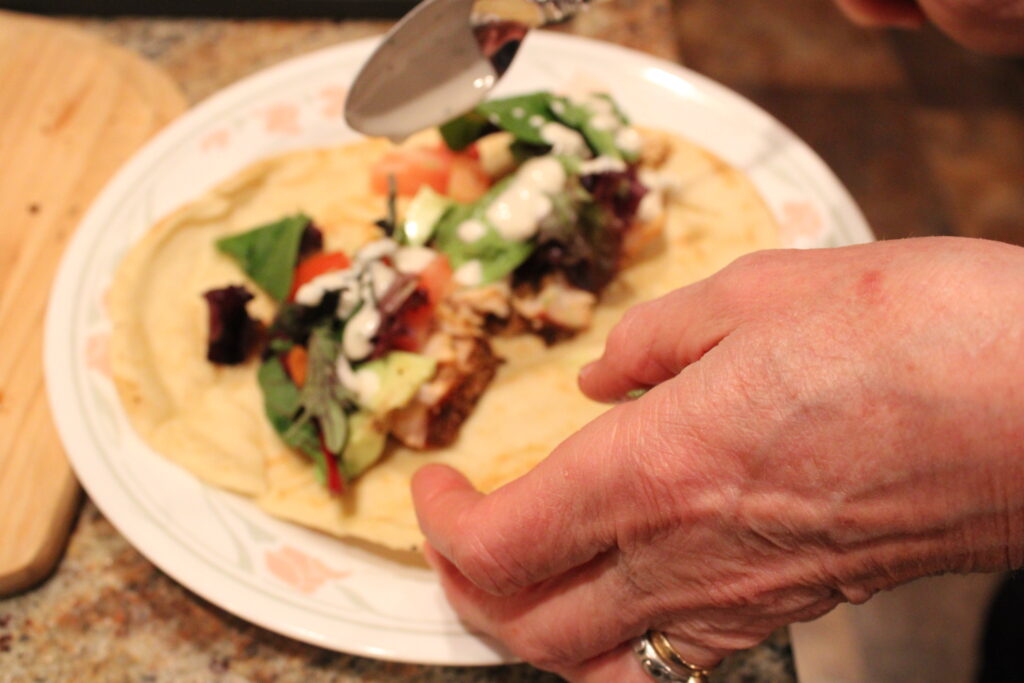
Exercise 3: Strong juxtaposition
The beginning of the process and the end! The best part of having someone cook for you while you are in school!
Assignment 4 -Post Production Exercises (Before/After Editing)
With each set of images I wanted to try slightly different editing practice.
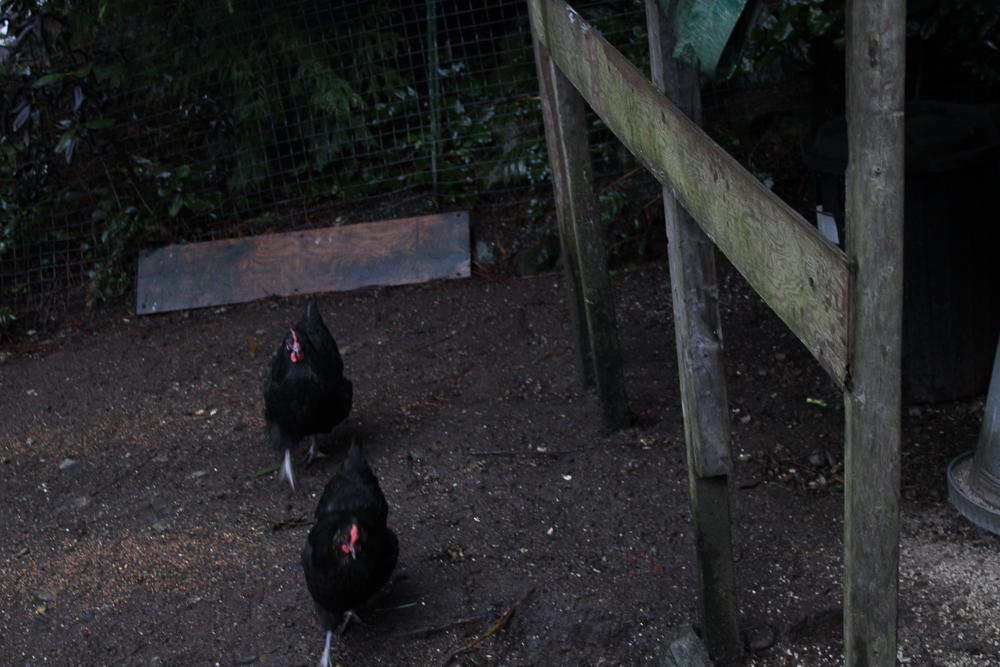
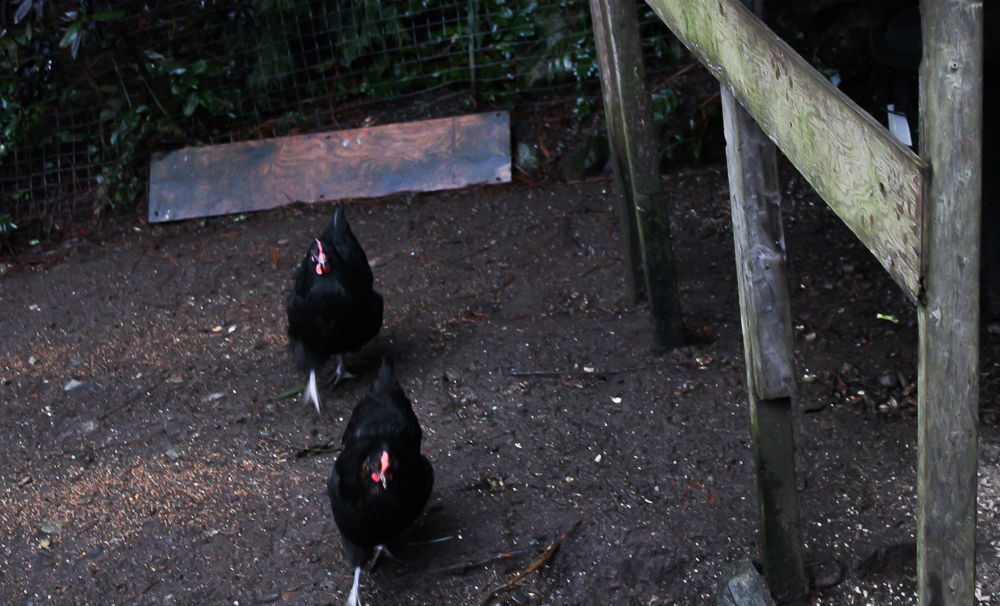
All I did to this image was crop it.In this image I cropped it and used the clone stamp to wipe out the piece of wood.I get such a kick out of this image I had to do something silly. In this photo I cropped it, and adjusted the luminance and the detail to reduce the noise. I also increased the exposure, the contrast and the highlights. I like how the blurred motion of the feet and the contrast makes them look a bit like ghost chickens.
4. Lightroom Tutorial Research
Lightroom Tutorial Research : Recovering a bad exposure
https://www.youtube.com/watch?v=c9ad-jzn1qE
This tutorial was useful as it went through many small things you can do when correcting a bad exposure, or a bad shot in general. It covers the exposure, color, sharpening, spot removal, contrast, & horizon straightening.